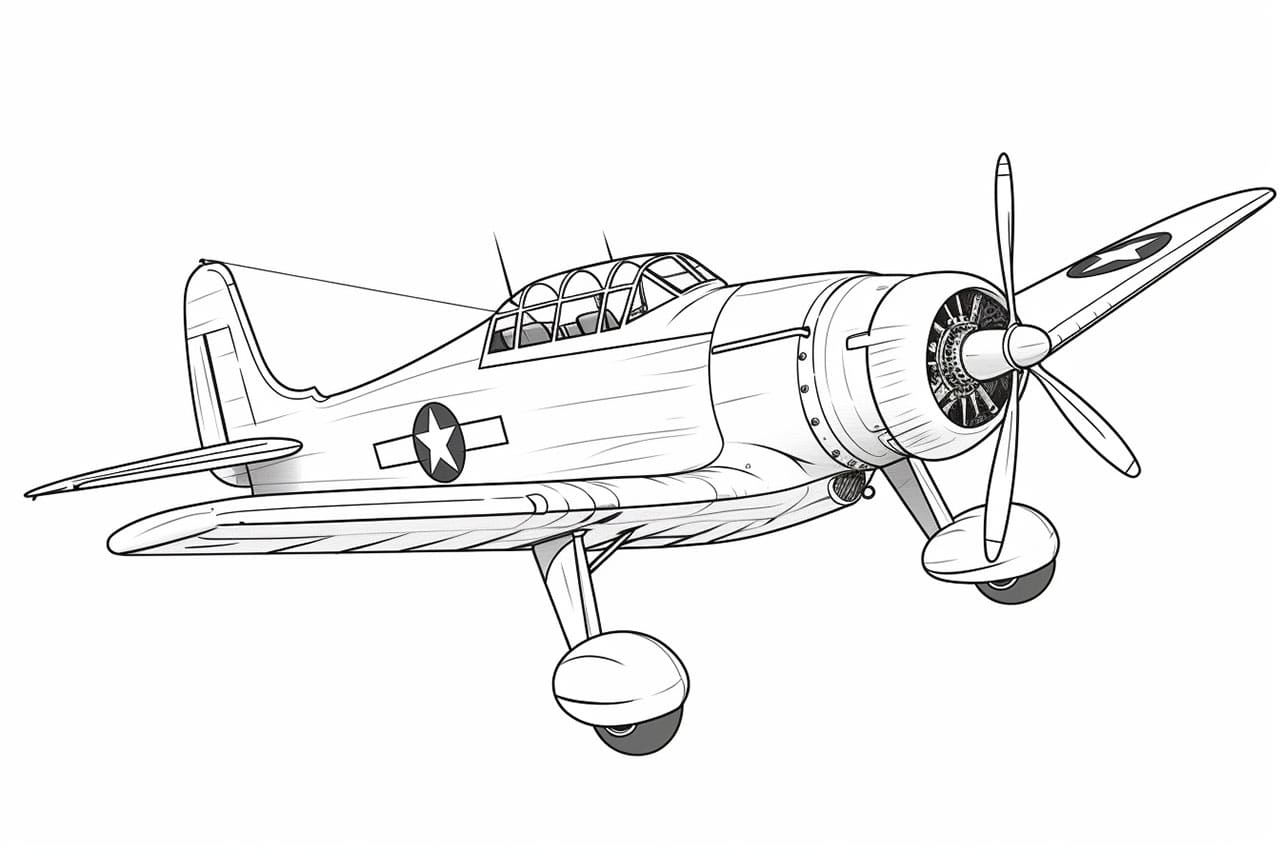
Drawing WW2 planes can be a fascinating experience for artists of all skill levels. The planes used during this historical period had unique designs and characteristics that make them captivating subjects to recreate on paper. In this article, we will provide you with step-by-step instructions on how to draw a WW2 plane, ensuring that you can capture its essence and intricacies. So grab your drawing materials and let’s get started!
Materials Required
Before diving into the drawing process, make sure you have the following materials ready:
- A sketchpad or drawing paper
- Pencils (preferably a set of different hardness)
- Eraser
- Ruler
- Reference images of WW2 planes (either printed or on a digital device)
Having these materials at hand will allow you to follow along and create an accurate and detailed representation of a WW2 plane.
Step 1: Research and Choose a Plane
Start by researching different WW2 planes to find one that catches your interest. Look for reference images that showcase the various angles and details of the plane. Consider its shape, wing structure, propellers, and any unique features that make it stand out. Once you have chosen a plane, keep the reference images nearby for easy access throughout the drawing process.
Step 2: Basic Outline
Begin by lightly sketching a basic outline of the plane. Use simple shapes to break down the overall structure into manageable parts. Start with a rectangular shape for the body and add circles or ellipses for the wings, propellers, and other prominent features. Focus on capturing the proportions and angles accurately.
Step 3: Refine the Outline
Using the basic outline as a guide, refine the shape of the plane by adding more details and defining its contours. Pay close attention to the curves and edges, ensuring they match the reference images. Use a harder pencil to darken the lines you want to keep, and erase any unnecessary guidelines.
Step 4: Add Wings and Tail
Now, it’s time to add the wings and tail to your WW2 plane. Refer to your reference images to accurately position and shape these elements. Draw the wings as two elongated shapes, tapering towards the tips. The tail should be located at the back of the plane and can vary in size and shape depending on the specific aircraft. Once you’re satisfied with the positioning, refine the shapes and contours.
Step 5: Detail the Body
Focus on detailing the body of the plane by adding more accurate lines and shapes. Pay attention to any unique features, such as windows, engines, or exhaust pipes. Use your reference images to guide you, ensuring that your drawing captures the distinctive characteristics of the chosen WW2 plane.
Step 6: Draw the Propellers
The propellers are essential elements of any WW2 plane. Draw them by creating a series of curved lines radiating from a central point. Make sure the propellers are accurately positioned and maintain a consistent size. Take your time to add the necessary details to make them appear realistic.
Step 7: Add Finishing Touches
At this stage, you can refine and add any additional details that will enhance the overall appearance of the plane. Pay attention to small features such as rivets, panel lines, or insignias, as they can significantly contribute to the authenticity of the drawing. Use a combination of soft and hard pencil strokes to add depth and texture.
Step 8: Shading and Highlights
To bring your WW2 plane to life, add shading and highlights. Observe how light interacts with the plane’s surfaces in your reference images and replicate the shadows accordingly. Use a range of pencil hardness to achieve different levels of darkness. Remember to blend and smudge the shading for a smooth and realistic effect. Add highlights to certain areas to create contrast and dimension.
Conclusion
Congratulations! You have successfully learned how to draw a WW2 plane from start to finish. By following these step-by-step instructions and utilizing your creativity, you can create realistic and captivating representations of these historical aircraft. Remember to be patient and practice regularly to improve your skills. Now, pick another plane, and continue exploring the exciting world of aviation through your art!

