How to Draw a Jet
Learn how to draw a jet with this step-by-step tutorial. From sketching the basic shape to adding details and shading, become an expert at drawing jets.
Materials You'll Need
- Pencil
- Paper
- Eraser
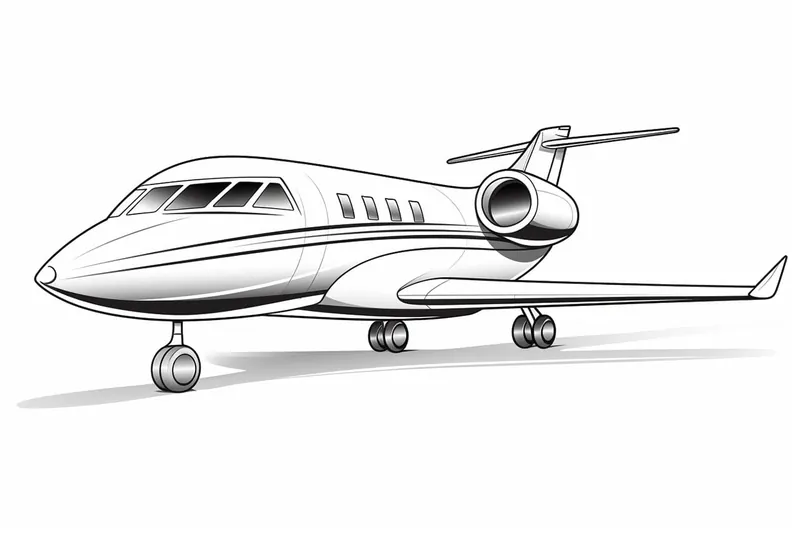
![]() Welcome to an exciting journey into the world of drawing! In this step-by-step guide, we'll be exploring how to draw a jet—an exhilarating subject that captures the essence of speed and engineering mastery. Whether you're someone just starting out with a pencil in hand or an experienced artist aiming to enhance your skills, this tutorial is designed to meet your needs and inspire your creativity.
Welcome to an exciting journey into the world of drawing! In this step-by-step guide, we'll be exploring how to draw a jet—an exhilarating subject that captures the essence of speed and engineering mastery. Whether you're someone just starting out with a pencil in hand or an experienced artist aiming to enhance your skills, this tutorial is designed to meet your needs and inspire your creativity.
Drawing a jet may seem daunting at first, but fear not! We will break the process down into manageable steps that will help you cultivate your artistic abilities and deepen your understanding of form, line, and shading. With the right guidance and a dash of enthusiasm, you'll find that even a complex subject like a jet can be transformed into a rewarding drawing experience.
So, gather your materials, settle into a comfortable spot, and let's embark on this artistic adventure together. Your canvas awaits, and with a bit of practice, you'll soon be able to create a stunning representation of one of the wonders of modern technology!
Materials Required:
Before we begin, let's make sure you have all the materials you'll need to draw a jet:
- Drawing paper
- Pencils (HB, 2B, 4B)
- Eraser
- Ruler
- Reference image of a jet (optional but recommended)
- Patience and enthusiasm!
Now that you have all the necessary materials ready, let's dive into the exciting world of jet drawing!
Step 1: Sketch the Basic Shape
Start by lightly sketching the basic shape of the jet using your HB pencil. Begin with a horizontal line for the body of the jet and add a curved shape at the front for the cockpit. Extend two lines from the body to form the wings, and a vertical line for the tail. Remember to keep your lines light and loose, as we will refine and add details later.
Step 2: Refine the Body and Wings
Using the basic shape as a guide, refine the body of the jet by adding more curves and sleek lines to create a streamlined look. Pay attention to the proportions and symmetry. Next, add details to the wings by drawing the leading edge and the trailing edge. Remember that the wings should be evenly balanced on each side of the body.
Step 3: Add the Tail and Engine
Focus on the tail of the jet by sketching the vertical stabilizers on each side of the tail. These stabilizers help stabilize the aircraft during flight. Then, add the engine by drawing a long oval shape near the rear part of the body. Jets usually have multiple engines, so you can add more if you like.
Step 4: Define the Cockpit
In this step, we will add details to the cockpit area. Sketch the windshield by drawing a curved line across the front part of the cockpit. Inside the cockpit, draw the pilot's seat and the control panel. To add a sense of depth, you can shade the windows and darken the area behind the windshield.
Step 5: Refine the Wings and Tail
Now, let's add more details to the wings and tail. Draw lines across the wings to depict the different sections and add some smaller details like flaps and ailerons. For the tail, refine the vertical stabilizers by adding smaller fins and details. Remember to look at a reference image or photo to ensure accuracy.
Step 6: Draw the Landing Gear
Jets have retractable landing gear, which is an important feature to include in your drawing. Add the landing gear beneath the body of the jet by drawing two sets of angled lines, one for the front gear and another for the main gear. You can also add some smaller details to the landing gear and wheels.
Step 7: Add Shadows and Shading
To give your jet drawing depth and dimension, it's important to add shadows and shading. Determine the direction of your light source and shade the areas that would be in shadow accordingly. You can use your 2B and 4B pencils to create darker tones. Take your time with this step, as it will greatly enhance the realism of your drawing.
Step 8: Refine and Finalize
Take a step back and assess your drawing. Make any necessary adjustments or refinements to the overall shape, proportions, and details. Add any additional features or decals to make your jet unique. Once you're satisfied with your drawing, carefully erase any remaining unnecessary lines and smudges.
Tip: To effectively capture the sleek design and dynamic lines of a jet, start with light pencil strokes to sketch the basic shapes and proportions. Focus on breaking the jet down into geometric components, like the fuselage (a long cylinder) and the wings (triangular shapes), which will help you maintain accurate proportions. Once you're satisfied with the overall layout, refine your lines and add details such as the cockpit and engine parts. Use a blend of hard and soft pencils; a harder pencil (like H or 2H) is great for initial sketches, while softer pencils (like 2B or 4B) can add depth and shadowing later. Don't hesitate to reference photos or diagrams of jets to understand their intricate details and aerodynamic features—this will enhance your drawing significantly!
Conclusion
Congratulations on completing your jet drawing! By following these step-by-step instructions and using your creativity, you've learned how to draw a jet from scratch. Remember, practice makes perfect, so keep honing your skills and exploring different variations of jets. With time and dedication, you'll be able to create stunning and realistic jet drawings. Happy drawing!