Introduction
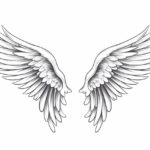
Welcome to this step-by-step tutorial on how to draw a wing! Whether you’re a beginner or an experienced artist, this guide will walk you through the process of creating a realistic and detailed wing illustration. Wings can be found in various forms, from birds to insects to mythical creatures, and learning how to draw them can add a touch of elegance and whimsy to your artwork. So, grab your favorite drawing supplies and let’s get started!
Materials Required
To draw a wing, you will need the following materials:
- Drawing paper or sketchbook
- Pencils (ranging from 2H to 6B)
- Fine-tipped pen or ink pen
- Eraser (kneaded erasers work best)
- Blending stump or cotton swabs (optional)
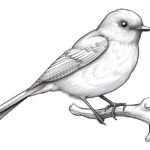
- Reference images of wings (helpful for understanding the structure)
Now that you have your materials ready, let’s dive into the steps of drawing a wing!
Step 1: Sketch the Basic Shape
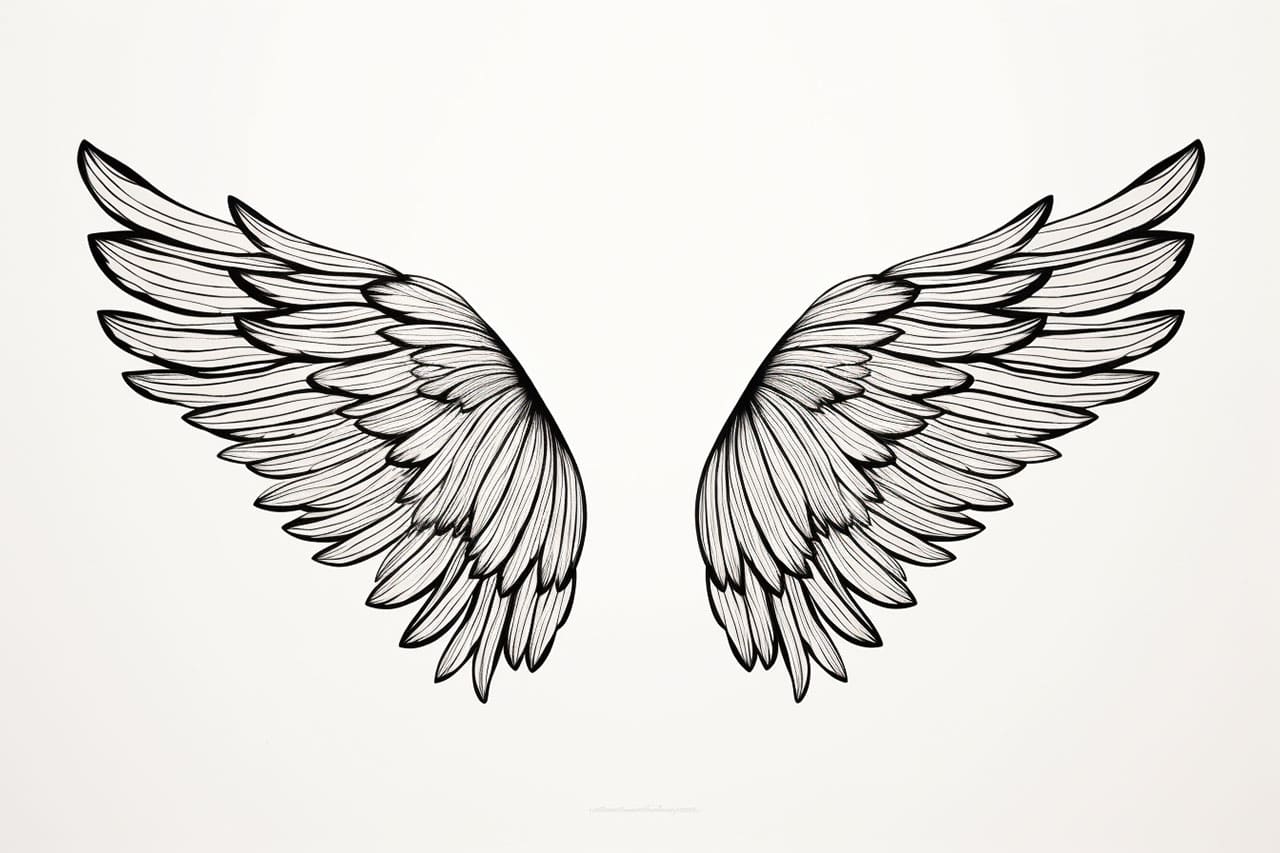
Begin by lightly sketching the basic outline of the wing using a light pencil such as 2H. Start by drawing the main shape of the wing, which can vary depending on the type of wing you’re drawing. Pay attention to the curvature and proportion of the wing, ensuring it fits well within your drawing space.
Step 2: Add the Primary Feathers
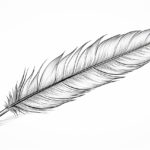
Identify the primary feathers of the wing and add them to your sketch. These feathers are usually longer and more prominent. Start from the top of the wing, near the body, and gradually extend them outward. Use light, curved lines to indicate the direction and shape of each feather.
Step 3: Draw the Secondary Feathers
Next, draw the secondary feathers of the wing. These are shorter feathers that fill in the spaces between the primary feathers. Pay attention to the overlapping nature of the feathers and use gentle curved lines to portray their form. Add details such as texture and patterns to make the drawing appear more realistic.
Step 4: Sketch the Wing Veins
Wings often have visible veins running through them, providing structure and support. Use a finer pencil, such as 2B or 4B, to lightly sketch these veins within the wing. Start with the main veins and gradually add smaller ones branching out from them. Remember to keep the lines delicate and thin to maintain a natural look.
Step 5: Define the Feather Edges
To make the feathers of the wing stand out, define the edges using a darker pencil like 4B or 6B. Carefully darken the outer edges of each feather, gradually fading the darkness towards the center. This technique adds depth and dimension, making the wing appear more realistic.
Step 6: Add Textural Details
To enhance the realism of your wing drawing, add textural details to the feathers. Take a lighter pencil (such as 2B) and create small, fine strokes along the length of each feather. This technique mimics the natural texture of feathers and adds a visually interesting element to your artwork.
Step 7: Refine the Wing Shape
Take a step back and evaluate the overall shape and proportion of your wing drawing. Make any necessary adjustments to ensure it looks balanced and accurately represents the wing you have chosen to draw. Erase any unwanted lines and refine the outlines to create a polished appearance.
Step 8: Ink the Final Drawing
Once you’re satisfied with your pencil sketch, it’s time to ink the final drawing. Use a fine-tipped pen or ink pen to go over the lines, adding crisp and clean details to your wing illustration. Take your time and use confident strokes, following the contours and patterns you’ve created.
Step 9: Erase Pencil Guidelines
After the ink has dried, carefully erase any remaining pencil guidelines using a kneaded eraser. Be gentle to avoid smudging the ink or damaging the paper. Take your time and erase in small sections, ensuring a clean and professional finish.
Conclusion
Congratulations! You have successfully learned how to draw a wing. By following these step-by-step instructions, you can create stunning wing illustrations that add depth and beauty to your artwork. Remember to practice regularly and experiment with different wing shapes and styles to further develop your drawing skills. Keep exploring and let your creativity soar!