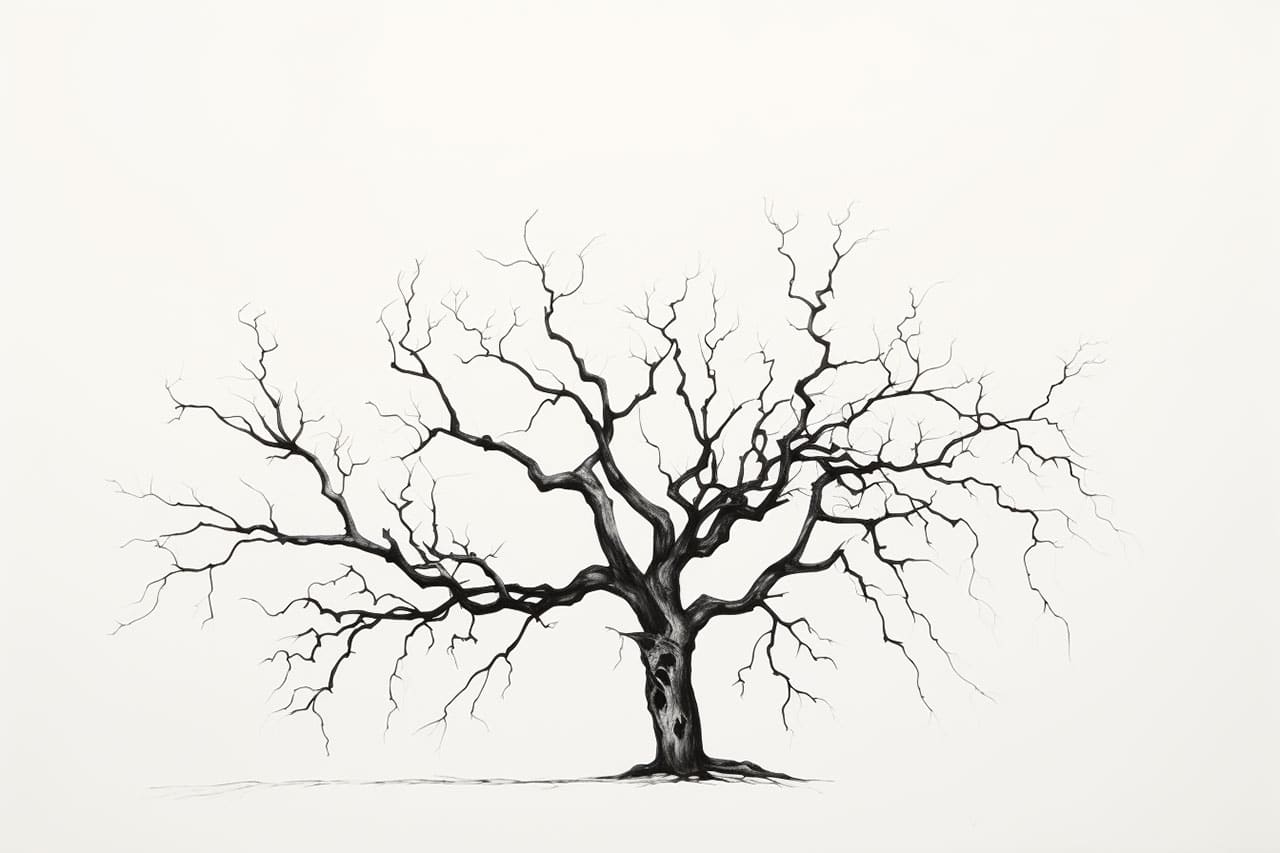
Drawing a dead tree can be a captivating and intriguing exercise for artists of all levels. The intricate details and unique shapes of a withered tree can add a sense of depth and character to your artwork. It’s a bit more complex than drawing a live tree due to the intricacy of drawing all of the branches. Whether you are a beginner or an experienced artist looking to enhance your skills, this step-by-step guide will walk you through the process of drawing a realistic dead tree.
Materials Required:
Before we dive into the steps, let’s assemble the materials you’ll need:
- Drawing paper or sketchpad
- Pencil set (HB, 2B, 4B, 6B)
- Eraser
- Blending stump or cotton swabs
- Charcoal pencils (optional)
- Charcoal sticks (optional)
Now that we have our materials ready, let’s get started on creating a stunning representation of a dead tree.
Step 1: Outline the Basic Shape
Begin by lightly sketching the basic shape of the tree trunk and branches using an HB pencil. Pay attention to the overall structure and proportions. Remember, dead trees often have irregular shapes, so embrace asymmetry and imperfections. Focus on capturing the essence rather than striving for perfection.
Step 2: Add Texture and Details
Using a softer pencil such as 2B, start adding texture and details to the tree trunk. Dead trees often have rough, cracked bark, so create lines and broken edges to depict these characteristics. Vary the pressure on your pencil to achieve a range of values, emphasizing shadows and highlights to amplify the withered appearance.
Step 3: Branch Out
Now, let’s move on to the branches. Begin by adding the main branches, ensuring they flow naturally from the trunk. Dead branches tend to be twisted and gnarled, so experiment with different angles and curves to create an organic look. Gradually add smaller branches and twigs, branching out from the main structure.
Step 4: Enhance the Details
To further enhance the realistic look of the dead tree, use a 4B or 6B pencil to add more texture and details to the trunk and branches. Introduce darker shades and create deeper cracks and crevices. Pay close attention to the areas where branches intersect, as these intersections often create interesting shapes and shadows.
Step 5: Emphasize Shadows and Highlights
Shadows and highlights are essential in giving depth and dimension to your drawing. Identify the primary light source and imagine how it would cast shadows on the tree. Use your pencil to darken areas that would be in shadow, and leave lighter areas to represent highlights. Gradually build up layers to achieve the desired contrast and tonal range.
Step 6: Blending and Smudging
To create a smoother and more realistic texture, blend and smudge certain areas of your drawing using a blending stump or cotton swabs. This technique helps soften harsh lines and merges different values together. Be careful not to over-blend, as some roughness and texture should remain to portray the rugged nature of the dead tree.
Step 7: Optional: Charcoal for Added Depth
For those who want to take their drawing to the next level, you can introduce charcoal pencils or sticks to enhance the depth and darkness of your dead tree. Use these tools to add deeper shadows and create a richer contrast. Experiment with different charcoal grades to achieve the desired effect while maintaining control over the details.
Conclusion
Drawing a dead tree offers a unique opportunity to explore shape, texture, and contrast. By following these step-by-step instructions, you can create a realistic representation of a withered tree that captures its character and beauty. Remember to embrace imperfections, experiment with different techniques, and most importantly, have fun with your art.
So, grab your pencils and paper, and start bringing a lifeless tree to life on your canvas. With dedication and practice, you’ll soon master the art of drawing a dead tree!
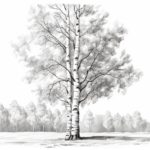
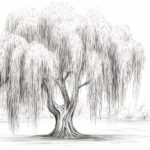
Next, you can experiment with different types of trees like the Willow tree, or various tree “parts” such as the pinecone.