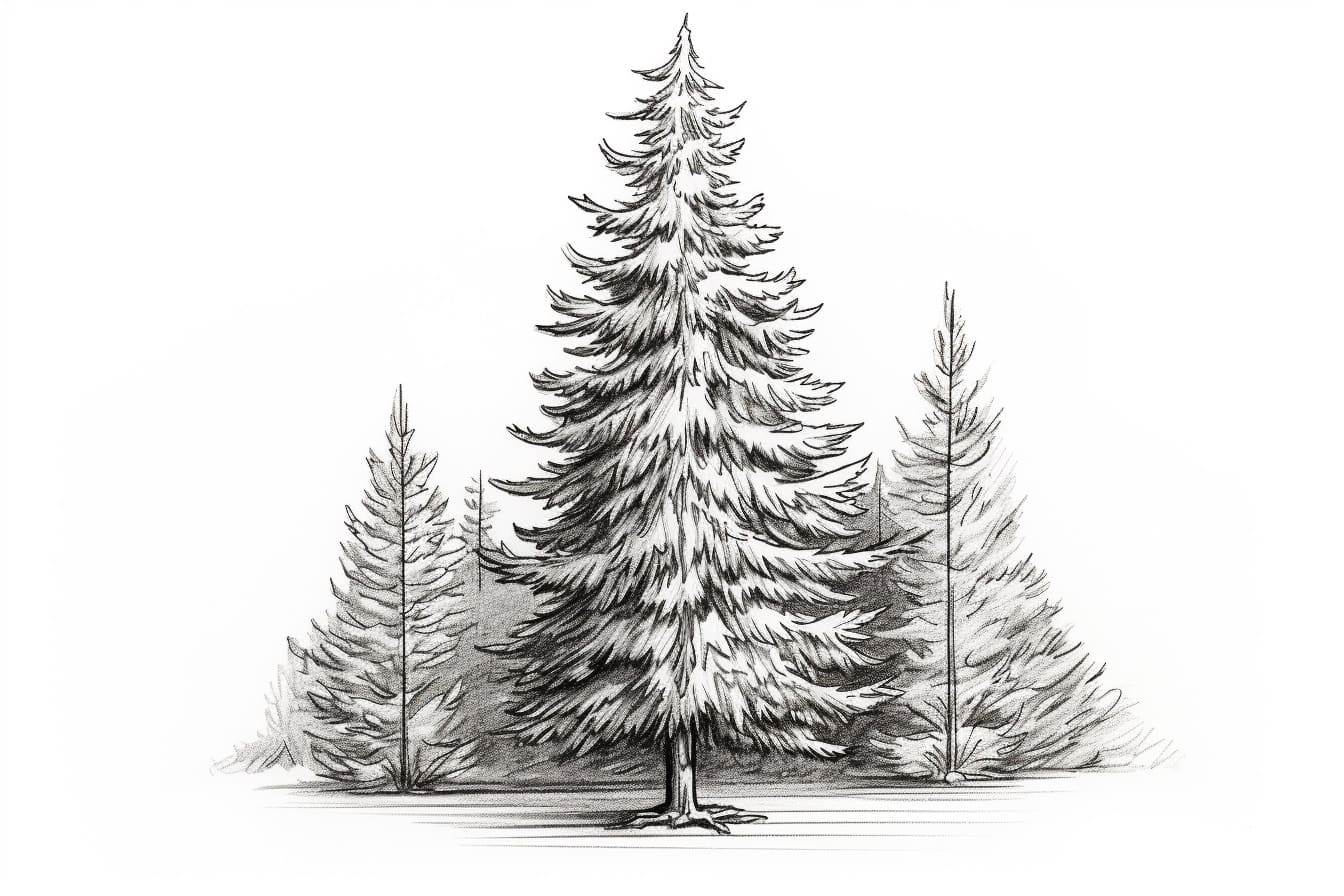
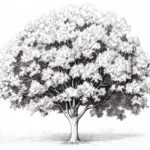
Welcome to this step-by-step guide on how to draw a spruce tree! Whether you’re a beginner or an experienced artist, this tutorial will help you create a beautiful and realistic representation of this iconic evergreen tree. By following these simple steps, you’ll be able to capture the essence of a spruce tree and add a touch of nature to your artwork. Let’s get started!
Materials Required
Before we begin, let’s gather the materials you’ll need to complete this drawing:
- Pencil: Use a pencil with a medium or soft lead for sketching.
- Sketchbook or Drawing Paper: Choose a smooth surface to ensure easy blending and shading.
- Eraser: Have a good quality eraser handy for correcting mistakes and refining details.
- Fine-tip Pens or Markers: Optional, but you can use these for outlining and adding details.
Now that you have your materials ready, let’s move on to the step-by-step instructions.
Step 1: Basic Outline
Start by drawing a vertical line in the center of your paper. This line will serve as the trunk of the spruce tree. Then, lightly sketch two diagonal lines extending from the top of the trunk line, forming a “V” shape. These lines will outline the main branches of the tree.
Step 2: Branches and Sub-branches
From the ends of the diagonal lines, draw smaller lines that curve slightly downward. These will represent the primary branches of the spruce tree. Now, add more lines extending from the primary branches to create the sub-branches. Keep in mind that spruce trees often have distinct layers of branches, so be sure to vary the length and angle of these lines.
Step 3: Main Body of the Tree
Using the basic outline as a guide, begin adding volume to your tree. Start by drawing slightly curved lines along the branches, creating a more organic and realistic shape. Pay attention to the thickness of the branches, making them thicker near the trunk and gradually thinner towards the ends.
Step 4: Needles and Twigs
Spruce trees have needle-like leaves that grow in clusters. To represent this, draw small, short lines along the branches, grouping them together. The clusters should be denser near the tips of the branches and become sparser as you move towards the trunk. Add smaller twig-like lines extending from the branches to give your tree more detail and texture.
Step 5: Trunk and Bark
Add details to the trunk of the tree by drawing horizontal lines or vertical dashes to represent the bark. Spruce tree bark is often rough and furrowed, so don’t be afraid to add texture by varying the length and thickness of these lines. Also, consider adding some irregularities or knots to make your tree more authentic.
Step 6: Shading and Texturing
Now it’s time to add depth and dimension to your drawing through shading. Use your pencil to lightly shade the areas that would be in shadow, such as the underside of branches or areas where branches overlap. Blend the shading smoothly using a blending stump or your fingertip to create a more realistic appearance.
Step 7: Outlining and Refining
If you prefer a more defined look, go over your pencil lines with fine-tip pens or markers. Be careful when outlining to maintain the natural flow and variation of branches. Once you’ve outlined your drawing, erase any remaining faint pencil marks to ensure a clean and polished finish. Take this opportunity to refine any details that need more attention.
Conclusion
Congratulations! You have successfully learned how to draw a spruce tree. By following these step-by-step instructions and using your creativity, you have created a beautiful representation of this magnificent evergreen tree. Remember to practice regularly, experiment with different techniques, and observe spruce trees in nature to further enhance your skills. Happy drawing!

