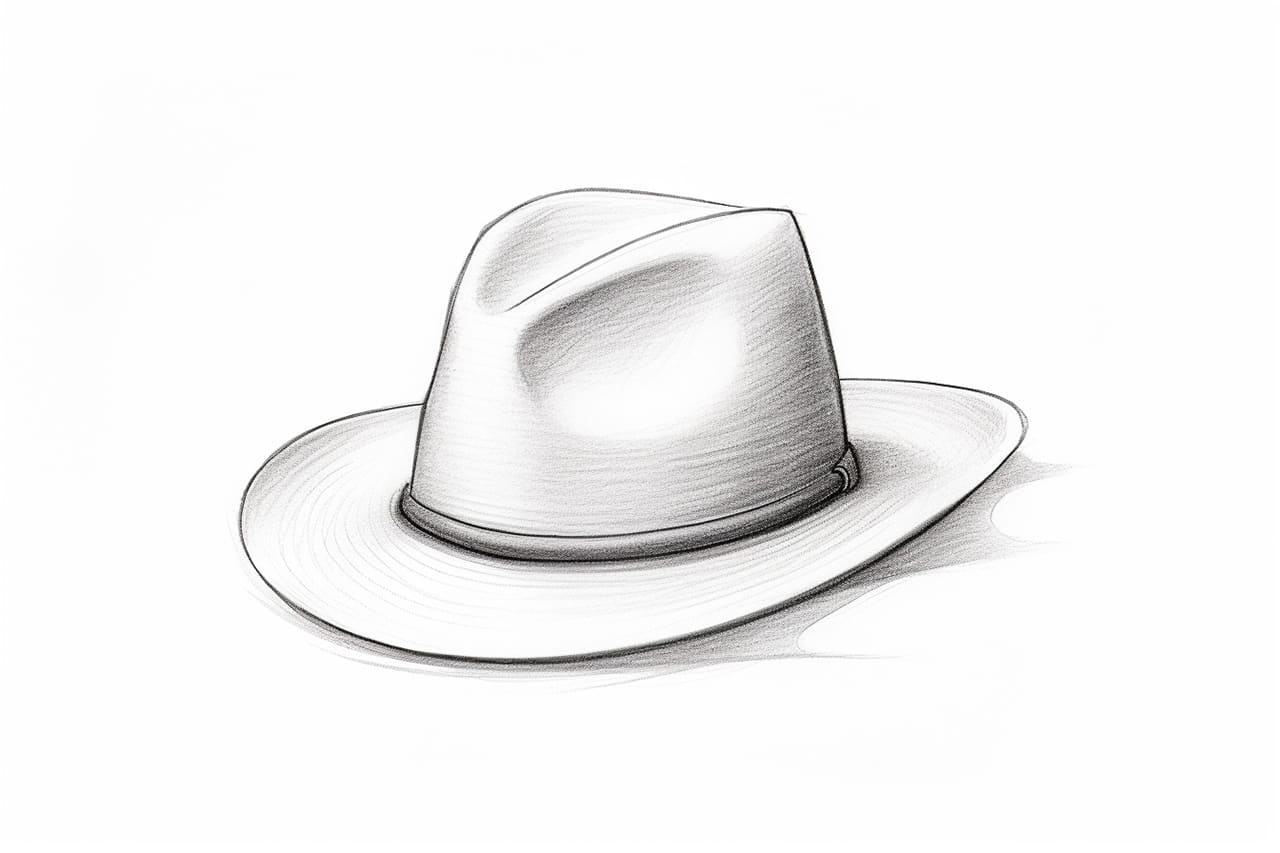
Drawing a hat can be a fun and creative way to add flair to your artwork. Whether you want to draw a stylish fedora, a floppy sunhat, or a classic top hat, this step-by-step guide will walk you through how to draw a hat. So grab your drawing supplies, and let’s get started!
Materials Required
Before we begin, make sure you have the following materials:
- Pencil
- Eraser
- Paper
- Colored pencils or markers (optional for adding color)
That’s it! Now that you have everything you need, let’s dive into the steps.
Step 1: Sketch the Basic Shape
Start by lightly sketching the basic shape of the hat using a pencil. Think about the angle you want the hat positioned and the overall size you’d like it to be on your drawing. Keep your lines loose and straightforward, as this is just the initial outline.
Step 2: Add Details
Next, start adding details to the hat. Think about the style of hat you want to draw, whether it’s a wide-brimmed hat or a more structured one. Add creases, folds, and any other defining features that give your hat character and depth. Take your time with this step to ensure your hat looks realistic.
Step 3: Refine the Shape
Once you’re satisfied with the details, go over the outline of the hat again, refining the shape as you go. Use smoother, more confident lines to create a more polished look. Pay attention to the curves and angles of the hat to make sure they are accurate.
Step 4: Add Texture
To make your hat look more realistic, add some texture. Think about the material the hat is made of, whether it’s straw, felt, or fabric. Use short, light strokes to create the illusion of texture and depth. Take your time with this step and experiment with different stroke techniques to achieve the desired effect.
Step 5: Finalize the Details
Now it’s time to add the final details to your hat. This includes any embellishments such as ribbons, bows, or feathers. Pay close attention to the proportions and placement of these elements to ensure they complement the overall design of the hat.
Step 6: Add Shadows and Highlights
To give your hat dimension and make it pop off the page, add shadows and highlights. Think about the direction of the light source and use shading techniques to create the illusion of depth. Pay attention to the curves and folds of the hat to determine where the shadows and highlights should be placed.
Step 7: Optional – Add Color
If you want to add some color to your hat drawing, now is the time to do so. Use colored pencils or markers to bring your hat to life. Consider the color and pattern of the hat and use shading techniques to create a realistic look.
Conclusion
Drawing a hat can be a fun and creative way to enhance your artwork. By following these step-by-step instructions, you’ll be able to draw a variety of hats with ease. Remember to take your time, pay attention to the details, and have fun with your drawing. Happy creating!