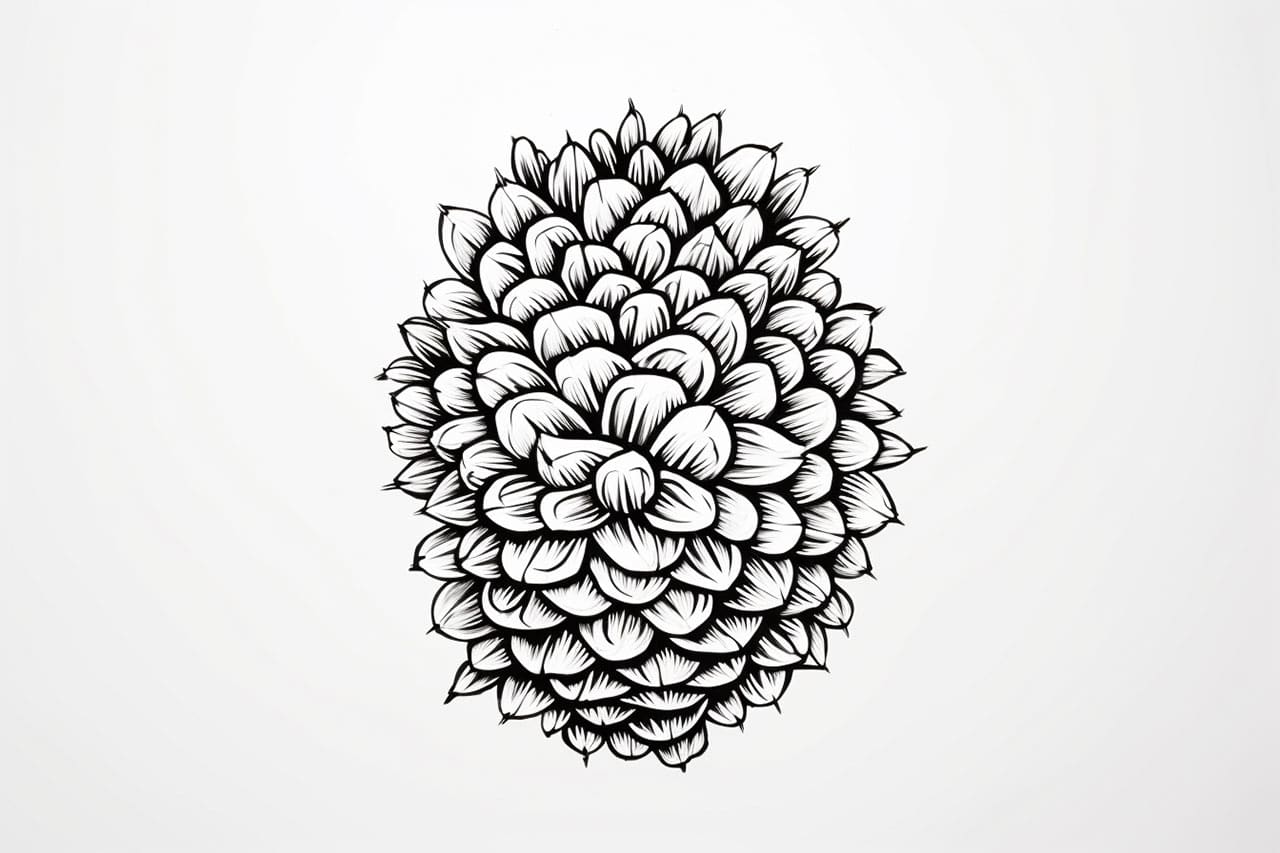
Pinecones are a beautiful and intricate part of nature, with their unique patterns and textures. Drawing a pinecone can be a rewarding and enjoyable experience, whether you are a beginner or an experienced artist. In this step-by-step guide, we will explore the process of how to draw a pinecone, from its basic structure to the intricate details. So grab your pencils and let’s get started!
Materials Required
Before we begin, gather the following materials:
- Pencil (HB or 2B recommended)
- Eraser
- Drawing paper
- Fine-tip black marker or pen
- Colored pencils or markers (optional)
- Reference picture of a pinecone (optional)
Step 1: Basic Outline
To start drawing a pinecone, we will first establish its basic shape. Begin by lightly sketching a vertical line in the center of your paper, which will act as the pinecone’s spine. Then, draw a horizontal line intersecting the vertical line near the bottom to create a cross-like shape. This will serve as the foundation for the pinecone’s overall structure.
Step 2: Petal-like Scales
Next, we’ll add the petal-like scales that make up the body of the pinecone. Starting from the bottom of the cross, draw a series of curved lines that extend outward and slightly upward. These lines should resemble elongated petals, with varying sizes and shapes. Remember that pinecones have overlapping scales, so don’t be afraid to overlap some of the lines.
Step 3: Contour Lines
Now, it’s time to add contour lines to give the pinecone a three-dimensional appearance. Along the outer edge of each scale, draw curved lines that follow the shape of the scale. These lines will help define the form and add depth to your drawing. Experiment with the thickness and intensity of these lines to create a sense of volume.
Step 4: Texture and Details
Pinecones have a distinctive texture, with intricate patterns and details on each scale. To capture this texture, add small curved lines or short dashes along the contours of the scales. These lines should follow the shape of the scales and create a sense of depth and texture. Take your time with this step, as the details will bring the pinecone to life.
Step 5: Shading
To add depth and dimension to your drawing, we will introduce shading. Start by identifying the light source in your drawing. Determine where the light is coming from and visualize how it would affect the pinecone’s form. Shade the areas that would be in shadow, using hatching or cross-hatching techniques to create a sense of volume. Leave the areas that would catch the light unshaded or lightly shaded.
Step 6: Refining and Finalizing
Now that you have established the basic structure, details, and shading, take a moment to evaluate your drawing. Look for any areas that need refinement or adjustments. Erase any stray lines or smudges and add any additional details or shading as needed. Take your time with this step to ensure that your pinecone drawing is polished and complete.
Conclusion
Drawing a pinecone can be a delightful artistic endeavor, allowing you to appreciate the beauty of nature and develop your drawing skills. By following these step-by-step instructions and paying attention to the intricate details, you can create a stunning and realistic representation of a pinecone. So grab your pencils and enjoy the process of bringing the beauty of nature to life on paper!
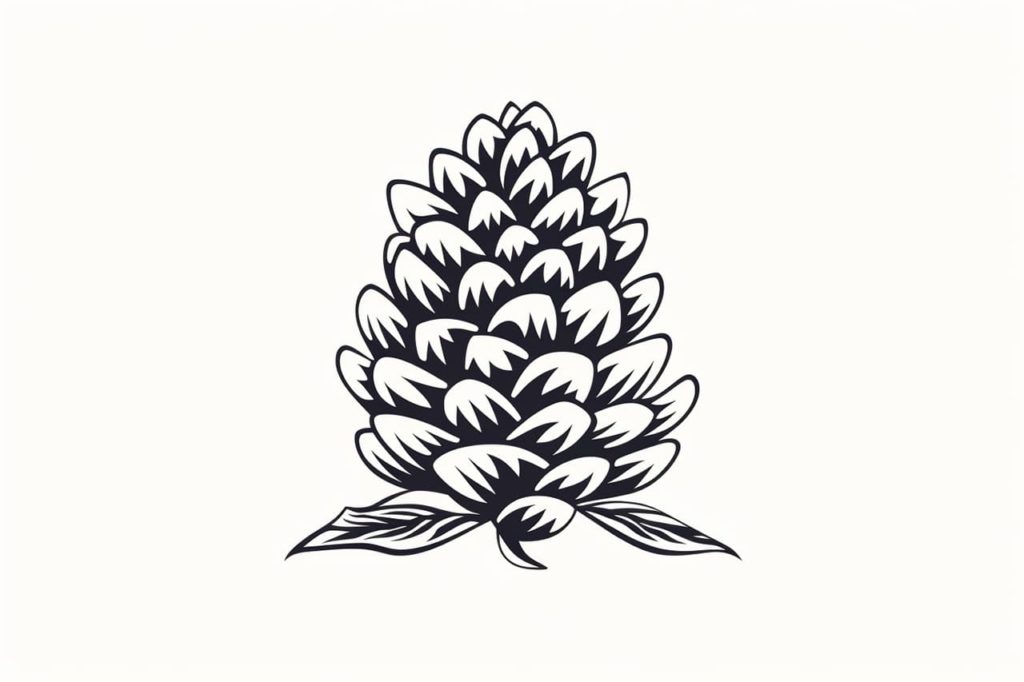
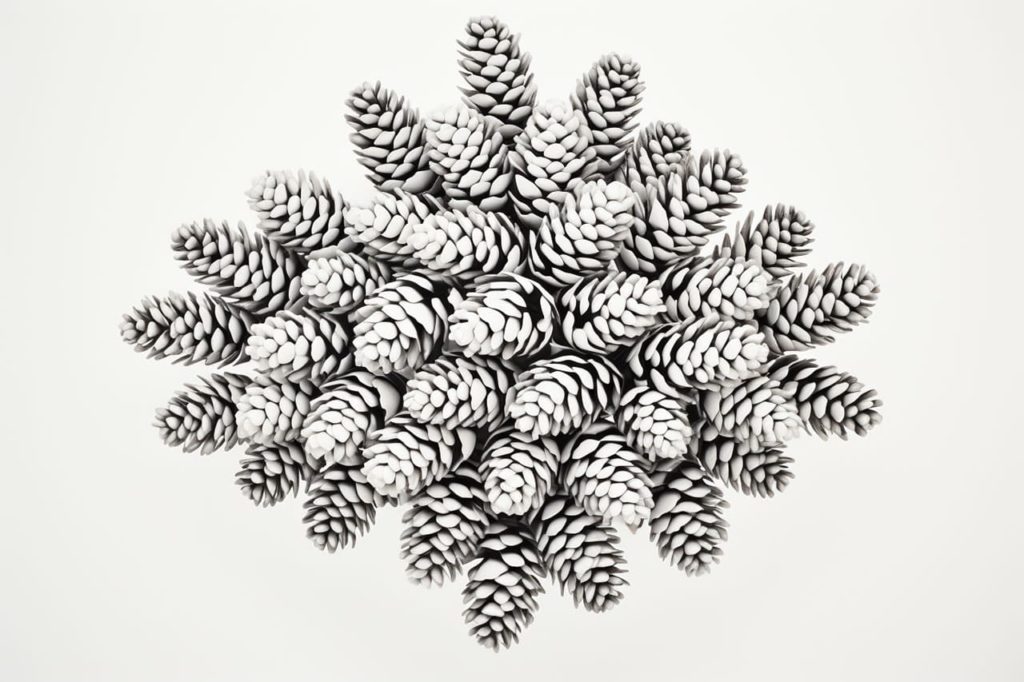
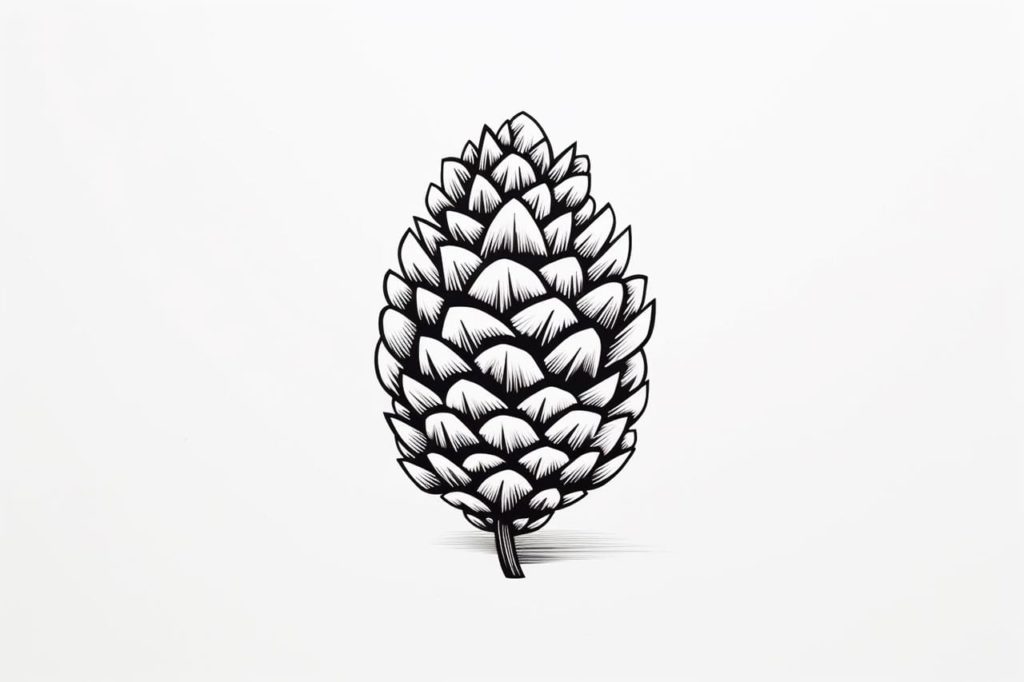
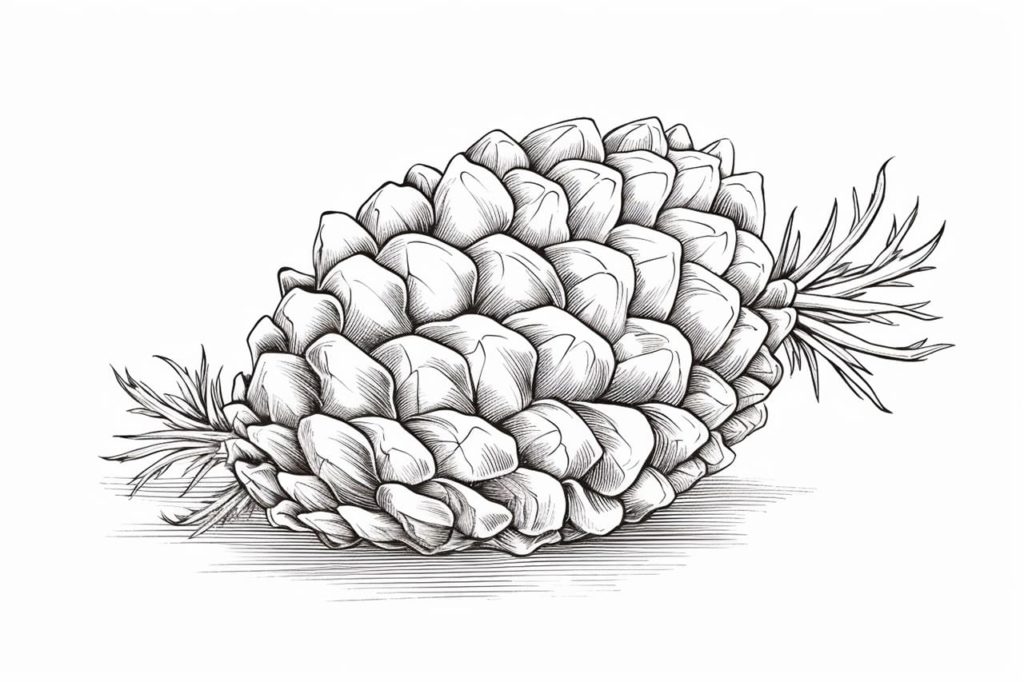
Gallery of Pinecone Drawings