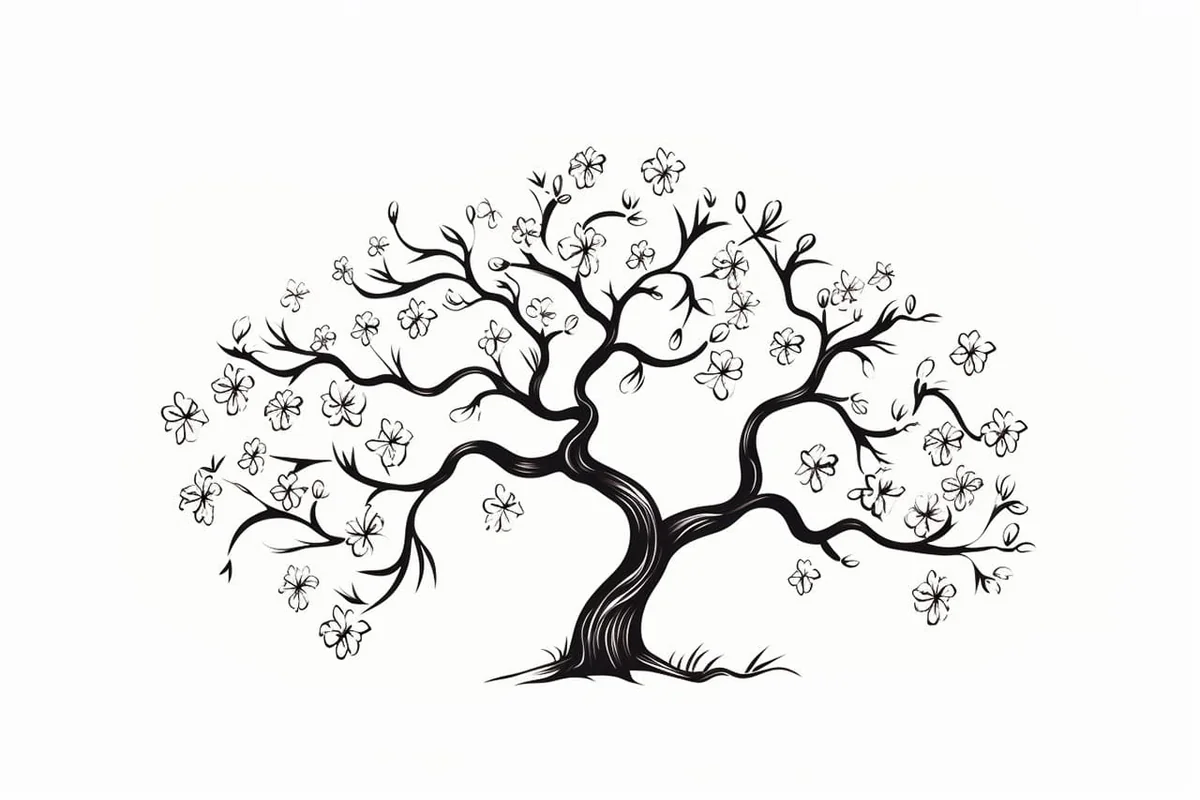
How to Draw a Cherry Blossom Tree
Learn how to draw with this step-by-step tutorial.
Materials You'll Need
- Drawing paper
- Pencil (HB or 2B)
- Eraser
- Colored pencils
- Markers
- Blending stump
- Watercolor paints
Drawing can be a mesmerizing journey, especially when it involves capturing the delicate beauty of a cherry blossom tree. Renowned for their stunning blooms and graceful appearance, cherry blossom trees hold a special place in the hearts of artists and nature enthusiasts alike. This guide is designed to lead you through the process of creating your very own cherry blossom tree drawing—from the initial sketch to the final touches.
As you embark on this artistic venture, you'll discover that the charm of cherry blossoms goes beyond just their visual appeal. These trees symbolize renewal and the fleeting nature of beauty, themes that resonate deeply in art. Whether you are an experienced artist looking to refine your skills or a beginner eager to dive into the world of drawing, this step-by-step tutorial will equip you with the necessary techniques to bring your vision to life.
So, gather your materials, unleash your creativity, and prepare to immerse yourself in the enchanting process of drawing a cherry blossom tree. Let's get started on this artistic adventure together!
Materials Required
Before we begin, let's gather the materials you'll need:
-
Drawing paper or sketchbook
-
Pencil (HB or 2B)
-
Fine-tipped pens or markers (optional, for inking)
-
Watercolor paints or colored pencils (optional, for coloring)
Now that we have everything, let's dive into the steps of drawing a cherry blossom tree.
Step 1: Sketch the Trunk and Branches
Start by lightly sketching the main trunk of the tree. Draw a slightly curved line, making it wider towards the bottom. Next, add branches extending from the trunk. Remember, cherry blossom trees have a slightly asymmetrical shape, so feel free to vary the direction and length of the branches.
Step 2: Add the Basic Shape of the Tree
Using the branches as guidelines, draw an outline of the tree's shape. Keep in mind that cherry blossom trees have a round and elegant silhouette. Use flowing lines to create a sense of movement in the tree.
Step 3: Draw the Cherry Blossom Flowers
Now it's time to add the iconic cherry blossom flowers. Draw small circles or ovals scattered along the branches. These flowers can be drawn in clusters of two or three, with some petals gently falling off. Make sure to vary the size and placement of the flowers to create a natural look.
Step 4: Add Detail to the Flowers
To give the cherry blossom flowers a more realistic appearance, add detail to each one. Draw small lines extending from the center of each flower, creating the appearance of petals. Remember, cherry blossoms have five petals, so try to capture that in your drawing.
Step 5: Sketch the Leaves
Cherry blossom trees have distinctive heart-shaped leaves. Sketch these leaves along the branches of the tree, using gentle curves and pointed tips. Add a few leaves falling off, as this will add depth and movement to your drawing.
Step 6: Refine the Trunk and Branches
Go back to the trunk and branches of the tree and refine their shape. Add texture and depth by adding lines to represent the bark. You can also erase any unnecessary lines from earlier sketches.
Step 7: Ink Your Drawing (Optional)
If you prefer a more defined and finished look, you can use fine-tipped pens or markers to outline your drawing. Be careful and take your time to create clean and precise lines. Let the ink dry completely before erasing any pencil marks.
Step 8: Color Your Drawing (Optional)
If you're using watercolor paints or colored pencils, it's time to add color to your drawing. Cherry blossoms are typically light pink or white, so choose soft colors to represent the flowers. For the leaves, shades of green can be used. Experiment with different techniques to achieve the desired effect.
Tip: To beautifully capture the essence of a cherry blossom tree, focus on layering your colors for depth and realism. Start with a light wash of pink or white for the blossoms, using a soft brush or a water brush to create a delicate, translucent effect. Once the initial layer dries, add depth by mixing a bit of darker pink or even a hint of lavender to the center of each blossom, gently blending it outward.
For the tree trunk and branches, use fine-tipped pens or pencils to create texture, emphasizing the roughness of the bark with short, quick strokes. Remember, the key is to build up layers gradually; this not only enhances the visual interest but also mimics the natural beauty of cherry blossoms in bloom. Happy drawing!
Conclusion
Congratulations on completing your cherry blossom tree drawing! By following these step-by-step instructions, you have learned how to capture the beauty of this captivating tree. Remember to practice and experiment with different styles and techniques to develop your own unique artistic voice.
We hope this guide has been helpful in teaching you how to draw a cherry blossom tree. Have fun creating your own stunning cherry blossom tree artwork!
Gallery of Cherry Blossom Tree Drawings


Fun Facts About Cherry Blossom Trees
-
Cherry blossom trees, known as "sakura" in Japan, are symbolic of renewal and the fleeting nature of life.
-
They bloom only for a short period, typically 1 to 2 weeks, making their appearance highly anticipated each spring.
-
There are over 600 varieties of cherry blossom trees in Japan, with the most common being the "Somei Yoshino."
-
Cherry blossoms are celebrated in numerous festivals worldwide, with Japan's Hanami being the most famous.
-
In Washington D.C., the National Cherry Blossom Festival is a major event, celebrating the gift of 3,000 cherry trees from Japan in 1912.
-
Besides their beautiful blooms, cherry blossom trees can produce small cherries, though they are generally not for eating.
-
Cherry blossoms are known for their subtle fragrance, often described as sweet and floral.
-
The average life span of a cherry blossom tree is 16 to 20 years, though some varieties can live longer.
-
In China, cherry blossoms symbolize femininity, beauty, and love, making them popular in art and literature.
-
Dye made from cherry blossoms is used in Japan to create sakura-themed textiles and cosmetics.
Suggestions for Scenes and Settings for Cherry Blossom Tree Drawings
-
Sakura Park: Illustrate a serene park setting with a path lined with cherry blossom trees, petals gently falling and covering the ground like snow.
-
Picnic Under the Blossoms: Depict a cheerful picnic scene with friends gathered under a canopy of cherry blossoms, sharing snacks and laughter.
-
Moonlit Sakura: Create a night scene with cherry blossoms bathed in moonlight, casting delicate shadows and a soft glow on the surroundings.
-
Spring Festival: Design a bustling festival scene, complete with colorful lanterns hanging among cherry branches and people engaging in traditional dances.
-
Cherry Blossom Reflections: Draw a tranquil lake reflecting the beauty of cherry blossom trees standing on its banks, with gentle ripples distorting their image.
-
Rural Sakura Landscape: Illustrate a countryside vista with rolling hills dotted with cherry blossom trees, cows grazing underneath, and a farmhouse in the distance.
-
Cherry Blossom Bridge: Depict an ornate wooden bridge arching over a stream with cherry trees on either side, petals drifting onto the water's surface.
-
Cherry and Mount Fuji: Capture the iconic view of cherry blossoms with Japan's Mount Fuji in the background, a breathtaking union of nature and culture.
-
Cherry Blossom Street: Draw a bustling street scene with rows of cherry trees, blossom petals swirling around as busy pedestrians go about their day.
-
Sakura Meditation: Visualize a tranquil meditation garden surrounded by cherry blossom trees, inviting peace and mindfulness.