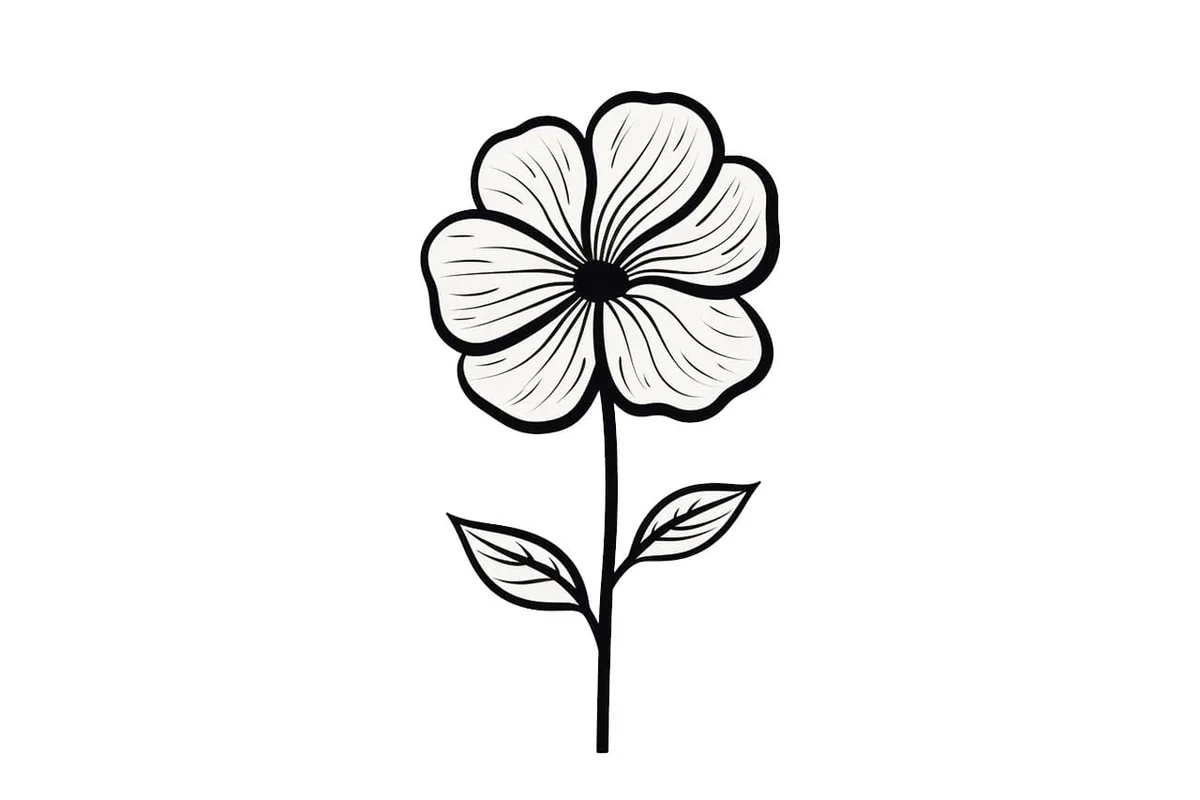
How to Draw a Flower in 5 Easy Steps
Learn how to draw a beautiful flower with this simple step-by-step guide. Perfect for beginners looking to master floral drawings.
Materials You'll Need
- Pencil
- Eraser
- Drawing paper
- Reference picture of a flower
How to Draw a Flower in 5 Easy Steps
Drawing flowers is one of the most rewarding and enjoyable subjects for artists of all levels. Whether you're sketching a simple daisy or a complex rose, flowers offer endless opportunities to practice shapes, shading, and bringing nature's beauty to life on paper.
Materials You'll Need
Before we begin, gather these simple materials:
- A pencil (HB or 2B works well)
- An eraser
- Drawing paper
- A reference picture of a flower (optional but helpful)
Step 1: Sketch the Basic Shapes
Start by lightly sketching the flower's overall silhouette using simple geometric shapes. This foundation will guide your entire drawing.
- Draw a center circle - This will be the heart of your flower where the petals connect
- Outline the petals - Use elongated ovals or teardrop shapes radiating from the center circle
- Keep your lines light and loose at this stage
Step 2: Refine the Petals and Add Leaves
Now it's time to transform those basic shapes into more natural-looking flower parts:
- Shape the petals - Give each petal natural curves and slightly irregular edges
- Draw the stem - Add a gently curved line extending down from the flower
- Add leaves - Sketch leaves along the stem with jagged, uneven lines for a realistic look
- Create overlapping - Show depth by having some petal edges overlap others
Step 3: Add Intricate Details
Details bring your flower to life:
- Sketch veins on the leaves - Add thin lines running from the center of each leaf to the edges
- Add subtle folds and creases to the petals for dimension
- Draw faint lines radiating from the flower's center outward along each petal
- Consider adding texture to the center of the flower with small dots or circles
Step 4: Introduce Shading and Texture
Shading creates the illusion of three-dimensional form:
- Identify your light source - Decide where light is coming from (usually top-left or top-right)
- Shade areas in shadow - The undersides of petals and leaves will be darker
- Use soft, curved pencil strokes that follow the natural curves of the petals
- Create texture - Use different pressure and stroke patterns for petals versus leaves
- Leave some areas white or very light to show where light hits directly
Step 5: Add Final Touches
Perfect your drawing with these finishing details:
- Evaluate overall balance - Step back and check if any areas need more detail or shading
- Adjust contrast - Darken the darkest shadows and ensure highlights are bright enough
- Clean up - Erase any unwanted construction lines
- Optional details - Consider adding dewdrops on petals or leaves for extra realism
Tips for Success
- Start light - You can always darken lines later, but it's hard to erase heavy marks
- Practice different flowers - Each type has unique petal shapes and arrangements
- Study real flowers - Observe how light plays on petals and how they overlap
- Be patient - Flowers have intricate details that take time to capture
Conclusion
Drawing flowers is a wonderful way to improve your artistic skills while creating beautiful artwork. With these five simple steps, you can draw any flower by adapting the basic shapes and details to match your chosen bloom. Remember, every flower is unique, so don't worry about making yours look "perfect" – embrace the natural variations that make your drawing special!
Keep practicing, and soon you'll be able to draw entire bouquets with confidence. Happy drawing!