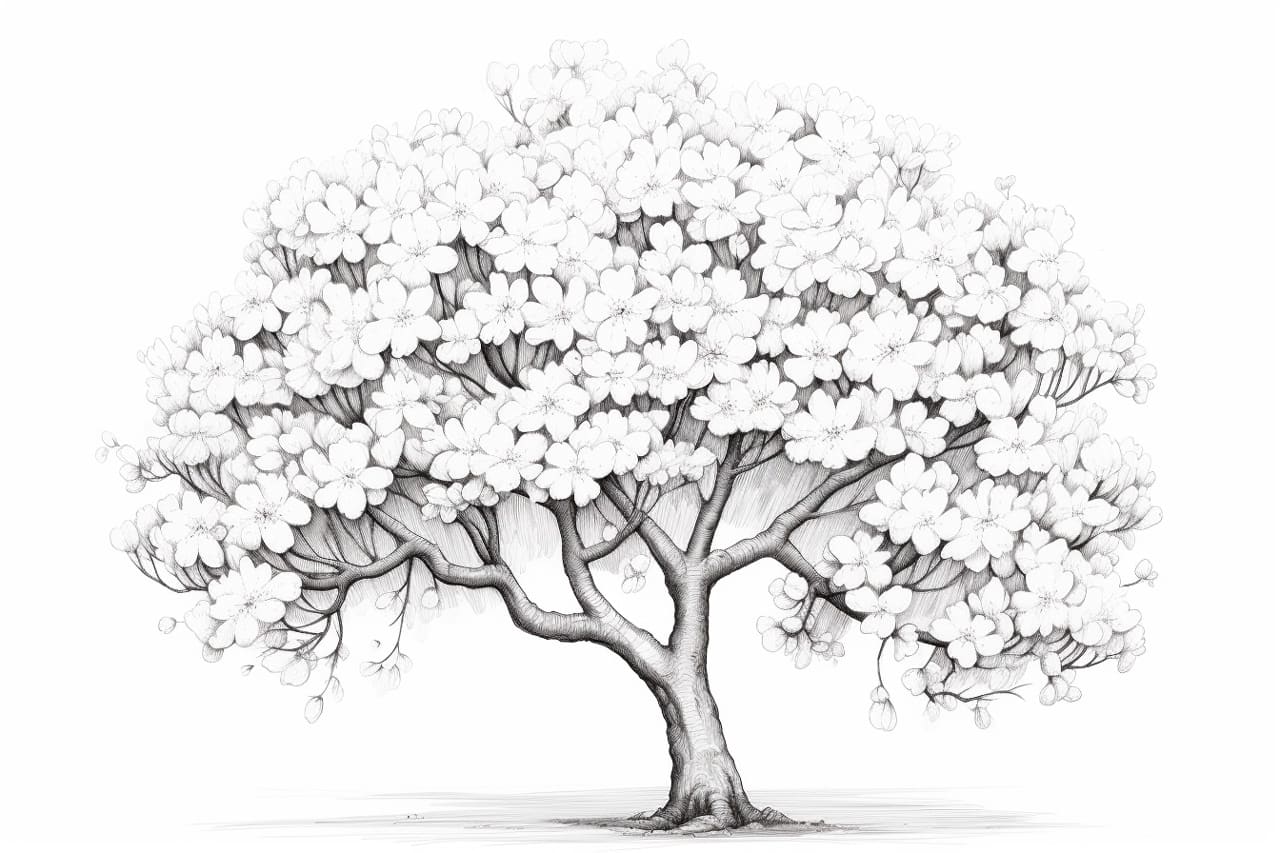
Welcome to this step-by-step guide on how to draw a blossom tree. Whether you’re an experienced artist or just starting out, you’ll find this tutorial easy to follow and enjoyable. Blossom trees symbolize the beauty and fleeting nature of life, and capturing their essence on paper can be a truly rewarding experience. So, let’s dive in and create our own stunning blossom tree masterpiece!
Materials Required
Before we begin, let’s make sure you have all the necessary materials:
- Drawing paper or sketchbook
- Pencil
- Eraser
- Fine-tip black marker or pen
- Colored pencils or watercolor paints
- Reference photo or real-life blossom tree for inspiration (optional)
Now that you have everything ready, let’s move on to the next step.
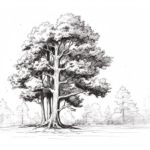
Step 1: Sketch the Trunk and Branches
Start by lightly sketching the trunk of the tree. It can be straight or slightly curved, depending on your preference. Then, add the branches that extend out from the trunk in various directions. Remember, trees in nature don’t have perfectly symmetrical branches, so don’t be afraid to make them uneven.
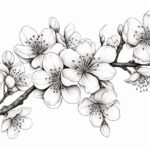
Step 2: Add Blossom Shapes
Once you have sketched the trunk and branches, it’s time to add the blossom shapes. Blossoms usually come in clusters and have a round or oval shape. Place them sporadically on the branches, making sure to vary their sizes and positions. Don’t worry about adding details at this stage; we’ll come back to that later.
Step 3: Define the Trunk and Branches
Now, let’s give some definition to the trunk and branches. With your pencil or fine-tip black marker, start by tracing over the main lines of the trunk and branches, making them thicker and darker. Add some texture to the trunk by drawing vertical lines to represent the bark. For the branches, draw smaller lines branching out from the main lines to create a realistic effect.
Step 4: Refine the Blossoms
Next, it’s time to refine the blossom shapes. Using your pencil or fine-tip black marker, carefully outline each blossom, giving them more definition. Add some lines or curves within each blossom to show the petals’ contours. Remember to vary the shapes and sizes to create a natural and organic look.
Step 5: Erase Unnecessary Lines
After refining the blossom shapes, take your eraser and carefully erase any unnecessary guidelines or sketch lines that are still visible. Be gentle to avoid smudging or damaging your drawing. This step will help clean up your artwork and make the blossoms stand out even more.
Step 6: Add Details to the Trunk and Branches
Now that the blossoms are taking shape, let’s work on adding more details to the trunk and branches. Using your pencil or fine-tip black marker, add texture and depth to the bark by drawing rough lines, knots, or cracks. Increase the thickness of the branch lines to add depth and dimension. Remember to keep it natural and avoid overdoing the details.
Step 7: Color the Blossoms
It’s time to bring your blossom tree to life with color! If you’re using colored pencils, start by selecting your desired colors for the blossoms. Layer the colors gradually, starting with lighter shades and adding darker shades for depth. Use gentle, circular motions to blend the colors smoothly. If you’re using watercolor paints, start by wetting the paper slightly and then applying the colors using a brush. Experiment with different techniques to achieve the desired effect.
Step 8: Color the Trunk and Branches
Once you have colored the blossoms, let’s move on to the trunk and branches. Select a brown shade for the trunk and branches, and gently color them using your pencil or brush. Add some shading and highlights to create depth and texture. You can also experiment with different shades of brown to make it more interesting.
Step 9: Add Background Elements (Optional)
If you want to enhance your drawing further, you can add some background elements such as grass, other trees, or a blue sky. This step is optional but can add more depth and context to your artwork. Use various shades of green for the grass, and different shades of blue for the sky. Experiment with different techniques to create a realistic background.
Conclusion
Congratulations on completing your beautiful blossom tree drawing! By following these step-by-step instructions and adding your creativity, you have created a stunning artwork that captures the beauty of a blossom tree. Remember, practice makes perfect, so keep drawing and exploring different techniques. Enjoy the process and embrace the joy of creating art. Happy drawing!