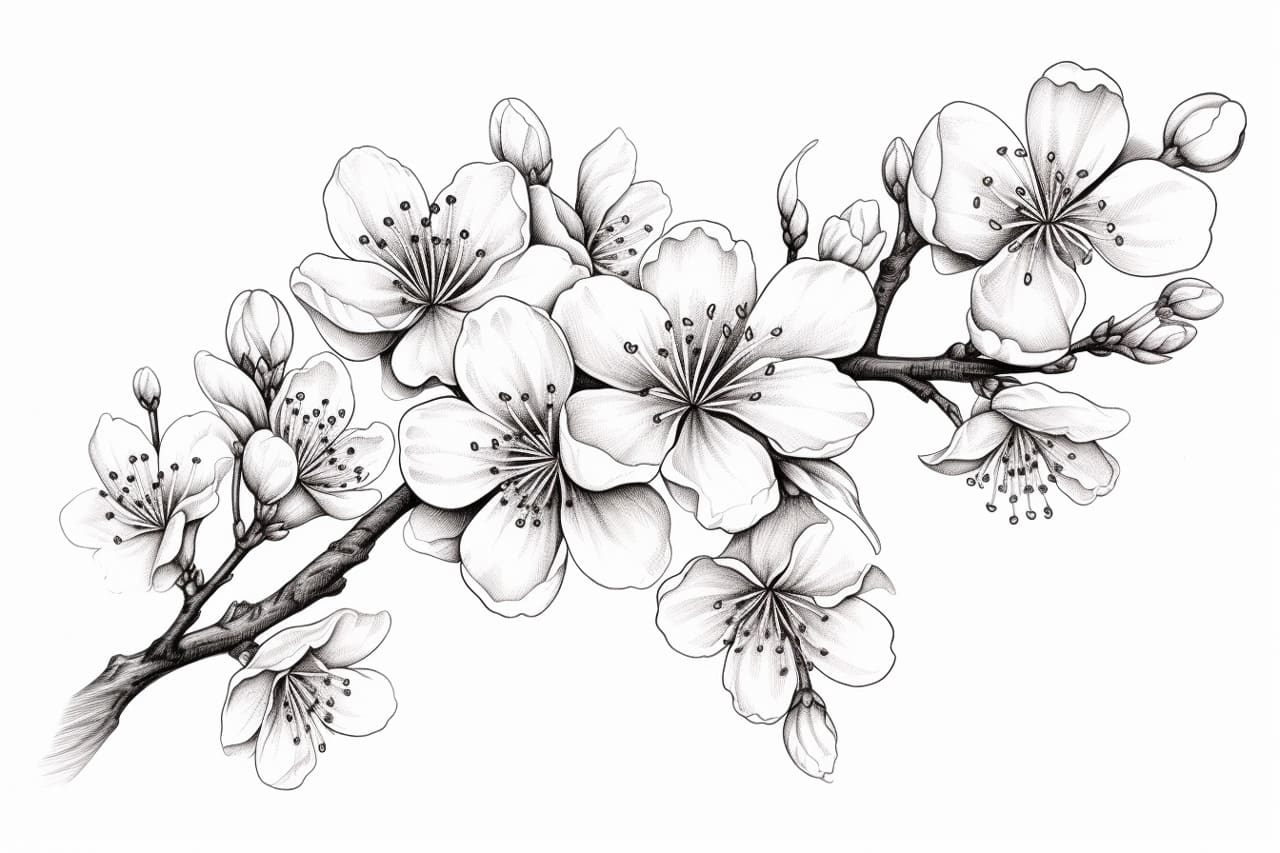
The cherry blossom, with its delicate petals and vibrant colors, is a beloved symbol of beauty and nature. Capturing its grace and elegance in a drawing can be a rewarding experience for any artist. In this step-by-step guide, we will explore the process of how to draw a cherry blossom, from creating a basic framework to adding intricate details. So grab your drawing materials and let’s get started!
Materials Required:
- Drawing paper
- Pencil
- Eraser
- Fine-tipped black pen or marker
- Colored pencils or markers (optional)
Step 1: Sketching the Basic Shapes
Start by lightly sketching a small oval shape at the center of your paper. This will serve as the core of the cherry blossom. Next, draw five faint lines extending from the core, creating the basic outline of the petals. Keep these lines light, as they will be erased later on.
Step 2: Outlining the Petals
Using your fine-tipped pen or marker, carefully trace over the outline of each petal, making them appear more solid and defined. Take your time and focus on creating smooth, flowing lines. Experiment with different petal shapes to add variety and visual interest to your drawing.
Step 3: Adding the Details
Once you have outlined the petals, it’s time to add some details to make your cherry blossom come to life. Begin by drawing thin, curved lines within each petal to represent the veins. These lines should follow the shape of the petal and converge towards the center. Add additional smaller lines or indentations to create texture and depth.
Step 4: Creating the Blossom Center
To create the center of the cherry blossom, draw a small circular shape at the center of the core. This will serve as the stamen. Inside the circular shape, draw a series of short, curved lines radiating outwards. These lines should be close together to create a clustered appearance. Take your time with this step, as it is a crucial element in capturing the essence of the cherry blossom.
Step 5: Erasing Guidelines
Now that you have completed the basic structure of your cherry blossom, it’s time to erase any remaining guidelines that may be visible. Use a soft eraser to carefully remove the faint lines from the initial sketch, as well as any unnecessary pencil marks. This will help refine your drawing and give it a clean look.
Step 6: Adding Color (optional)
For an extra touch of vibrancy, you can choose to add color to your cherry blossom drawing. Use colored pencils or markers to carefully fill in the petals and stamen. Cherry blossoms are often depicted in shades of pink or white, but feel free to experiment with different colors to suit your artistic vision.
Step 7: Final Touches
Once you have added color, take a step back and assess your drawing. Are there any areas that need further refinement or adjustment? Use your fine-tipped pen or marker to go over any necessary details, such as emphasizing the veins or adding additional texture. Take your time with this step to ensure that your cherry blossom drawing truly reflects the beauty of this iconic flower.
Conclusion
Drawing a cherry blossom is a wonderful way to explore your artistic skills and appreciate the beauty of nature. By following these step-by-step instructions, you can create a stunning representation of this beloved flower. Remember to start with a basic framework, outline the petals, add intricate details, and erase any guidelines. You can also choose to add color for an extra touch of visual appeal. So grab your drawing materials and immerse yourself in the delicate world of cherry blossoms!