Baggy pants are a popular fashion trend that has been around for decades. From streetwear to casual styles, baggy pants make a statement with their loose and comfortable fit. If you’re an artist looking for tips and advice on how to draw baggy pants, you’ve come to the right place. In this step-by-step guide, I will walk you through the process of drawing baggy pants in a clear and concise manner. So grab your sketchbook and let’s get started!
Materials Required
Before we begin, let’s gather the materials you’ll need to draw baggy pants:
- Pencil: Use a pencil with a soft lead, such as a 2B or 4B, for sketching and shading.
- Eraser: A kneaded eraser is recommended as it can be shaped to create clean highlights and remove unwanted lines.
- Paper: Choose a smooth paper that can handle pencil shading, like drawing paper or Bristol board.
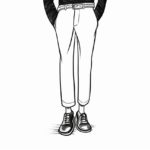
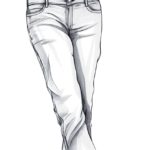
- Reference Image: Find a reference image of baggy pants to help you with proportions and details.
Now that you have your materials ready, let’s dive into the step-by-step process of drawing baggy pants.
Step 1: Sketch the Outline
Start by lightly sketching the basic outline of the baggy pants. Use simple geometric shapes to block out the main body of the pants. Pay attention to the overall shape and proportions. Remember that baggy pants have a loose fit, so the outline should reflect that.
Step 2: Define the Waistband and Cuffs
Next, draw the waistband of the pants by extending lines from the upper part of the outline. Baggy pants typically have a wide and relaxed waistband. Add details like belt loops if desired. Then, define the cuffs of the pants by drawing a curved line at the bottom of the outline. Baggy pants often have a gathered or elasticized cuff.
Step 3: Add the Pockets
Baggy pants usually have multiple pockets, so let’s add them to our drawing. Start by drawing the placement of the pockets using small rectangles or curved lines. Make sure to position them accurately on the pants. Then, add details like pocket flaps or zippers to give your drawing more depth and realism.
Step 4: Sketch the Legs
Now, it’s time to sketch the legs of the baggy pants. Start by drawing two long lines that extend down from the waistband. These lines will represent the outer edges of the pants. Then, add curved lines to indicate the shape of the legs. Remember to keep the lines loose and flowing to reflect the baggy nature of the pants.
Step 5: Define the Folds and Wrinkles
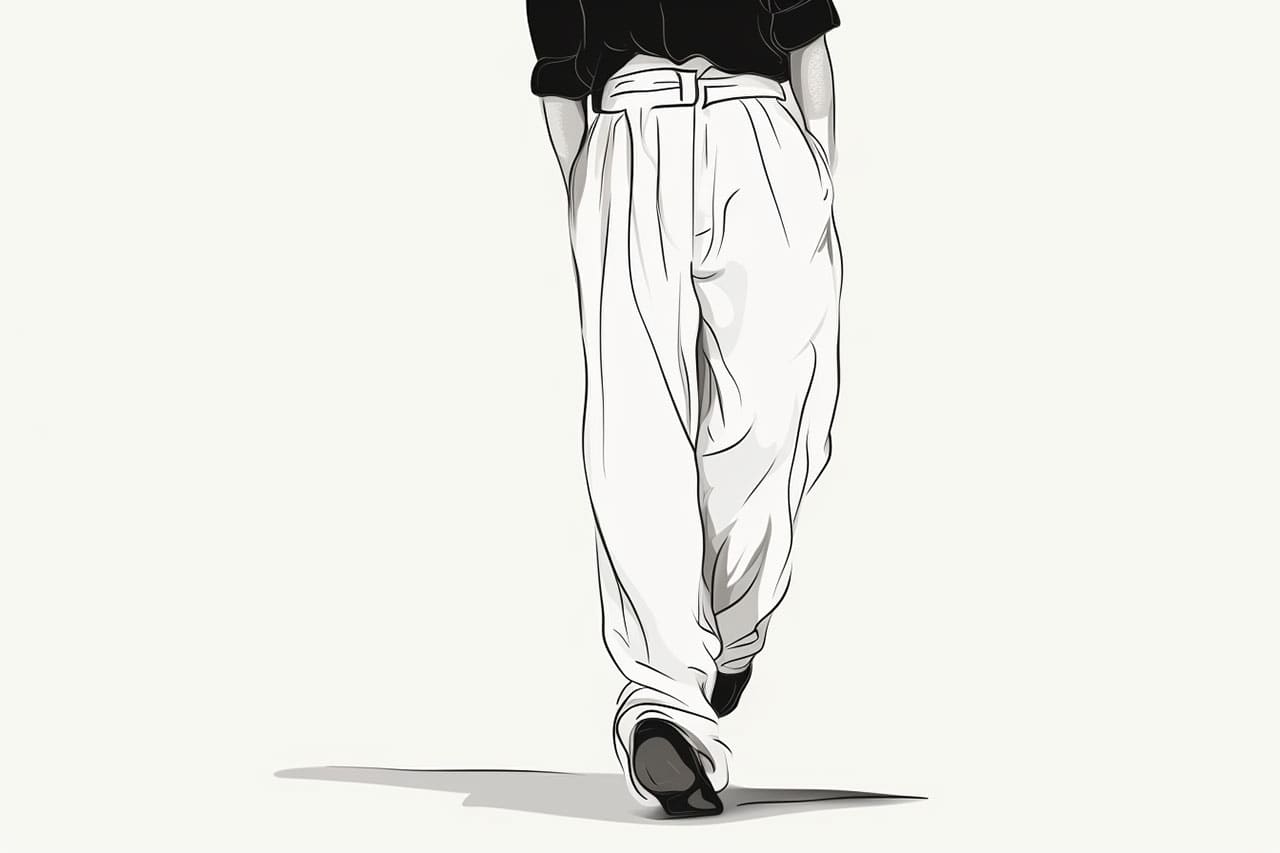
To make the baggy pants look more realistic, we need to add folds and wrinkles. Look at your reference image to understand how the fabric drapes and folds. Start by sketching some basic folds along the legs of the pants. Then, gradually add more folds and wrinkles, paying attention to the areas where the fabric bunches up, such as the knees or hips.
Step 6: Refine the Details
Now that the basic structure of the baggy pants is in place, it’s time to refine the details. Use a darker pencil or a pen to trace over the main lines of your drawing. Add smaller details like stitching, creases, or buttons to enhance the realism of your artwork. Take your time and pay attention to the small nuances that make baggy pants unique.
Step 7: Shade and Add Texture
To bring your drawing to life, we need to add shading and texture. Start by identifying the light source in your reference image. Shade the areas of the pants that are away from the light, creating a sense of depth and volume. Use a blending tool or your finger to blend the shading smoothly. Then, add texture to the fabric by lightly shading with short, quick strokes.
Step 8: Final Touches
Lastly, take a step back and evaluate your drawing. Make any necessary adjustments or corrections. Add any additional details or highlights to enhance the overall look of the baggy pants. Don’t be afraid to experiment and make the drawing your own. Once you’re satisfied with the result, you can erase any remaining stray lines to clean up the final artwork.
Conclusion
Drawing baggy pants may seem challenging at first, but with practice and attention to detail, you can create stunning artwork that captures their unique style. By following the step-by-step instructions in this guide and using the right materials, you’ll be able to draw baggy pants with confidence. So grab your pencil, reference image, and sketchbook, and let your creativity flow.
I hope this guide has been helpful in teaching you how to draw baggy pants. Have fun experimenting with different styles and designs. Happy drawing!