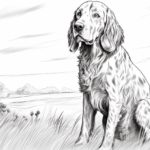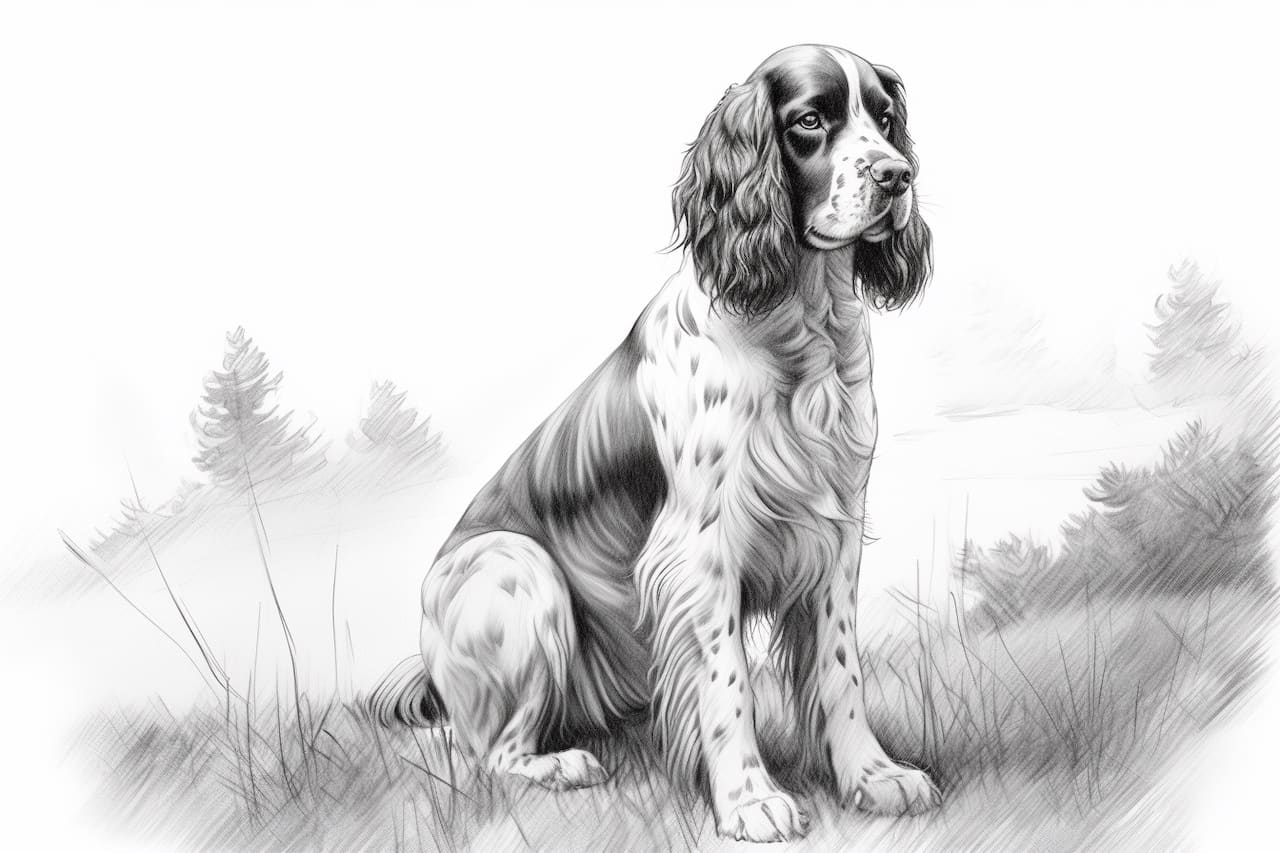
Welcome to this step-by-step guide on how to draw an English Springer Spaniel! Whether you’re an experienced artist or just starting out, this tutorial will walk you through the process of capturing the unique features and personality of this beloved dog breed.
Materials Required
Before we begin, let’s gather all the necessary materials. Here’s what you’ll need:
- Drawing paper
- Pencils of varying hardness (HB, 2B, 4B, 6B)
- Eraser (kneaded or vinyl)
- Blending stump or cotton swabs
- Reference photo of an English Springer Spaniel (preferably in a pose you find appealing)
Now that we have everything ready, let’s dive into the drawing process!
Step 1: Rough Sketch
Start by lightly sketching the basic shapes that make up the Springer Spaniel’s body. Begin with an oval for the head, followed by a rectangular shape for the body. Add circles for the shoulders and hindquarters. This initial sketch will serve as a guide for the later stages of the drawing, so keep it loose and light.
Step 2: Facial Features
In this step, we’ll focus on capturing the unique facial features of the English Springer Spaniel. Using the reference photo as a guide, sketch the placement of the eyes, nose, and mouth. Pay close attention to the dog’s expressions and the way these features are positioned in relation to one another.
Step 3: Detailing the Head
Refine the sketch of the head by adding more details. Outline the shape of the ears, keeping in mind that Springer Spaniels have long, feathery ears. Add the fur texture by using short, curved lines to represent the direction of the hair. Take your time during this stage to achieve the desired level of detail.
Step 4: Adding Body Proportions
Using the initial rectangular shape as a guide, refine the outline of the English Springer Spaniel’s body. Pay attention to the proportions and curves of the chest, abdomen, and limbs. Remember that Springer Spaniels have a muscular build, so try to capture that strength in your drawing.
Step 5: Defining the Fur
This step is all about adding texture and depth to your drawing. Use your pencils of varying hardness (HB, 2B, 4B, 6B) to create layers of shading and highlights. Start by lightly shading the areas where the fur appears darker, such as the ears and around the eyes. Gradually build up the darkness, keeping in mind the direction of the fur and the dog’s body contours.
Step 6: Refining the Features
Now it’s time to focus on the finer details of your Springer Spaniel drawing. Pay close attention to the eyes, as they are often considered the window to a dog’s soul. Add depth and shine to the eyes by carefully shading and highlighting certain areas. Don’t forget to include the eyebrows, which play a crucial role in portraying the dog’s expressions.
Step 7: Shadows and Highlights
To make your drawing truly pop, it’s important to create contrast through shadows and highlights. Observe the reference photo and identify areas where the fur appears darker or lighter. Use your pencils and blending stump or cotton swabs to create smooth transitions between these areas. This technique will help bring your drawing to life.
Step 8: Final Touches
Take a step back and assess your drawing as a whole. Make any necessary adjustments to ensure accuracy and balance. Pay attention to small details, such as whiskers, individual strands of fur, or any other defining features that you may have missed. Take your time with these final touches to achieve a polished result.
Conclusion
Congratulations on completing your drawing of an English Springer Spaniel! By following these step-by-step instructions, you’ve captured the essence of this delightful dog breed. Remember, practice makes perfect, so don’t be afraid to try drawing different poses or experimenting with new techniques. With time and dedication, you’ll continue to improve your artistic skills.