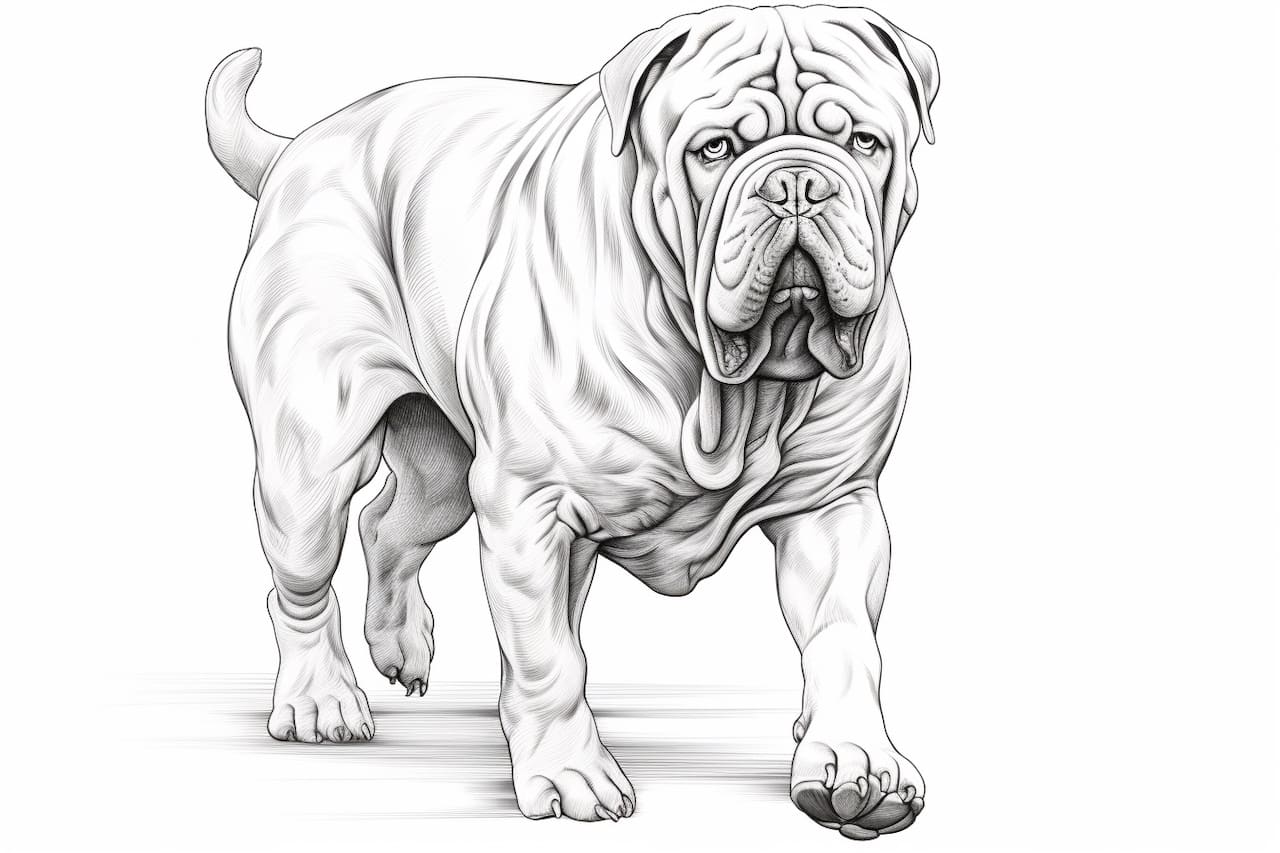
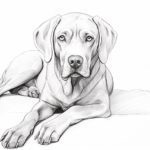
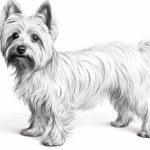
Welcome to this step-by-step guide on how to draw a Neapolitan Mastiff. Whether you are a beginner or an experienced artist, this tutorial will help you capture the unique characteristics of this majestic breed. The Neapolitan Mastiff is known for its large size, loose skin, and powerful appearance. By following these instructions, you will be able to create a realistic and beautiful portrayal of this magnificent dog.
Materials Required
Before we begin, let’s gather the materials you will need for this drawing:
- Pencil (preferably a range of graphite pencils, such as HB, 2B, 4B, and 6B)
- Eraser (preferably a kneaded eraser for more control)
- Drawing paper (a high-quality, heavyweight paper is recommended)
- Reference photo of a Neapolitan Mastiff (you can use a printed photo or find one online)
- Blending tools (such as blending stumps or tortillons)
Now that we have our materials ready, let’s move on to the step-by-step instructions.
Step 1: Outline the Basic Shapes
Start by lightly sketching the basic shapes of the Neapolitan Mastiff. Use simple geometric shapes to outline the head, body, and limbs. Pay attention to the proportions and angles of the dog’s features, but keep your lines loose and light at this stage.
Step 2: Refine the Head and Facial Features
Now, let’s focus on the head and facial features of the Neapolitan Mastiff. Use your reference photo to guide you in capturing the unique characteristics of this breed. Pay attention to the shape of the skull, the position and size of the eyes, the wrinkles on the forehead, and the droopy jowls. Take your time to make sure the proportions and details are accurate.
Step 3: Define the Body and Musculature
Next, start adding the details of the body and musculature of the Neapolitan Mastiff. Study your reference photo to understand the dog’s anatomy and underlying structure. Observe the placement of the shoulders, chest, and legs. Gradually add more definition to the body by adding shading and highlighting to indicate the muscles and curves.
Step 4: Add Texture and Wrinkles
One of the defining features of the Neapolitan Mastiff is its wrinkled skin. Use your pencil to carefully add texture and wrinkles to the dog’s skin. Pay attention to the direction and depth of the wrinkles, as they will add realism and depth to your drawing. Take your time with this step, as it requires careful observation and patience.
Step 5: Refine the Details
Now that you have captured the overall form and texture of the Neapolitan Mastiff, it’s time to refine the details. Use your reference photo to add in the finer details such as fur strands, whiskers, and any other distinguishing features of the dog. Take your time and work slowly, using light strokes to build up the details gradually.
Step 6: Add Shadows and Highlights
To bring your drawing to life, it’s important to add shadows and highlights. Observe your reference photo to identify the areas of light and shadow on the Neapolitan Mastiff. Use your graphite pencils to carefully add shading to create depth and dimension. Consider the direction and intensity of the light source to ensure your shading is consistent and realistic.
Step 7: Blend and Refine
Once you are satisfied with the overall drawing, use your blending tools to blend the graphite and smooth out any harsh lines or transitions. This will help create a more polished and realistic look to your drawing. Take your time and blend gently, using small circular motions to achieve a smooth finish.
Conclusion
Congratulations on completing your drawing of a Neapolitan Mastiff! By following these step-by-step instructions, you have learned how to capture the unique characteristics of this majestic breed. Remember to practice regularly and be patient with yourself as you continue to develop your artistic skills. With dedication and practice, you will be able to create beautiful drawings of any subject. Enjoy the process and have fun exploring the world of art!

