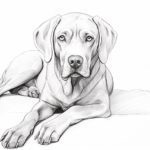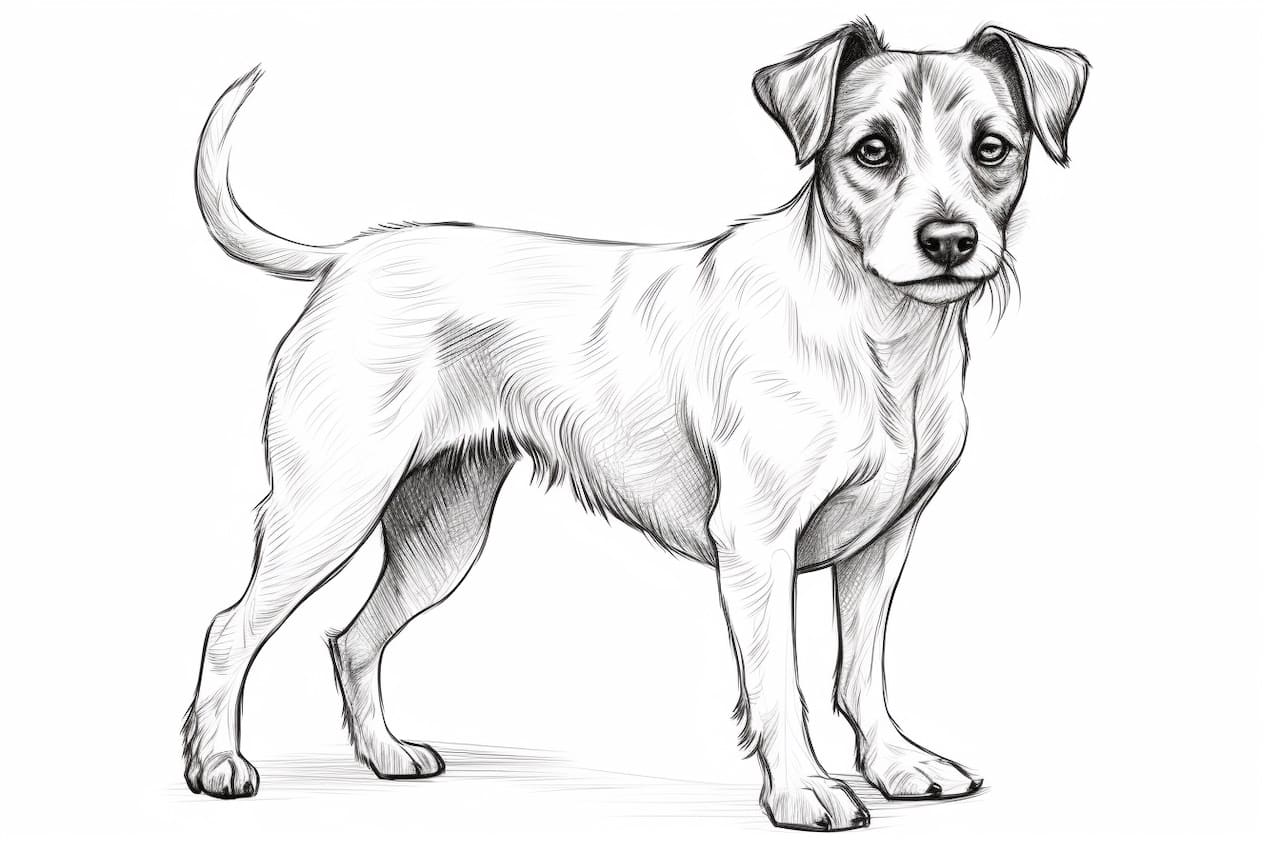
Are you a dog lover who also enjoys drawing? If so, you’ve come to the right place! In this step-by-step guide, I will show you how to draw a Jack Russell Terrier, one of the most adorable and energetic dog breeds. Whether you’re a beginner or an experienced artist looking for a fun project, grab your pencils and let’s get started!
Materials Required
Before we begin, make sure you have the following materials handy:
- Drawing paper
- Pencils (HB, 2B, and 4B)
- Eraser
- Pen or fine liner (optional)
- Colored pencils or markers (optional)
Now that we have everything we need, let’s jump into the process of drawing a Jack Russell Terrier.
Step 1: Basic Shapes
Start by sketching the basic shapes that will serve as the foundation of your drawing. Begin with an oval shape for the head and a larger oval or rectangle for the body. Remember, this is just a rough outline, so don’t worry about making it perfect.
Step 2: Outline the Body
Using the basic shapes as a guide, start outlining the body of the Jack Russell Terrier. Pay attention to the proportions and angles. Jack Russells are known for their compact bodies, so keep that in mind as you draw. Use light strokes at this stage, as you’ll be refining the lines later.
Step 3: Add Facial Features
Now it’s time to bring your Jack Russell to life by adding the facial features. Start with the eyes, which are typically round and alert. Add a small triangle for the nose and a curved line for the mouth. Don’t forget to include those adorable floppy ears that Jack Russells are known for.
Step 4: Refine the Face
Once you have the basic facial features in place, go ahead and refine them. Add more details to the eyes, such as the pupils and eyelashes. Define the shape of the nose and give it some texture. You can also add some fur details around the ears and forehead. Remember to use light, gentle strokes to achieve a realistic look.
Step 5: Draw the Body Details
Now that the face is complete, it’s time to work on the body details. Start by adding the front and hind legs, making sure to capture the muscular build of a Jack Russell. Pay attention to the angles and proportions. Sketch the paws and don’t forget to include the characteristic white markings on the chest and paws.
Step 6: Add Fur Texture
To make your drawing more lifelike, it’s essential to add some textural details to the fur. Use short, light strokes to create the appearance of fur all over the body. Pay attention to the direction of the fur, which is usually short and dense on a Jack Russell Terrier.
Step 7: Refine and Darken
Take a step back and assess your drawing so far. This is the perfect time to refine any areas that need adjustment. Darken the lines of your drawing, making sure to emphasize the defining features of the Jack Russell, such as the eyes, nose, and ears. Use different pencil grades (HB, 2B, and 4B) to create depth and shading.
Step 8: Optional Inking
If you want to give your drawing a more polished look, you can use a pen or fine liner to ink over the pencil lines. This step is optional but can add a great finishing touch to your artwork. Once the ink is dry, erase any stray pencil marks to reveal a clean, crisp illustration.
Step 9: Color your Drawing (optional)
If you prefer working with colors, you can use colored pencils or markers to bring your Jack Russell Terrier to life. Jack Russells come in various coat colors, so choose your desired shades and gradually build up the colors using light strokes. Don’t be afraid to blend different colors to achieve a realistic look.
Conclusion
Congratulations on completing your Jack Russell Terrier drawing! By following these step-by-step instructions, you’ve learned how to capture the unique features and personality of this wonderful dog breed. Remember, practice makes perfect, so keep honing your skills and exploring other breeds. Happy drawing!