Welcome to this step-by-step guide on how to draw a Fox Terrier. Whether you’re a beginner or an experienced artist, this tutorial will help you capture the unique features of this adorable dog breed. By following the instructions and using simple shapes, you’ll be able to create a realistic and charming representation of a Fox Terrier. So, let’s get started!
Materials Required
Before we dive into the drawing process, let’s gather the materials you’ll need to create your masterpiece:
- Pencil: Start with a medium or soft graphite pencil for initial sketches and shading.
- Paper: Choose a smooth and high-quality drawing paper that can handle pencil work.
- Eraser: Have a good quality eraser handy to correct any mistakes or lighten lines.
- Sharpener: Keep a pencil sharpener nearby to maintain a sharp point for detailed lines.
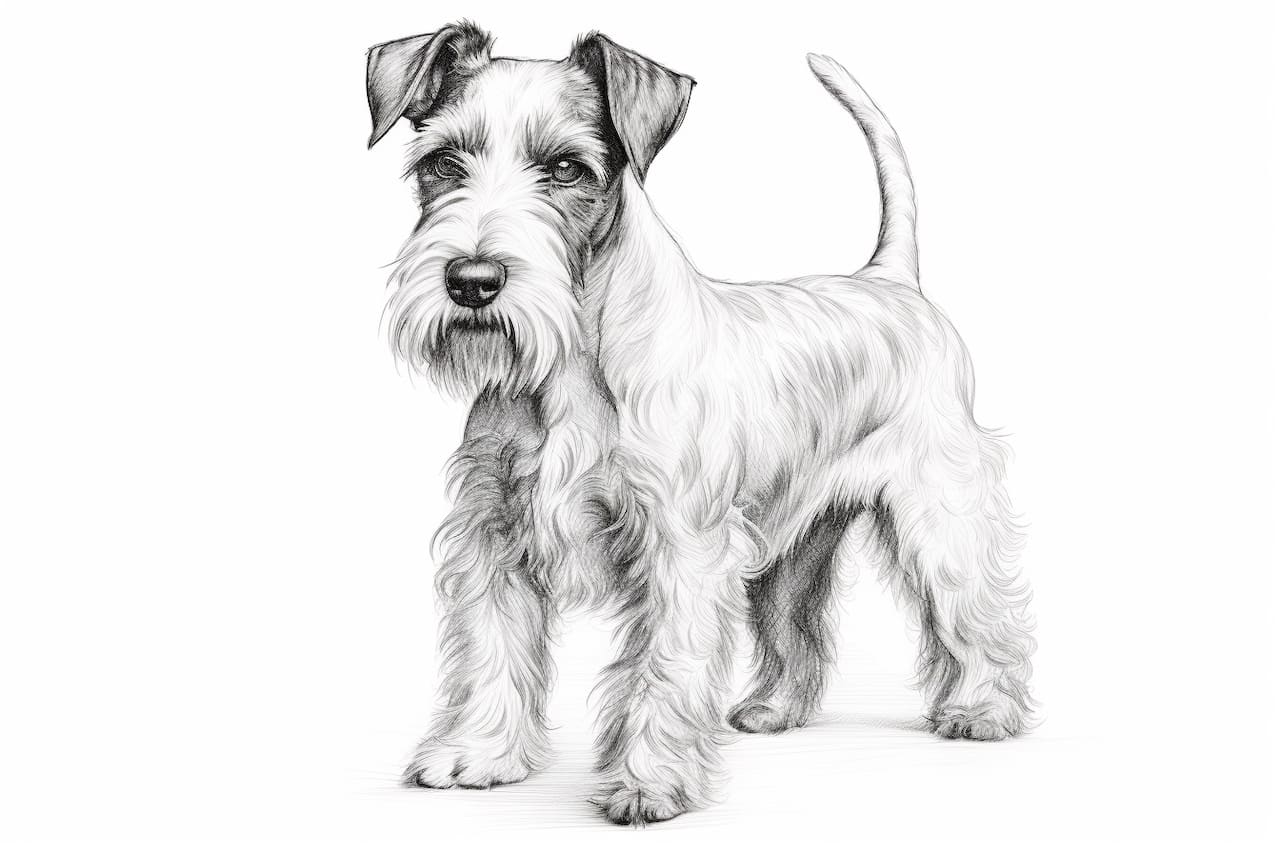
- Reference Image: Find a clear picture of a Fox Terrier to use as a reference throughout the drawing process.
Now that we have our materials ready, let’s begin the step-by-step process of drawing a Fox Terrier.
Step 1: Basic Outline
Begin by lightly sketching the basic outline of the Fox Terrier’s head and body. Start with a simple circle for the head and an oval shape for the body. These shapes will serve as your foundation for the rest of the drawing.
Step 2: Facial Features
Add the facial features of the Fox Terrier. Draw two large oval-shaped eyes slightly above the horizontal center of the head circle. Place a small triangle-shaped nose in the lower part of the head circle, and a curved line to indicate the mouth.
Step 3: Ears and Hair
Sketch the ears of the Fox Terrier, which are typically large and triangular in shape. Place them on either side of the head, sticking out slightly. Next, add some hair around the head, paying attention to the direction and flow of the fur. Use quick, light strokes to give the drawing a sense of texture.
Step 4: Body Details
Now it’s time to add details to the body of the Fox Terrier. Use curved lines to outline its slender neck, chest, and back. Don’t forget to sketch the front and back legs, as well as the paws. Take your time to ensure that the proportions and angles are accurate.
Step 5: Tail and Fur
Draw the Fox Terrier’s tail, which is usually long and held high. It should curve slightly towards the back of the dog. Then, continue adding fur details throughout the body, using short and quick strokes to depict the texture.
Step 6: Eyes and Facial Expression
Refine the shape and size of the eyes, making sure they are expressive and aligned. Add small, curved lines above the eyes to represent the eyebrows, which often give the Fox Terrier a curious or mischievous expression. Darken the nose and refine the mouth, paying attention to the shadow areas and highlights.
Step 7: Shading and Texture
To give your drawing more depth and realism, start adding shading and texture. Use the side of your pencil to create soft shadows on the body, emphasizing the three-dimensionality. Pay attention to the direction of the fur and use short, controlled strokes to add texture to the coat.
Step 8: Final Details
Take a step back and assess your drawing so far. Are there any areas that need refinement or adjustment? Take the time to make any necessary corrections, paying attention to proportions and overall symmetry. Add any additional details, such as whiskers or subtle lines on the nose, to enhance the realism of your drawing.
Conclusion
Congratulations! You have successfully learned how to draw a Fox Terrier. By following these step-by-step instructions and using simple shapes, you’ve created a realistic representation of this charming dog breed. Remember to practice regularly to improve your skills and develop your own unique style. Happy drawing!