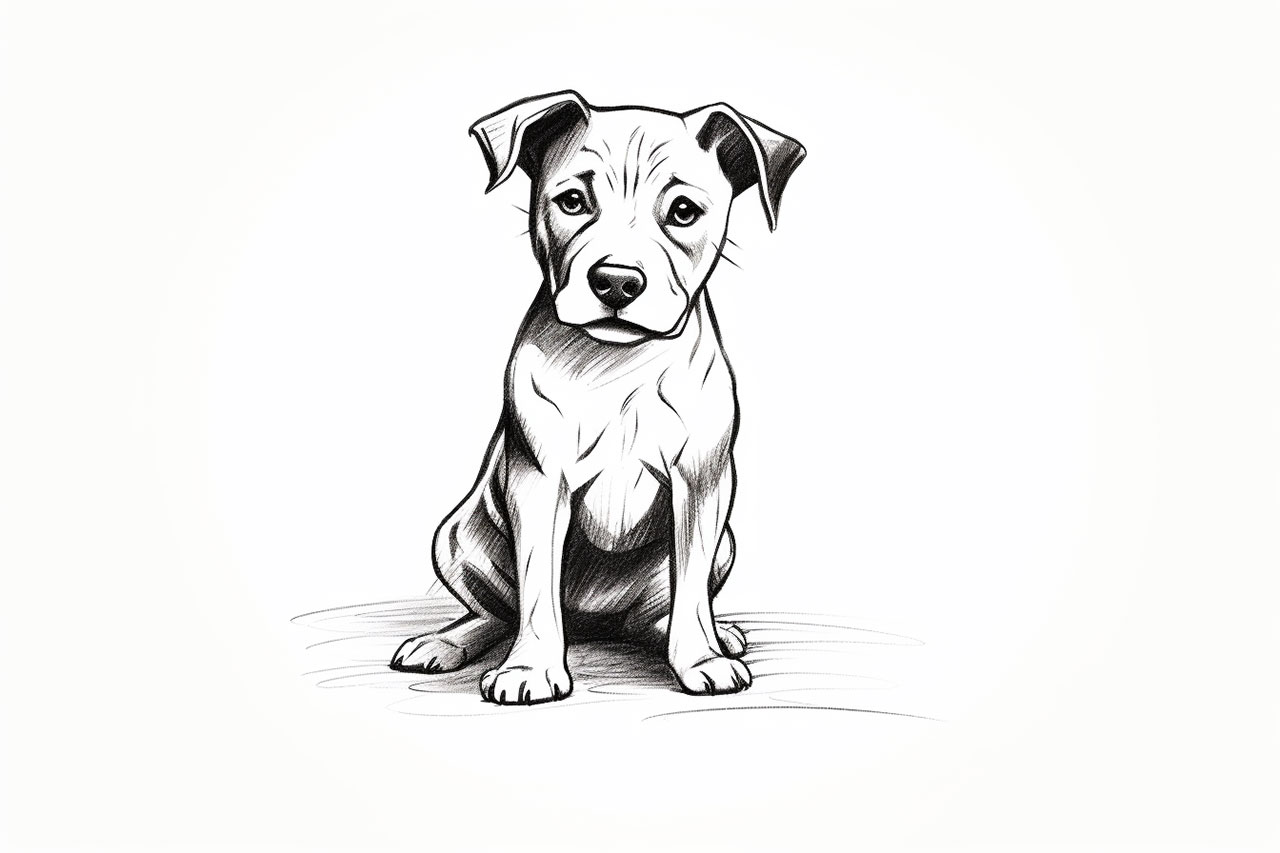
Are you a dog lover? Do you have a fascination for art? If so, you’re in the right place! In this step-by-step tutorial, I will guide you through the process of how to draw a pit bull. By following these instructions and using basic drawing materials, you will be able to create a stunning portrait of this beloved breed. So grab your pencils and let’s get started!
Materials Required
Before we begin, make sure you have the following materials:
- Drawing paper
- Pencils (HB, 2B, 4B)
- Eraser
- Blending stump
- Reference photo of a pit bull
Step 1: Observe and Sketch Basic Shapes
Start by observing the reference photo of the pit bull carefully. Pay attention to the overall shape, proportions, and any unique features. Next, lightly sketch the basic shapes using an HB pencil. Begin with a circular shape for the head, followed by a rectangular shape for the body. Add ovals for the limbs and triangles for the ears. Remember, these initial shapes will serve as your guidelines.
Step 2: Outline the Head and Face
Using a 2B pencil, start outlining the head of the pit bull. Pay close attention to the shape and size of the head, as it plays a crucial role in capturing the breed’s characteristics. Outline the snout, including the nose and mouth. Then, draw the eyes, making sure to capture their shape and expression. Take your time to get the details right, as they will bring your drawing to life.
Step 3: Add Details to the Face
Now that you have the basic outline of the head, it’s time to add more details. Start by drawing the pit bull’s ears, paying attention to their shape and position. Next, add the fur around the face, using short and gentle strokes with a 2B pencil. Take your time to carefully observe the reference photo and recreate the texture of the fur as realistically as possible.
Step 4: Sketch the Body and Limbs
Moving on to the body, use the rectangular shape you drew earlier as a guide. Sketch the muscular structure of the pit bull, paying attention to the chest, shoulders, and hindquarters. Add the legs, making sure they are proportionate to the body. Don’t worry too much about the details at this stage; focus on getting the overall shape and proportions right.
Step 5: Refine the Outline and Add Fur Texture
With a 2B pencil, go over the entire outline of the pit bull, refining the shapes and proportions. Erase any unnecessary lines and make any necessary adjustments. Then, using short and gentle strokes, begin adding the fur texture to the body and limbs. Take your time and build up the layers gradually to create a realistic effect. Use a blending stump to gently blend the strokes and create a smoother appearance.
Step 6: Work on the Facial Features
Return to the face of the pit bull and start refining the details. Use a 2B pencil to add shading to the eyes, giving them depth and realism. Add highlights to the eyes as well, using an eraser to carefully lift off any excess graphite. Continue adding shading and texture to the snout, nose, and mouth, paying attention to the subtle variations in tone and value.
Step 7: Add Final Details and Shadows
As you near completion, it’s time to add the final details to your pit bull drawing. Use a 4B pencil to darken certain areas, such as the nose, mouth, and shading on the face. Add more texture to the fur, paying attention to the direction and flow of the hair. Use an eraser to create highlights and bring out the shine in the eyes and snout. Finally, add shadows to give your drawing depth and dimension.
Conclusion
Congratulations! You have successfully learned how to draw a pit bull. By following these step-by-step instructions and using basic drawing materials, you can now create beautiful portraits of this beloved breed. Remember, practice makes perfect, so don’t be discouraged if your first attempt isn’t exactly how you envisioned it. Keep refining your skills, and soon you’ll be able to capture the unique personality and charm of any dog through your drawings.
Tags: pit bull, drawing tutorial, dog art, animal drawing, step-by-step drawing