How to Draw a Bow in 7 Simple Steps
Learn how to draw with this step-by-step tutorial.
Materials You'll Need
- Drawing paper
- Pencil (HB or 2B)
- Eraser
- Blending stump
Whether you are a seasoned artist or just beginning your creative journey, drawing a bow can seem daunting. However, transforming a blank page into a beautiful illustration of a bow is not only achievable but also an incredibly fulfilling endeavor. By employing the proper techniques and investing a little time into practice, you'll find learning how to draw a bow can be accessible and enjoyable.
In this comprehensive, step-by-step guide, we'll explore the exciting process of how to draw a bow together. Each step will be broken down into manageable segments, ensuring that you can follow along easily, no matter your skill level. With clear instructions and helpful tips, you'll be able to create a stunning representation of a bow in no time.
So, gather your pencils, put on some relaxing music, and prepare to unleash your creativity! Let's embark on this artistic adventure together, transforming your ideas into vivid illustrations. Your masterpiece awaits, so let's get started!


Materials Required
Before we dive into the drawing process, let's gather the materials you'll need:
-
Pencils (preferably a range of graphite pencils ranging from H to B)
-
Eraser (preferably a kneaded eraser for easily removing graphite marks)
Now that we have all the materials ready, let's begin the process of drawing a bow.
How to Draw a Bow Step-by-Step
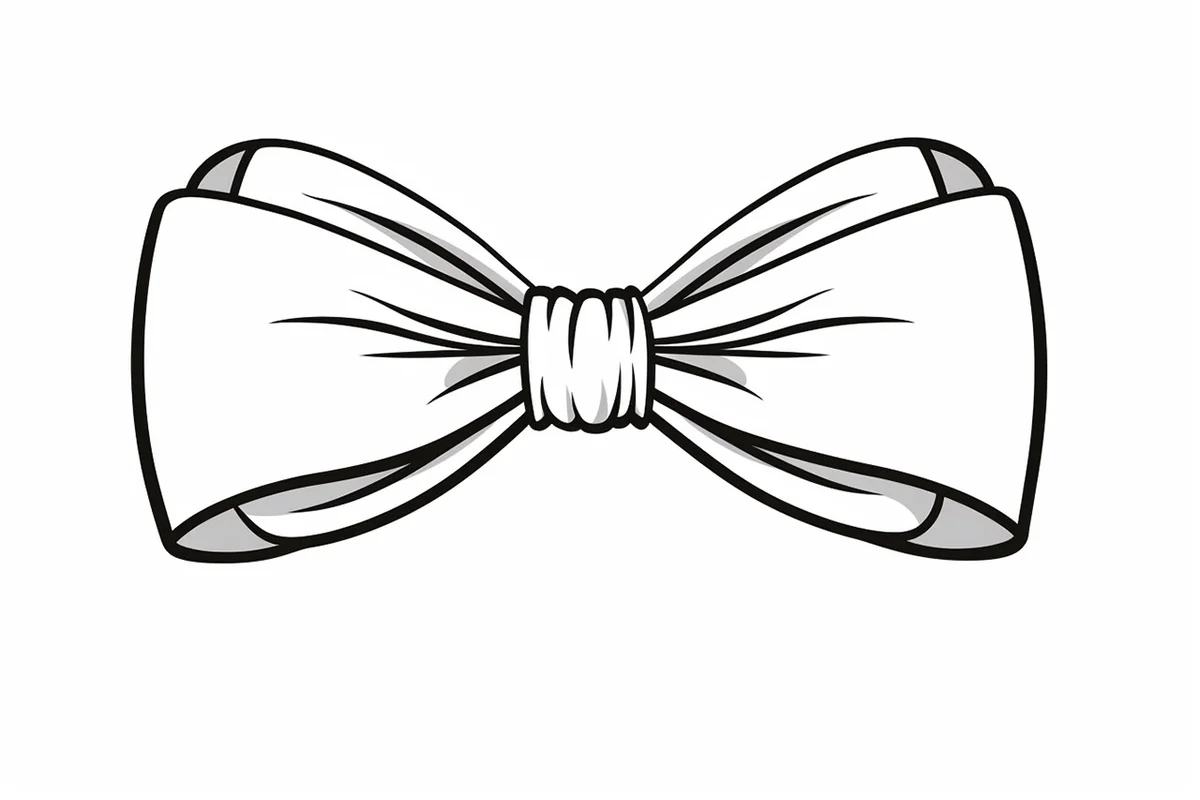
Step 1: Sketch the Bow's Center Knot
Start by drawing a small oval or slightly rounded rectangle in the center of your paper. This will serve as the knot of the bow, the part that holds everything together. Keep it proportionate, as it will anchor the loops and tails of your bow.
Step 2: Draw the Bow Loops
From each side of the knot, sketch two large, rounded shapes extending outward. These will form the loops of the bow. Imagine drawing two floppy bunny ears—each loop should curve outward and then taper slightly as it connects back to the knot. Keep them symmetrical for a balanced look.
Step 3: Add the Ribbon Tails
Beneath the knot, draw two ribbon ends extending downward. These should be slightly curved or wavy to create the illusion of soft, flowing fabric. You can make them long and elegant or short and perky, depending on your bow's style.
Step 4: Shape the Ribbon Ends
At the tips of the ribbon tails, add a small triangle cutout or a V-shape to mimic the way fabric ribbons are often trimmed. This detail helps make the bow look more natural and finished.
Step 5: Create Folds for a Realistic Look
Inside each loop, draw a small curved line from the knot outward to suggest fabric folds. This adds dimension and makes the bow look like it has volume rather than being flat. A few light lines on the tails can also suggest movement and softness.
Step 6: Add Shadows and Depth
To give your bow a more three-dimensional feel, lightly shade the areas where the loops meet the knot, as well as the inner sides of the loops. Darken the underside of the ribbon tails slightly to create the illusion of shadows. This step makes the bow look more lifelike.
Step 7: Final Touches and Refinements
Review your drawing and refine any lines that need smoothing or darkening. If you want a more decorative bow, you can add patterns such as polka dots, stripes, or even lace details. For a silkier look, emphasize highlights with gentle erasing in areas where light would naturally hit the fabric.
Tip: To create a beautifully drawn bow, pay close attention to the curvature of the ribbon and the way it interacts with light and shadow. Start by lightly sketching the basic shape with a pencil, focusing on the loops and tails, keeping them symmetrical. Use a blending stump or your finger to gently smudge the edges where the ribbon curves to give it a soft, flowing appearance. For added depth, incorporate subtle highlights using a white pencil or gel pen on the top edges of the loops. Finally, once you're satisfied with your shape and shading, refine the outlines and details with a fine-tip pen to make your bow pop off the page. Remember, practice makes perfect, so don't hesitate to try different styles until you find the one that resonates with your artistic vision!
Tying It All Together
Congratulations! You've successfully drawn a beautiful, flowing ribbon bow. With practice, you can create bows in different styles—big, fancy gift bows, tiny delicate ones for hair accessories, or elegant bows for formal decorations. Now that you've mastered the basics, let your creativity run wild and experiment with different shapes, textures, and patterns!