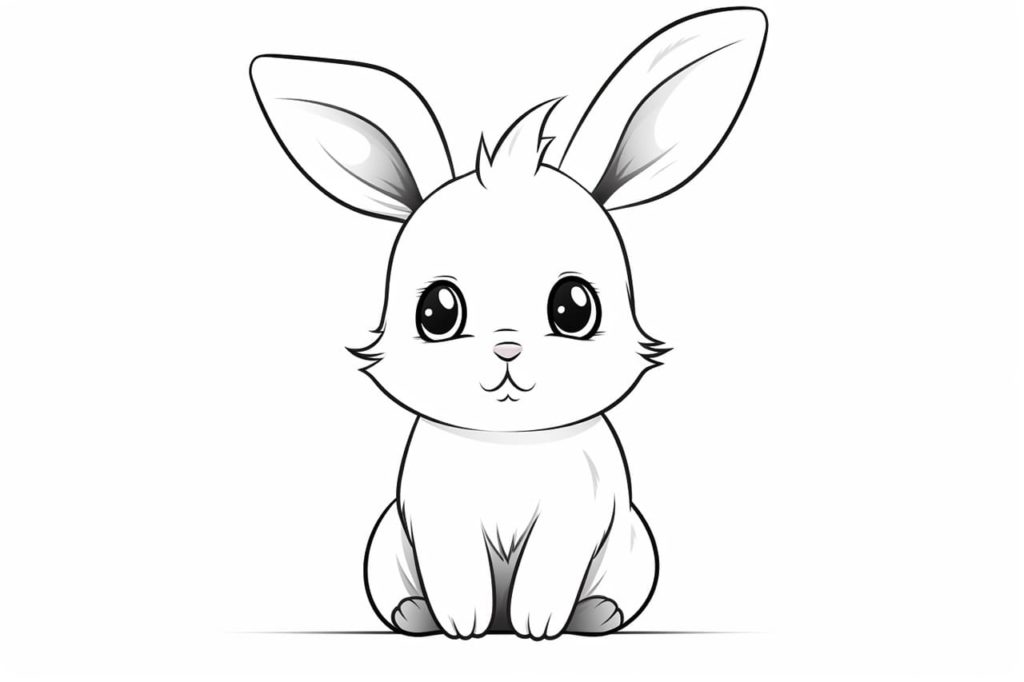
Drawing a bunny can be an enchanting and delightful experience, whether you’re a novice artist or a seasoned sketcher. Bunnies, with their adorable features and soft, fluffy fur, have a special place in our hearts. In this comprehensive guide on how to draw a bunny, we will take you through a step-by-step journey to create your very own charming bunny drawing. By the end of this tutorial, you’ll have the knowledge and skills to capture the endearing essence of these beloved creatures on paper.
Materials Required
Before we hop into the creative process, let’s gather the essential materials you’ll need:
- Pencil: A set of pencils with different lead hardness (e.g., 2H, HB, 2B) for varied lines and shading effects.
- Eraser: A high-quality eraser for precise corrections and refining details.
- Drawing Paper: Opt for smooth and sturdy drawing paper that can accommodate the fine details of your bunny drawing.
- Reference Images: Having reference pictures of bunnies at your disposal will be immensely helpful in understanding their anatomy and capturing their distinctive features accurately.
Now, let’s embark on this artistic adventure and learn how to draw a bunny step by step.
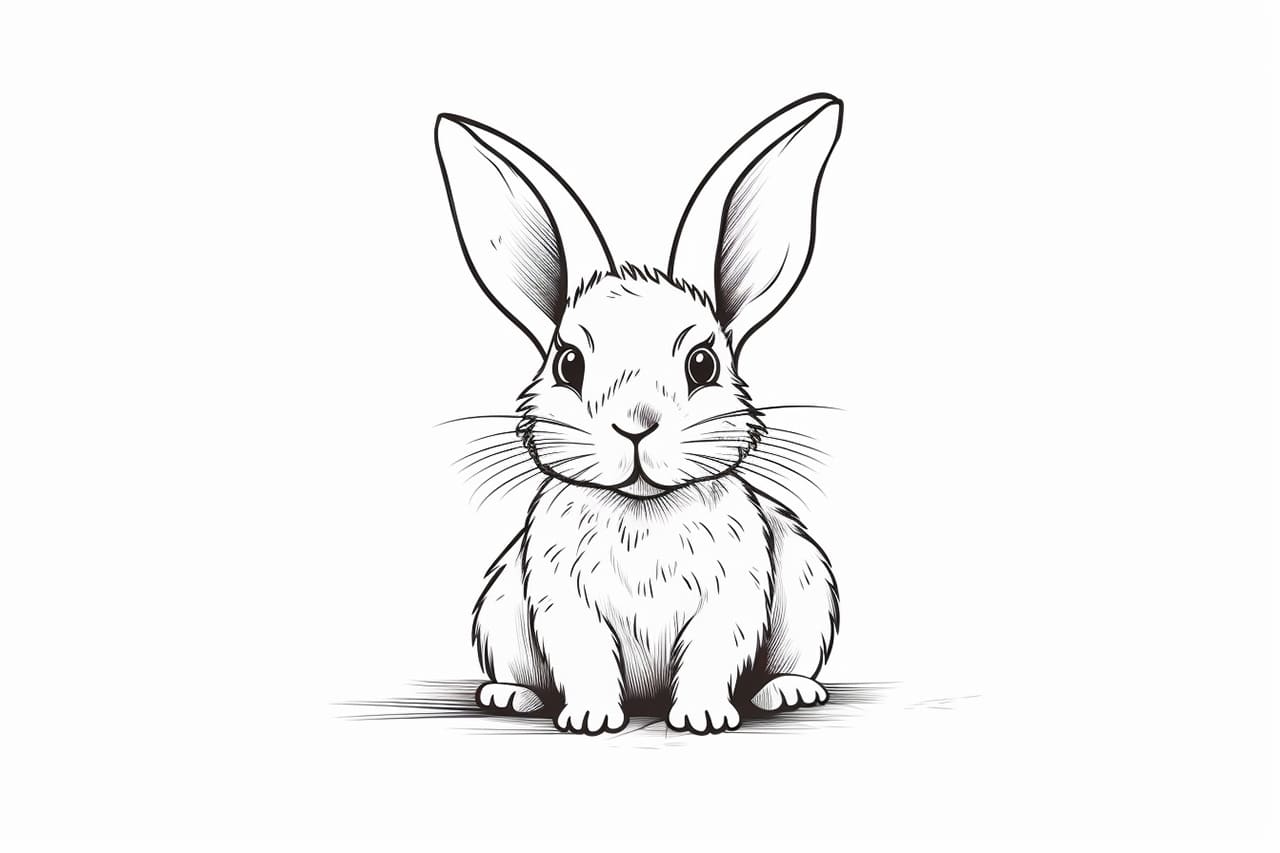
Step 1: Sketch the Bunny’s Body
To begin your bunny drawing, lightly sketch the basic shape of the bunny’s body. Start with an elongated oval, which will serve as the bunny’s torso. Position it vertically on your paper, leaving ample room at the top for the head and ears. This oval lays the foundation for the bunny’s fluffy and lovable body.
Step 2: Define the Head and Ears
Moving on, let’s focus on the bunny’s head and ears, which are some of the most endearing features. Draw a smaller, circular shape attached to the top of the body oval. This circle represents the bunny’s head. Above the head, draw two long, upright ears. Bunnies have distinctive tall ears that stand upright, giving them an attentive and charming appearance.
Step 3: Add Facial Features
Now, let’s bring your bunny’s face to life by adding facial features. Draw two large, expressive eyes within the head circle. Place them slightly below the midpoint of the circle. Next, sketch a small, triangular nose in the center of the head circle, just below the eyes. Complete the face by adding a smiling mouth below the nose. These features contribute to the bunny’s sweet and friendly expression.
Step 4: Outline the Paws
To add detail to your bunny’s body, draw the paws. Begin by sketching two small ovals at the bottom of the body oval, slightly protruding to the sides. These ovals represent the front paws. Then, draw two more ovals of a similar size, extending from the lower part of the body oval towards the back. These ovals symbolize the hind paws. Bunnies have adorable, plump paws that give them a charming appearance.
Step 5: Create the Tail
A bunny’s fluffy tail is an iconic feature. Draw a small, round puff of fur at the back of the bunny’s body, near the hind paws. The tail should have a soft and rounded appearance, adding to the overall cuteness of your drawing.
Step 6: Refine and Detail the Ears
Now, let’s focus on the ears, which are a distinctive characteristic of bunnies. To make the ears appear more lifelike, add internal details. Sketch curved lines within the ears to indicate the inner structure. Bunnies’ ears are not just hollow; they have folds and contours that give them their unique appearance.
Step 7: Outline the Fur Texture
Bunnies are known for their soft and fluffy fur. To capture this texture, sketch short, curved lines all over the bunny’s body. These lines should follow the contours of the body and ears. Pay attention to the direction of the fur, which tends to flow from the head down to the body and paws.
Step 8: Shade and Add Depth
To give your bunny drawing depth and dimension, it’s time to add shading. Identify areas where shadows naturally fall, such as under the head, ears, and body. Use a softer pencil (e.g., 2B) to gently shade these areas, gradually building up the darkness to create a realistic look. Blend your shading to achieve smooth transitions and soft fur texture.
Step 9: Final Touches
As you near completion, take a step back and admire your bunny drawing as a whole. Make any necessary adjustments and add any final touches that you feel will enhance your artwork. Pay attention to symmetry and balance to ensure your bunny appears both adorable and realistic.
With these comprehensive steps, you’ve learned how to draw a bunny, capturing its irresistible charm and personality on paper. Remember that practice is key to refining your skills. Continue to experiment with different poses, expressions, and bunny breeds to further develop your artistic prowess. Happy drawing!
Conclusion
Congratulations! You’ve successfully learned how to draw a bunny, transforming a blank canvas into a charming representation of these beloved creatures. Bunnies are known for their gentle and endearing nature, and through your artwork, you’ve captured their essence. Whether you’re a beginner or an experienced artist, remember that each stroke of your pencil brings you closer to mastery. Keep practicing, exploring, and infusing your drawings with the warmth and cuteness that bunnies exude. Your artistic journey is bound to be as delightful as the bunnies themselves!
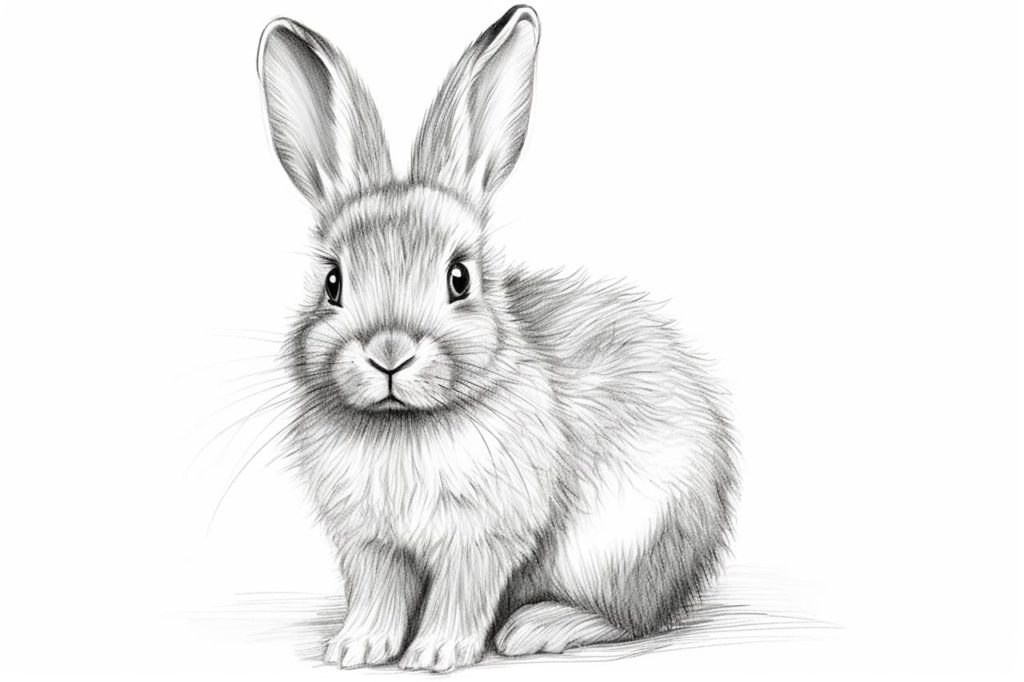
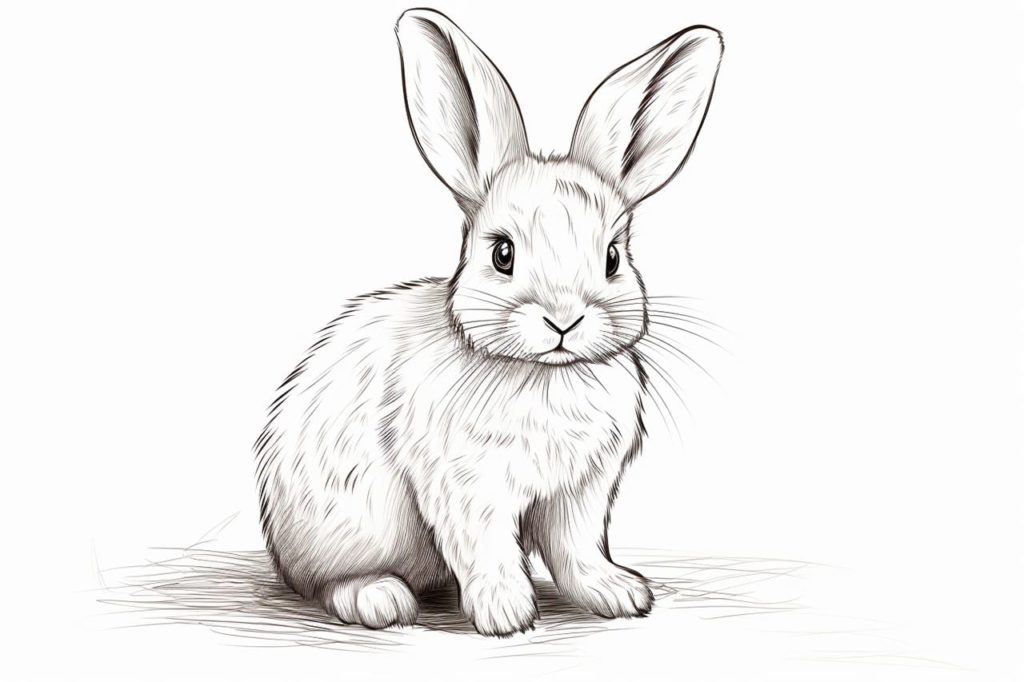
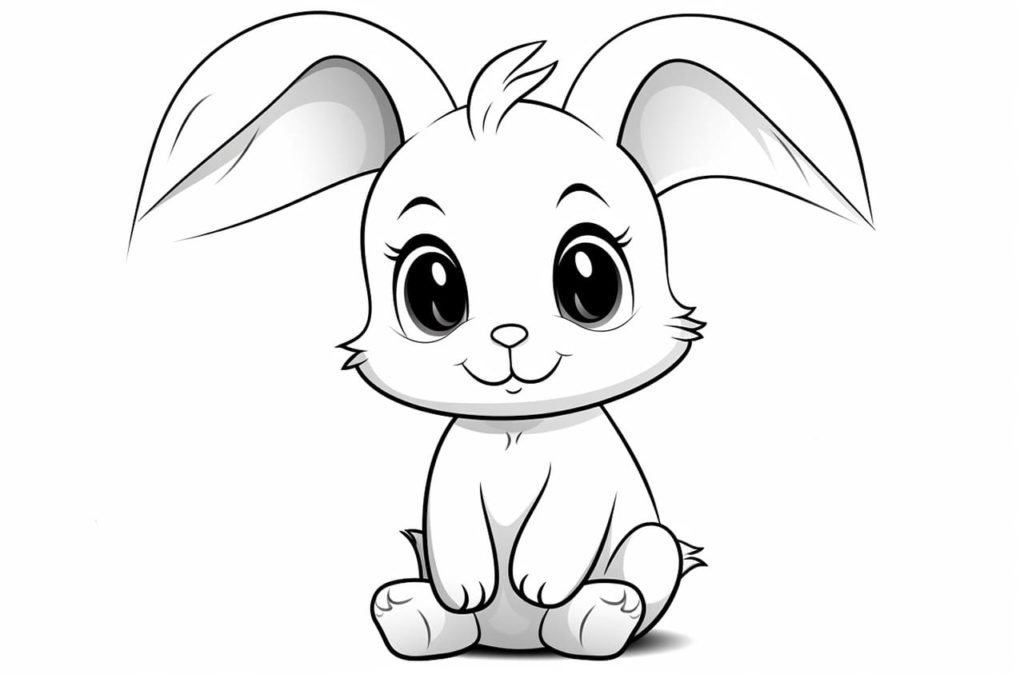
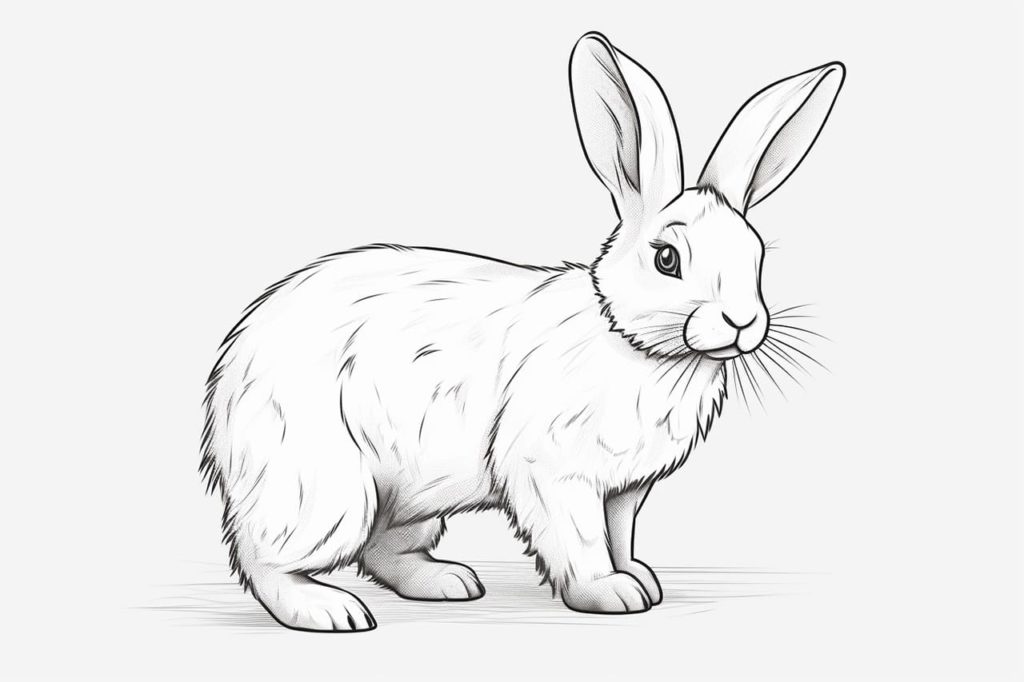
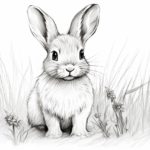
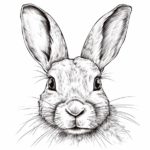
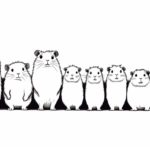
Gallery of Bunny Drawings