Have you ever wanted to draw a beautiful Christmas tree to decorate your greeting cards or add festive flair to your artwork? With a few simple steps, you can create a stunning Christmas tree that will impress your friends and family. In this article, I will guide you through the process of drawing a Christmas tree, from the basic shape to the finest details. So grab your pencils and let’s get started!
Materials Required
Before we begin, it’s important to gather all the materials you will need to complete your drawing. Here’s a list of what you’ll need:
- Drawing paper
- Pencil
- Eraser
- Fine-tipped pens or markers (optional)
- Colored pencils or crayons (optional)
Now that you have everything ready, we can move on to the step-by-step process of drawing a Christmas tree.
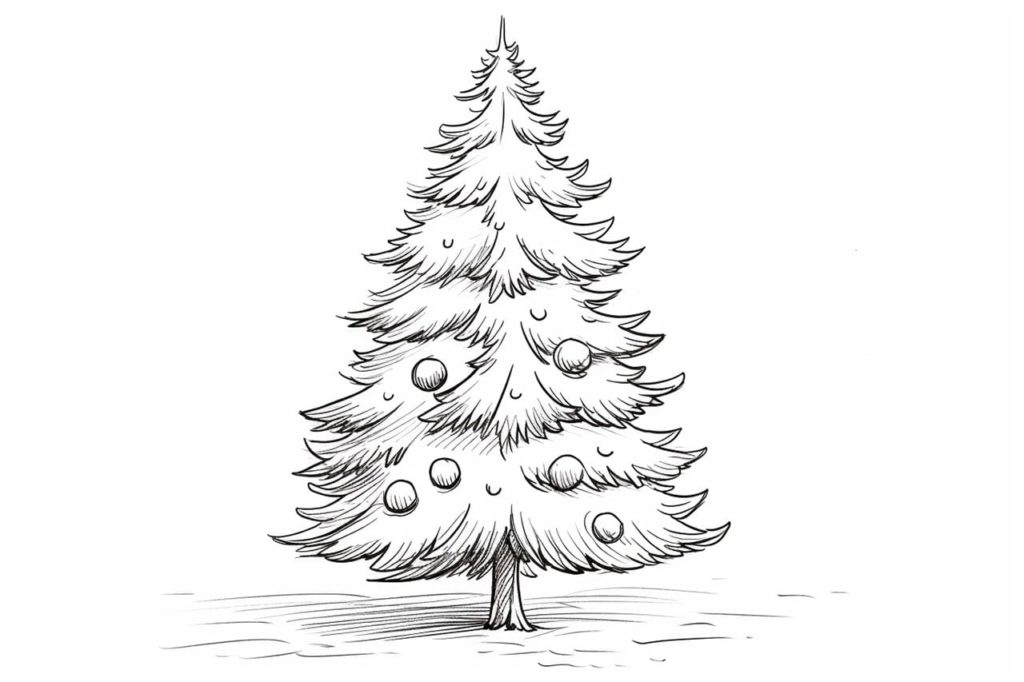
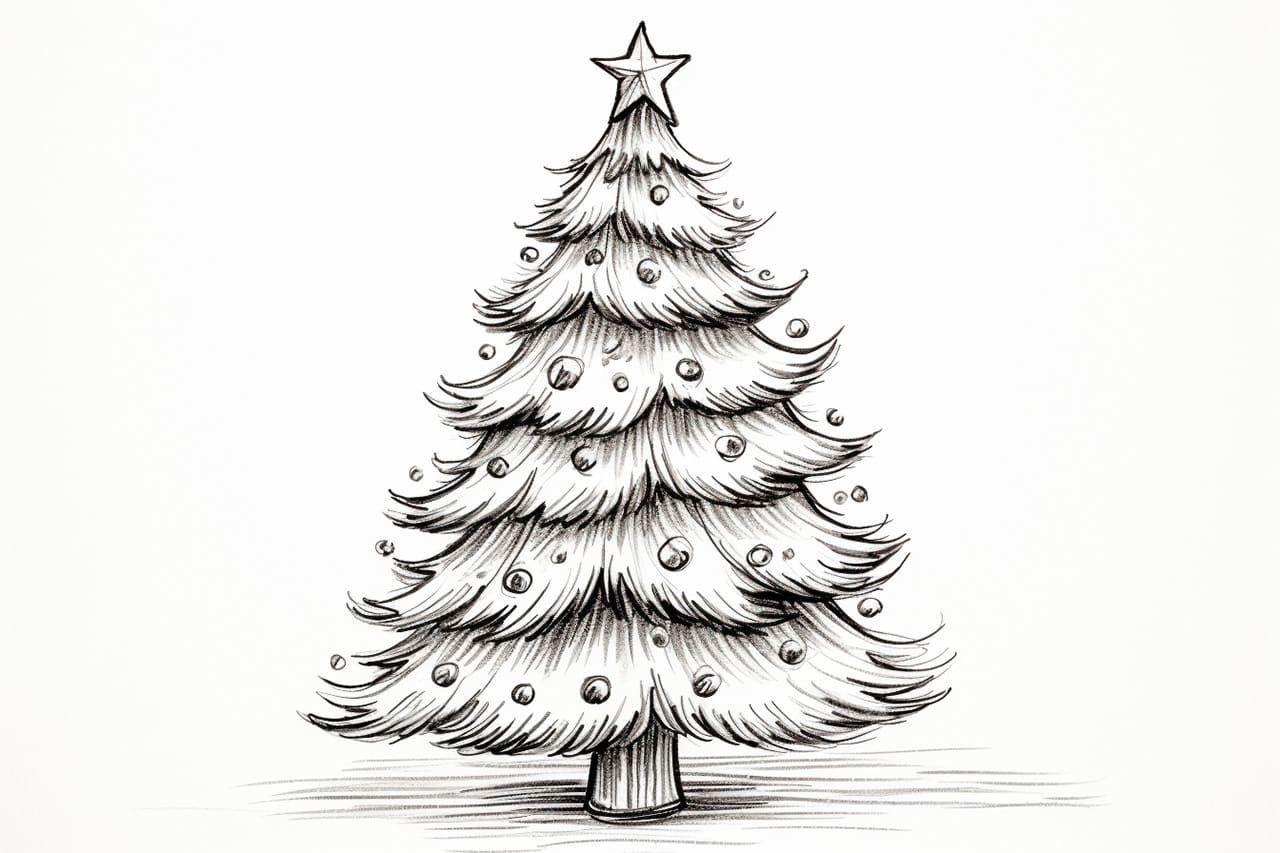
Step 1: Draw the Base
Start by drawing a triangle shape on your paper. This will be the base of your Christmas tree. Make sure the triangle is tall and narrow, with a pointed tip at the top.
Step 2: Add the Trunk
Extend a straight line downward from the center of the base of your triangle. This will serve as the trunk of your tree. Make the trunk slightly curved to give it a more natural look.
Step 3: Draw the Branches
From each side of the triangle, draw a set of horizontal lines that gradually get shorter as they move upwards. These lines represent the branches of the tree. Make sure the branches are evenly spaced and extend beyond the edges of the triangle.
Step 4: Add Details to the Branches
To give your tree a more realistic appearance, add small V-shaped lines to each branch, starting from the base and working your way up. These lines represent the individual needles or leaves on the branches. Continue adding these details to all the branches.
Step 5: Decorate the Tree
Now it’s time to make your tree festive! Use your pencils, colored pencils, or crayons to add ornaments, lights, and a star or angel on top. You can get creative with your decorations and customize them to your liking.
Step 6: Shade and Texture
To add depth and dimension to your tree, use your pencil to lightly shade the areas between the branches. This will create the illusion of shadows and give your tree a more three-dimensional look. You can also add texture to the trunk by drawing vertical lines or using cross-hatching techniques.
Conclusion
Congratulations, you have successfully drawn a beautiful Christmas tree! I hope this step-by-step guide has helped you create a stunning artwork that will bring joy and festive spirit to your holiday season. Remember, practice makes perfect, so don’t be afraid to experiment with different styles and techniques. Happy drawing!
Gallery of Christmas Tree Drawings