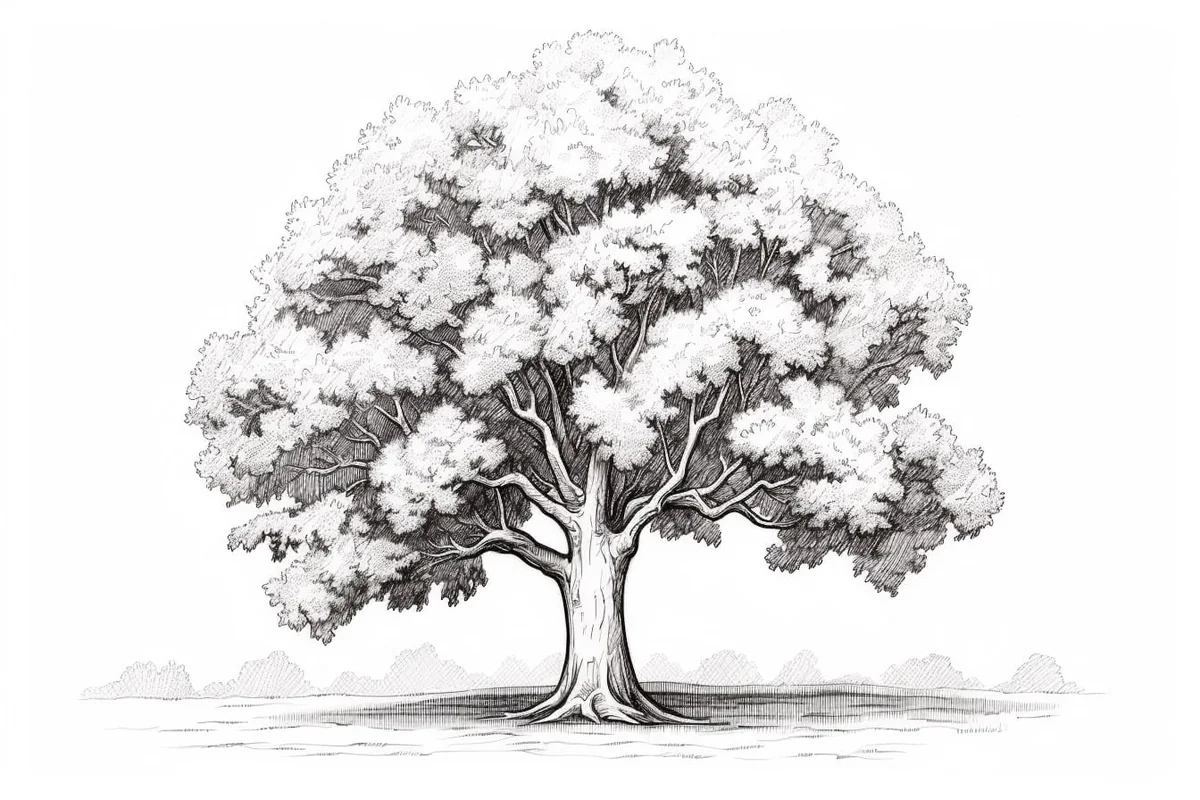
How to Draw an Oak Tree in 9 Simple Steps
Learn how to draw a realistic oak tree with this step-by-step guide. Discover helpful tips and techniques to create lifelike textures and details in your artwor
Materials You'll Need
- Drawing paper
- Pencil (HB or 2B)
- Eraser
- Colored pencils
- Markers
- Blending stump
Drawing an oak tree is a delightful way to connect with nature and celebrate the grandeur of one of the most iconic trees in the world. Known for its strong, sturdy trunk, sprawling branches, and vibrant foliage, the oak tree symbolizes endurance, wisdom, and strength, making it a timeless subject for artistic expression.
In this step-by-step guide, we'll explore the process of how to draw an oak tree in detail, from sketching its foundational structure to adding realistic textures and shading. You'll learn how to depict its distinctive bark, twisting branches, and clusters of lush leaves, creating a lifelike representation that captures its majestic presence.
Whether you're a beginner or an experienced artist, this tutorial is designed to guide you through each stage with clarity and creativity. So, grab your pencils, find inspiration from the natural world around you, and let's bring the beauty of the oak tree to life on paper!


Materials Required
To draw an oak tree, you will need the following materials:
-
Pencils (preferably a range of graphite pencils such as 2H, HB, 2B, 4B, and 6B for varying shades)
-
Eraser (both a kneaded eraser and a precision eraser for details)
-
Pencil sharpener
-
Charcoal pencils or sticks (optional for adding depth and texture)
-
Blending tools such as blending stumps or tortillons
-
Reference photo of an oak tree for inspiration
-
Drawing board or surface to work on
-
Fixative spray (optional for preserving your finished drawing)
These materials
How to Draw an Oak Tree: a Step-by-step Guide
Step 1: Gather Your Materials
Start by gathering all the necessary materials for drawing the oak tree. You will need a pencil, eraser, drawing paper, and optional materials like colored pencils or markers for adding details later on.
Step 2: Sketch the Basic Shape of the Tree
Begin by lightly sketching the basic shape of the tree trunk and branches. Oak trees typically have a wide trunk with a rough texture and sturdy branches that spread out in different directions.
Step 3: Add Details to the Trunk and Branches
Use your pencil to add details to the trunk and branches, such as bark texture and any knots or bumps that are characteristic of oak trees. Pay attention to the natural curves and irregularities in the branches to make the tree look more realistic.
Step 4: Draw the Tree's Leaves
Oak trees have distinctively lobed leaves that are usually arranged in clusters. Start by lightly sketching the general shape of the leaves and then add more details like veins and serrated edges.
Step 5: Refine the Details
Go over your initial sketch and add more depth and definition to the tree trunk, branches, and leaves. You can use hatching and shading techniques to create a sense of volume and dimension in your drawing.
Step 6: Add Shadows and Highlights
To make your oak tree drawing more realistic, add shadows under the branches and leaves to create a sense of depth. You can also add highlights to the leaves and trunk to make certain areas stand out and look more three-dimensional.
Step 7: Finalize Your Drawing
Take a step back and assess your drawing to see if there are any areas that need further refinement. Make any necessary adjustments and add final touches to complete your oak tree drawing.
Step 8: Optional - Add Color
If you want to add color to your drawing, you can use colored pencils or markers to bring your oak tree to life. Pay attention to the natural colors of an oak tree, such as variations of green for the leaves and browns for the trunk and branches.
Step 9: Sign and Date Your Drawing
Once you are satisfied with your oak tree drawing, don't forget to sign and date it in the corner to mark it as your own creation. Display your artwork proudly or share it with others to showcase your artistic talent.
Tip: When drawing an oak tree, begin with a light sketch of the trunk and branches using a hard pencil (like an H or 2H) to create a strong foundation without dark lines that can be hard to erase later. Focus on the natural shape and flow of the branches, allowing them to curve and twist in a way that mimics their growth in nature. Once satisfied with your initial outline, switch to a softer pencil (like a 2B or 4B) for adding texture to the bark—use short, jagged strokes to mimic the oak's rough surface. For the leaves, sketch clusters with varying sizes and shapes, as oak leaves are not uniform; layering these will enhance the depth and realism of your drawing. Lastly, don't forget to step back periodically to assess your composition as you work, ensuring balance and proportion throughout your piece!
Conclusion
In conclusion, drawing an oak tree can be a rewarding and fulfilling artistic endeavor. By following the step-by-step instructions outlined in this article, you can capture the majestic beauty and intricate details of these iconic trees with confidence and skill. Remember to practice patience and observation, and allow your creativity to flourish as you bring your oak tree drawing to life. With dedication and practice, you can develop your artistic abilities and create stunning representations of nature's wonders. Keep exploring and refining your techniques, and enjoy the process of expressing your artistic vision through the art of drawing oak trees.
Gallery of Oak Tree Drawings


Fun Facts About Oak Trees
-
Oak trees can live for hundreds of years, with some species capable of living up to 1,000 years or more.
-
There are over 600 species of oak trees found around the world, with the most common species in North America being the white oak, red oak, and live oak.
-
Oak trees produce acorns, which are a valuable food source for many animals such as squirrels, deer, and birds.
-
Oak wood is known for its strength and durability, making it a popular choice for furniture, flooring, and construction.
-
Oak trees play a vital role in ecosystems by providing habitats for a wide variety of wildlife, including insects, birds, and mammals.
-
The acorns of oak trees were once a staple food source for many Native American tribes and early settlers in North America.
-
Oak trees have deep roots that help them withstand drought conditions and high winds.
-
Oak trees have been revered in many cultures throughout history, symbolizing strength, endurance, and wisdom.
-
The bark of oak trees can vary in texture and appearance, with some species having smooth bark while others have rough and deeply furrowed bark.
-
Oak trees are an important part of folklore and mythology, often being associated with gods and spirits in various cultures.
Suggestions for Scenes and Settings for Oak Tree Drawings
Of course! Here are some specific suggestions for scenes and settings featuring oak trees in drawings:
-
Enchanted Forest: Create a magical forest setting with ancient oak trees towering over a lush green landscape. Add in some mystical creatures like fairies or unicorns for an extra whimsical touch.
-
Seasons Changing: Draw a series of oak trees in the same spot, each one representing a different season. Show the tree in full bloom during spring, with vibrant green leaves in summer, changing colors in autumn, and bare branches in winter.
-
Treehouse Hideaway: Illustrate a charming treehouse nestled among the branches of a majestic oak tree. Include details like a ladder leading up to the treehouse, cozy furniture inside, and playful animals peeking out.
-
Moonlit Night: Set the scene with a tranquil oak tree bathed in the soft glow of the moonlight. Add twinkling stars in the sky and fireflies dancing around the tree to create a magical nighttime ambiance.
-
Fairy Tale Setting: Imagine a fairy tale setting with an oak tree as the focal point. Picture a princess sitting under the tree, a knight on horseback riding past, or a dragon curled up at the base of the tree.
-
Autumn Harvest: Capture the beauty of autumn with an oak tree surrounded by pumpkins, cornstalks, and colorful leaves. Include a scarecrow standing guard and birds flying overhead for a festive fall scene.
-
Tree of Life: Illustrate an oak tree as a symbol of strength, growth, and resilience. Incorporate intricate details like twisting branches, gnarled roots, and a variety of wildlife living in and around the tree.
-
Countryside Landscape: Draw a peaceful countryside landscape with rolling hills, meadows, and a lone oak tree standing tall in the distance. Include grazing animals, a babbling brook, and fluffy clouds in the sky.
-
Historical Setting: Transport viewers to a historical setting with an ancient oak tree that has witnessed centuries of events. Show scenes of people gathering under the tree for meetings, celebrations, or important ceremonies.
-
Dreamy Wonderland: Let your imagination run wild and create a dreamy wonderland scene featuring an oak tree as the centerpiece. Experiment with surreal colors, fantastical creatures, and whimsical elements to make the scene truly magical.