Welcome to this step-by-step tutorial on how to draw a bearded dragon! Bearded dragons are fascinating creatures known for their unique appearance and charming personalities. In this article, we will walk through the process of creating a realistic and detailed drawing of a bearded dragon. So grab your pencil, paper, and let’s get started!
Materials Required
Before we dive into the drawing process, let’s gather all the materials you will need:
- Pencil: A good quality graphite pencil is recommended, preferably with an HB or 2B lead for versatility.
- Paper: Choose a smooth-surfaced paper, such as drawing or sketching paper, that can handle pencil shading and details.
- Eraser: Have a kneaded eraser or a soft vinyl eraser to correct any mistakes and fine-tune your drawing.
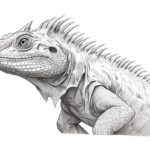
- Reference Image: Find a clear and well-lit reference photo of a bearded dragon. This will serve as your guide throughout the drawing process.
Now that you have gathered all the necessary materials, let’s dive into the step-by-step process of drawing a bearded dragon.
Step 1: Outline the Basic Shape
Start by lightly sketching a basic outline of the bearded dragon’s body using simple shapes. Begin with an oval shape for the head and a larger oval or rounded rectangle for the body. Connect these shapes with a smooth curve to create the neck.
Step 2: Add Legs and Tail
Next, sketch the four legs and tail of the bearded dragon. These should be positioned proportionally to the body. Pay attention to the shapes and angles as you sketch each leg and the tail, keeping them consistent with the reference image.
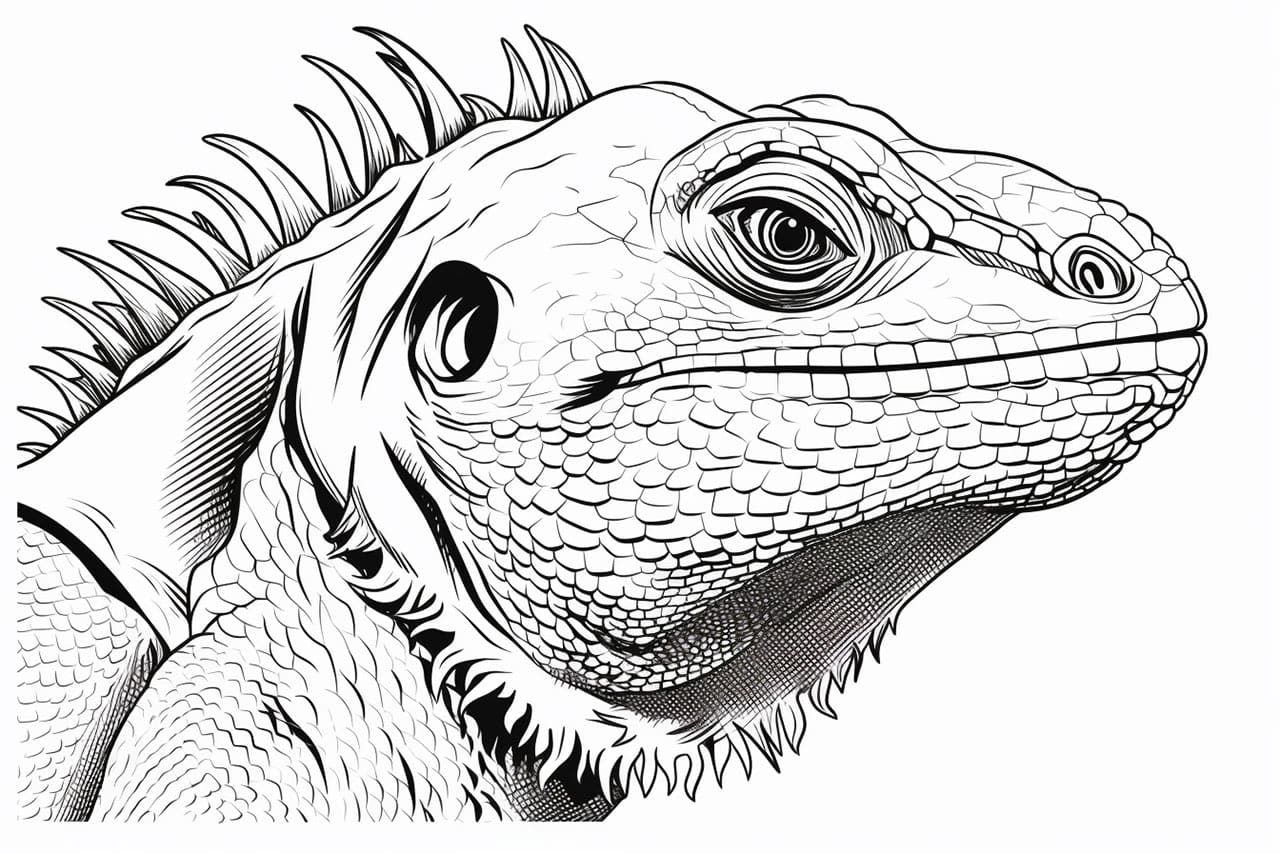
Step 3: Define the Head
Now, it’s time to add some details to the bearded dragon’s head. Start by sketching the eyes, which are typically almond-shaped and set on the sides of the head. Then, add the snout, mouth, and nostrils in relation to the placement of the eyes. Don’t forget to include the small scales and textures that give a bearded dragon its unique appearance.
Step 4: Draw the Body Scales
Let’s add some texture and intricacy to the drawing by sketching the scales on the bearded dragon’s body. Start with the neck and work your way down to the tail. Bearded dragons have rows of small, overlapping scales, so take your time to create a realistic pattern. Use light, curved strokes to mimic the contours of the body.
Step 5: Refine the Details
Now that you have the basic structure and texture of the bearded dragon, take a closer look at the reference image and add more refined details. Pay attention to the shape and texture of the scales, the patterns on the head, and any other unique features that stand out. Take your time to capture the essence of the bearded dragon’s appearance in your drawing.
Step 6: Shade and Add Depth
To bring your bearded dragon drawing to life, it’s essential to add shading and depth. Start by identifying the light source in your reference image and imagine how it casts shadows on the bearded dragon’s body. Use hatching and cross-hatching techniques to create shadows and highlights, emphasizing the three-dimensional form of the creature’s body.
Step 7: Final Touches
Now that you have completed the drawing, take a moment to evaluate your work. Look for any areas that need refinement or adjustment. Use your eraser to clean up any excess lines and create smooth transitions between different areas. Add any finishing touches to enhance the overall look and feel of your bearded dragon drawing.
Conclusion
Congratulations on completing your bearded dragon drawing! It’s a lot less scary than a “real” dragon. By following these step-by-step instructions, you have learned how to capture the unique features and textures of this incredible creature. Remember to be patient and enjoy the process of bringing your drawing to life. With practice and dedication, your drawing skills will continue to grow. So keep exploring, experimenting, and most importantly, keep drawing!