When it comes to drawing a dragon, the trick is not to over think it. Start by doing simple strokes and you’ll be amazed at what you can create.
If you’re an artist, you probably love drawing dragons. But it’s a bit of a challenge to learn how to draw a dragon that is unique and beautiful. When you want to make a piece of art really stand out, the best way to do it is to draw a dragon that looks like no other.
In this article, I’m going to show you how to draw a dragon step-by-step. This tutorial is part of my Learning How To Draw series, which offers free online tutorials for drawing and coloring.
But first, a little story…
A little boy was drawing a dragon on a piece of paper. He had been at it for quite some time, but had gotten stuck on the wings. He asked his mother what he should do next, and she said, “Draw yourself a picture of what you just did!” This is a wonderful technique for any task that needs to be done over and over again. If you find yourself getting stuck on something you need to do a lot, try this technique. You will see your task as a picture and you will become more engaged. This is a very powerful technique and I recommend it for anyone who struggles with staying focused.
Now let’s start drawing a dragon, step by step.
Draw the Shape of a Dragon
It’s not always possible to identify the shape of a dragon. There’s no single way to look at a dragon. However, it can still be helpful to sketch the dragon’s outline. By doing so, you can more easily see how the overall structure of the dragon differs from one part to another, and how one area compares to the rest.
Outline the Body
Outlining a body while sketching a dragon can be difficult. If you’re having trouble, here are some basic guidelines to get you started:
- Start by looking at a picture of a dragon. Look at its head, body, legs, tail, wings, and any other details.
- Then look at your subject from three different angles. Draw a front view, a side view, and a profile view.
- Next, draw the parts that are most visible on the surface of your subject. Think about where the eyes are, nose, mouth, and so on. You don’t want to leave anything out!
- Lastly, draw the parts that are hidden or hard to see. These are the parts that will be hard to notice and won’t add much to the final piece.
Add Colors
Coloring is a great way to make your art more visually appealing and engaging. The way that you color a dragon is just as important as the quality of the coloring. While many people will use the same colors over and over, others like to change things up a bit. Coloring a dragon is a great way to add excitement to your drawings.
You can also “color” in just black and white. If you’re using a regular pencil and paper to draw your dragon, then add color by coloring the outline with a light gray pen. Next, shade the head, legs, and tail with a medium gray pen. Use a dark gray pen for the eyes and wings. Finally, use a black pen to define the teeth and claws. When you’re finished, you should have a full-color dragon.
Sketch in the Wings and Horns
Some of the most distinctive aspects of a dragon are its wings and horns.
They are both used to make the dragon an easily recognizable creature. The wings are usually made out of feathers, but can be made out of other materials as well. They are often painted with red or gold colors. The horns can be made out of many different materials, such as bone, wood, stone, and even silver.
While sketching your dragon’s wings and horns, let your imagination run wild!
Add More Details to Your Dragon Drawing
You can make your dragon look more realistic by adding details to it. Adding details can add depth and realism to your drawing. For example, if you are drawing a dragon head, you can add details like horns, nostrils, eyes, ears, etc. Adding details will make your drawing look more realistic.
Draw a Line for the Tail
The best way to get the tail of your dragon just right is to start with drawing a simple curved line. Then you can fill out the shape of the dragon’s tail by expanding your sketch of the area around this guideline.
Your next step is to expand the curve and make it look more natural and realistic. You can start by taking a piece of paper and drawing a simple curve. Next, you should start filling in the area around the curved line. You can make your tail look like a dragon’s tail if you draw two lines that are parallel to each other. It is important that they be long enough so that the tail looks like it would when it is on the ground. You can make the tail look real by making sure that the two lines are placed in a way that is consistent with what you see. This will help you to add detail to your dragon’s tail.
Finish the Dragon
Now you’re ready to finish your drawing of a dragon by adding all the remaining details and polish. Make sure to complete the dragon’s head and add scales to the body. Most dragons breathe fire, so a little smoke coming from your dragon’s nostrils is a nice touch.
The dragon is complete. It’s time to add some final details and finish it up for the last time.
Drawing a picture is one of the most powerful ways of expressing your ideas. You might want to start with a quick sketch to get your ideas out on paper and then move on to a more detailed drawing to capture the image you’re trying to convey. Don’t worry about perfecting the drawing. What you’re really doing is capturing the essence of your idea.
In conclusion, the dragon drawing technique is an extremely simple one and it’s fun. I encourage you to give this method a try and see what you can do!
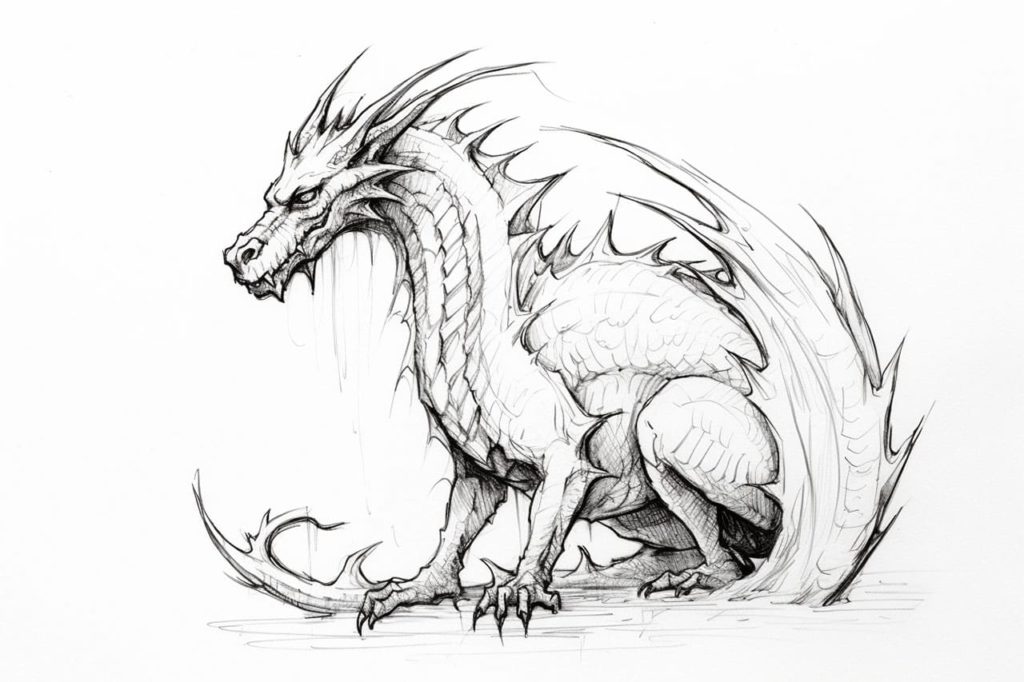
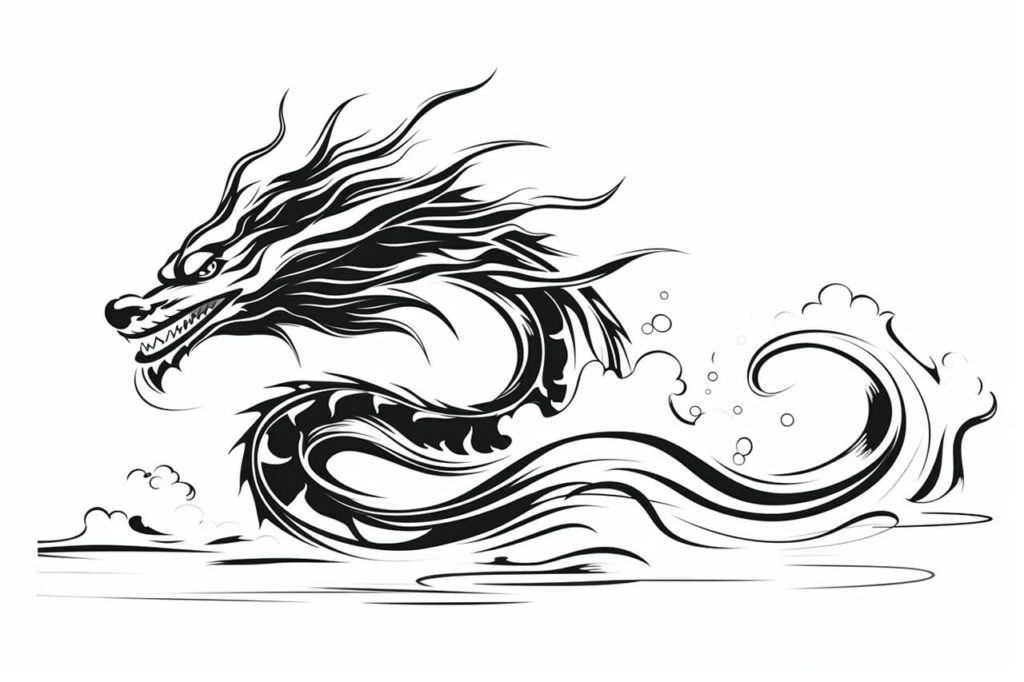
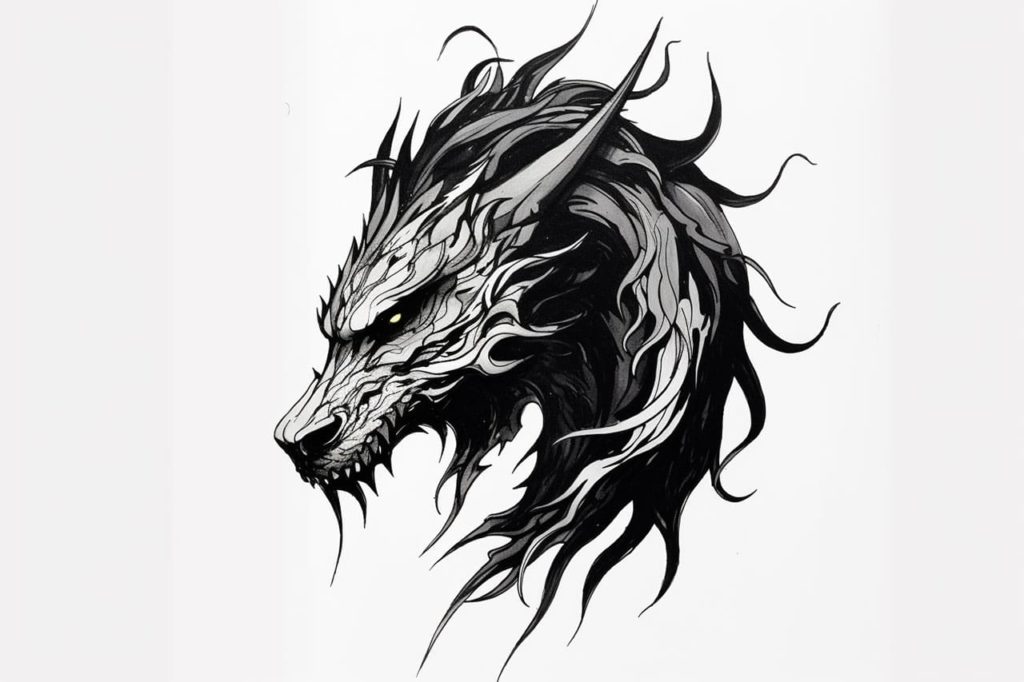
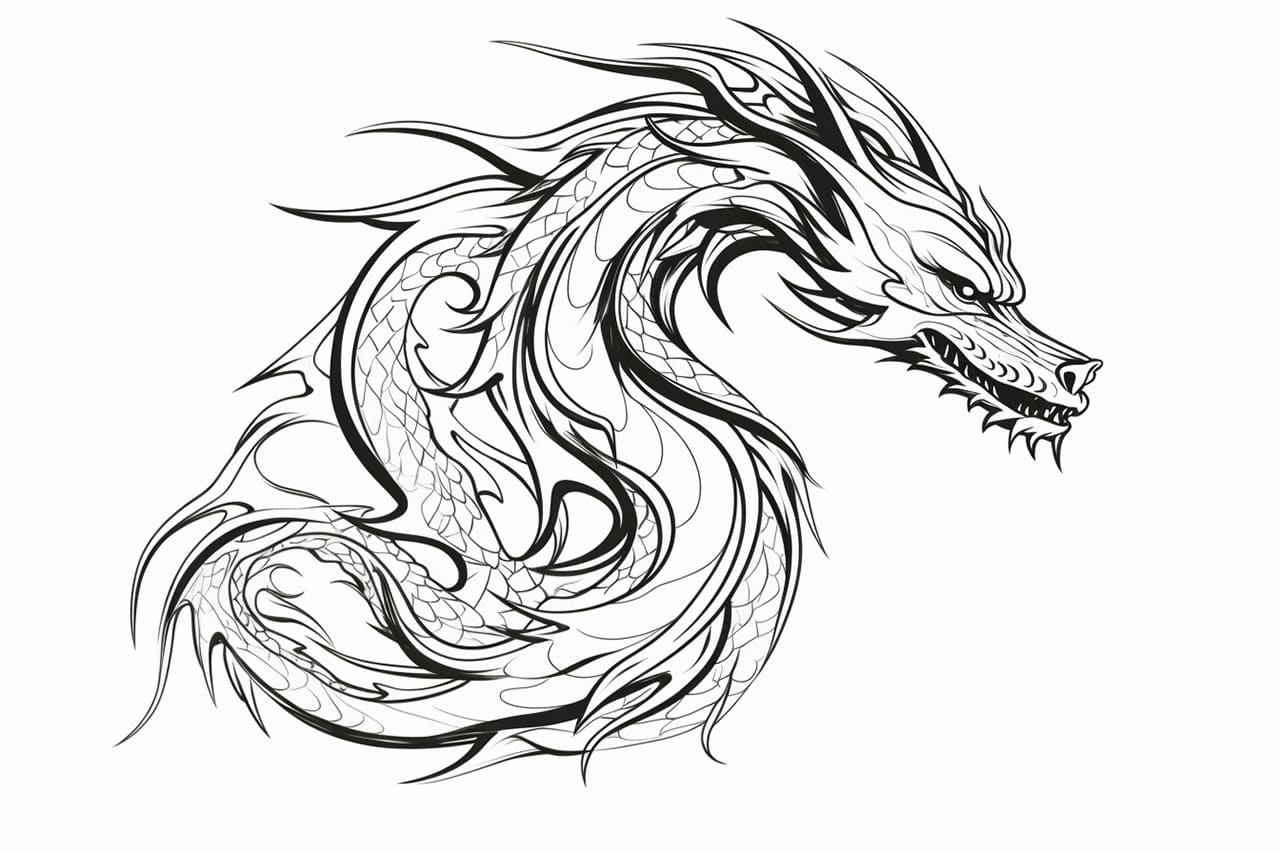
A Gallery of Dragon Drawings