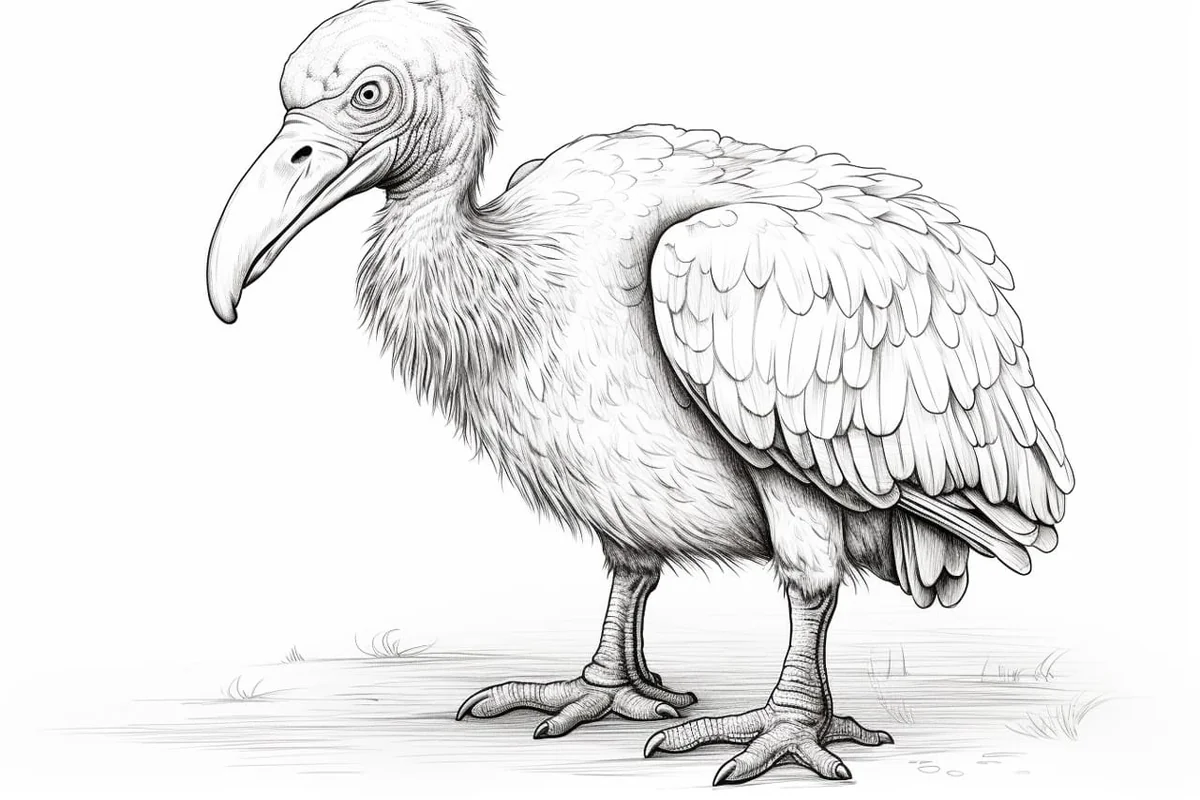
How to Draw a Dodo Bird
Learn how to draw with this step-by-step tutorial.
Materials You'll Need
- Drawing paper
- Pencil (HB or 2B)
- Eraser
The dodo bird, an extinct flightless bird once native to Mauritius, has fascinated naturalists, historians, and artists for centuries. Known for its distinctive, rounded body, stout beak, and quirky charm, the dodo represents a unique window into the lost biodiversity of our planet. Drawing this iconic creature is not only a fun artistic challenge but also a way to reconnect with natural history and explore creative expression through a subject that is both whimsical and historically significant. Whether for educational purposes, personal enjoyment, or improving your artistic skills, learning how to draw a dodo bird offers a rewarding experience.In this tutorial, we will break down the process of drawing the dodo into simple, manageable steps that cater to artists of all skill levels. From sketching the basic shapes to adding detailed textures and shading, you'll discover techniques that enhance your observational skills and help bring your artwork to life. The dodo's unique anatomy, including its stout legs and distinctive beak, provides an excellent opportunity to practice proportion, form, and texture. You don't need to be a seasoned artist to follow along—this guide is designed to be accessible and encouraging for beginners while still offering insights that intermediate artists will find valuable.So, if you've ever wondered how to draw a dodo bird and capture its charming essence on paper, this tutorial is the perfect place to start. Gather your pencils, sharpen your creativity, and prepare to embark on a delightful artistic journey. With patience and practice, you'll soon have a detailed and expressive drawing that celebrates one of nature's most intriguing creatures. Let's dive in and bring the dodo back to life through art!
Materials Required
Before we begin, let's gather the materials you'll need for this drawing tutorial.
-
Pencil: A regular graphite pencil will work perfectly for this drawing. Choose a pencil with a soft lead, such as a 2B or 4B, as it will allow you to create darker lines and shading.
-
Eraser: A kneaded eraser or a soft plastic eraser will come in handy for making corrections and lightening any mistakes. Make sure your eraser is clean and free of smudges before you start.
-
Paper: Choose a high-quality drawing paper that is suitable for your chosen medium. A medium-weight paper with some tooth is ideal for pencil drawings.
Now that you have your materials ready, let's dive into the step-by-step process of drawing a dodo bird.
Step 1: Basic Shapes
Start by lightly sketching the basic shapes that make up the body of the dodo bird. Begin with an oval shape for the body, slightly elongated and tilted to the right. Add a small circle at the bottom of the oval for the head. Connect the head and body with a curved line for the neck. Finally, add a large oval shape for the beak at the tip of the head.
Step 2: Eye and Beak
Next, let's focus on drawing the dodo bird's eye and beak. Within the circle representing the head, draw a smaller oval shape for the eye. Add a tiny circle inside the eye to represent the pupil. Above the eye, draw a small curved line with a pointed end to create the dodo's eyebrow. Now, turn your attention to the beak. Start by outlining the shape of the beak using curved lines that follow the oval you drew earlier. Add a small curve at the bottom of the beak to indicate the opening.
Step 3: Wings and Tail
Moving on to the wings and tail, sketch two curved lines on either side of the dodo's body to indicate the wings. The wings should be situated midway down the body and slightly angled upward. For the dodo's tail, draw a fan-shaped pattern of feathers at the back of the body. Start with a curved line that extends from the bottom of the body and then add a series of smaller curved lines that fan out to create the tail feathers.
Step 4: Feet and Legs
Now, let's tackle the dodo bird's feet and legs. Begin by drawing two long, curved lines that extend from the bottom of the body to create the first leg. The lines should be slightly thicker at the top and taper down to a point at the bottom. At the end of the leg, draw three small oval shapes for the toes. Repeat this process to create the second leg, making sure to position it behind the first leg to create the illusion of depth.
Step 5: Details and Shading
With the basic outline of the dodo bird complete, it's time to add some details and shading to bring your drawing to life. Start by refining the shape of the dodo's body, beak, and head, erasing any unnecessary lines. Add some texture to the feathers by drawing short, curved lines around the body, wings, and tail. Use your pencil to shade the areas of the dodo bird that are in shadow, such as the underside of the body, wings, and tail. Gradually build up the shading by applying more pressure to create darker values.
Conclusion
Congratulations! You have successfully learned how to draw a dodo bird from start to finish. By following this step-by-step tutorial and using your creativity, you have created a beautiful representation of this fascinating creature. Remember, practice makes perfect, so don't be afraid to experiment with different techniques and styles. Keep honing your drawing skills, and who knows, you might even discover your own unique artistic voice along the way. Happy drawing!
Fun Facts About Dodo Birds
-
The dodo bird was native exclusively to the island of Mauritius in the Indian Ocean.
-
It was a flightless bird, having lost the ability to fly due to the absence of natural predators on its island habitat, according to Animal Diversity Web.
-
The dodo became extinct in the late 1600s, less than a century after humans discovered Mauritius, as detailed by New World Encyclopedia.
-
Despite popular belief, the dodo was not obese but had a robust body adapted to its environment, as explained by A-Z Animals.
-
The dodo's closest living relative is the Nicobar pigeon, a fact supported by genetic studies referenced by GBIF.
-
Its extinction was primarily caused by introduced species such as rats, pigs, and monkeys brought by sailors, which preyed on dodo eggs, according to Britannica.
-
The dodo has become a symbol of extinct and endangered species worldwide, as noted by IUCN Red List.
-
Fossil evidence of the dodo was
Suggestions for Scenes and Settings for Dodo Bird Drawings
-
A dodo bird exploring a lush, prehistoric Mauritius forest filled with exotic plants and flowers.
-
A whimsical scene of a curious dodo interacting with other extinct or mythical animals in a fantasy setting.
-
A close-up portrait of the dodo focusing on its distinctive beak and textured feathers, with dramatic shading.
-
A playful dodo bird waddling near a crystal-clear lagoon, with reflections and ripples in the water.
-
A vintage-style natural history illustration showcasing the dodo among annotated sketches and scientific notes.
-
A dodo bird standing proudly on a rocky cliff at sunset, with vibrant skies and ocean waves below.
-
A cartoonish dodo engaging in humorous activities like painting or reading, emphasizing its quirky charm.
-
A group of dodos interacting in a social scene, showing body language and personality traits.
-
A dodo bird in a surreal dreamscape, surrounded by floating feathers and abstract shapes.
-
An educational diagram-style drawing highlighting the anatomy of the dodo, with labeled parts and textures.