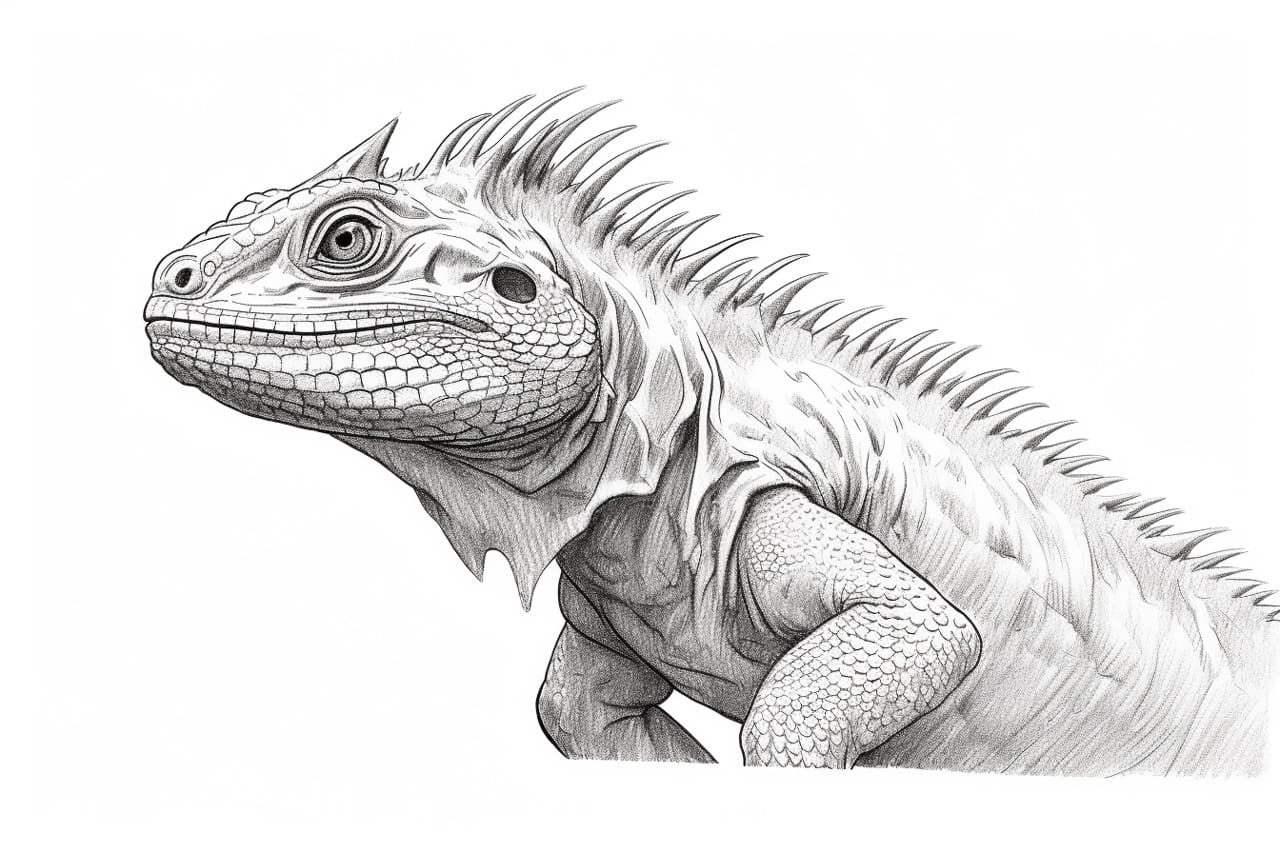
Welcome to this step-by-step guide on how to draw a water dragon! In this tutorial, we will explore the process of creating a magnificent water dragon using simple drawing techniques. Don’t worry if you’re a beginner – this tutorial is suitable for artists of all skill levels. So grab your pencils, paper, and let’s dive into the enchanting world of drawing a water dragon!
Materials Required
Before we begin, let’s gather all the necessary materials. Here’s what you’ll need:
- Drawing paper or sketchbook
- Pencils (ranging from HB to 6B)
- Eraser
- Fine-tip black pen or marker (optional)
- Colored pencils, markers, or watercolors for coloring (optional)
Now that we have everything we need, let’s get started!
Step 1: Sketch the Basic Shape of the Dragon
Start by lightly sketching the basic shape of the water dragon. Begin with an oval shape for the dragon’s head and a long curved line for the body. Remember to keep your lines light, as we will be refining the details later on.
Step 2: Add the Dragon’s Features
Now, let’s add some facial features to our water dragon. Sketch two almond-shaped eyes, a small snout, and pointy ears. Dragons often have horns, so feel free to add those as well. Once you’re satisfied with the facial features, move on to the body.
Step 3: Refine the Body and Limbs
Using the initial curved line as a guide, start adding details to the dragon’s body. Create a wavy pattern along the body to represent the dragon’s scales. Add the limbs by sketching long, curvy lines with claws at the end. Take your time with this step and ensure that the proportions and shapes are to your liking.
Step 4: Define the Dragon’s Water Elements
Now comes the exciting part – let’s incorporate water elements into our dragon drawing. Dragons often have flowing manes, so draw wavy lines along the dragon’s head, neck, and back. Extend these lines beyond the dragon’s body to create the illusion of water flowing around it. Add some splashing water around the limbs and tail for a dynamic effect.
Step 5: Add Fine Details
To bring your water dragon to life, add finer details such as the shape and texture of the scales, facial expressions, and any other features you wish to include. Take your time and pay attention to the small intricacies that give your dragon its unique personality.
Step 6: Ink or Finalize Your Drawing
Once you’re satisfied with your pencil sketch, you can choose to ink it using a fine-tip black pen or marker. Inking will give your drawing a clean and polished look. Carefully trace over your pencil lines, emphasizing the main outlines and important details. Let the ink dry, and then erase any remaining pencil marks.
Step 7: Add Color (Optional)
If you want to add color to your water dragon drawing, now is the time! You can use colored pencils, markers, or even watercolors to bring your dragon to life. Experiment with different color combinations, shading techniques, and textures to make your dragon truly unique.
Step 8: Final Touches and Enhancements
Take a step back and examine your completed water dragon drawing. Make any final touches or enhancements that you feel are necessary. You can darken certain areas to create depth and add highlights to make your dragon shine. Don’t be afraid to experiment and let your creativity flow!
And there you have it – you have successfully drawn a stunning water dragon! Congratulations on your artistic achievement!
Conclusion
Drawing a water dragon may seem daunting at first, but with this step-by-step guide, you can create a captivating masterpiece. Remember to start with the basic shape, add the dragon’s features, refine the body and limbs, incorporate water elements, add fine details, ink or finalize your drawing, and finally, add color if desired. Don’t forget to infuse your own creativity and unique style into your artwork. Enjoy the process and have fun exploring the realm of dragons!


