Welcome to this step-by-step guide on how to draw an island. Whether you want to create a beautiful landscape for a painting or add a tropical touch to your illustrations, drawing an island can be a fun and creative activity. In this tutorial, we will cover the process of how to draw an island, from the basic outline to adding details and textures. So grab your drawing materials and let’s get started!
Materials Required
Before we begin, make sure you have the following materials:
- Pencil: A pencil will allow you to make initial sketches and make any necessary adjustments along the way.
- Eraser: An eraser will come in handy to remove any unwanted lines or mistakes.
- Paper: Use a blank sheet of paper or a sketchbook to draw your island.
- Markers or colored pencils (optional): If you want to add color to your drawing, markers or colored pencils can help bring your island to life.
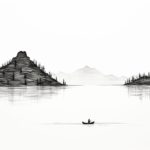
Step 1: Start with the Basic Outline
Begin by lightly sketching the basic outline of your island using a pencil. Start with a curved line to represent the horizon, slightly higher in the middle to create a sense of depth. Then, draw a rough shape for the main landmass of the island. Remember, islands come in various shapes and sizes, so feel free to get creative with your design.
Step 2: Add Land Features
Once you have the basic outline, it’s time to add some land features to your island. Start by sketching a few hills or mountains in the background. These can be simple and abstract, or more detailed if you prefer. Then, add some palm trees or other types of vegetation along the shoreline to give your island a tropical feel.
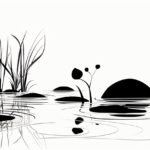
Step 3: Define the Shoreline
Next, it’s time to define the shoreline of your island. Use curved lines to show the gentle curves and waves of the water as it meets the land. You can also add some rocks or cliffs along the shoreline to add visual interest to your drawing.
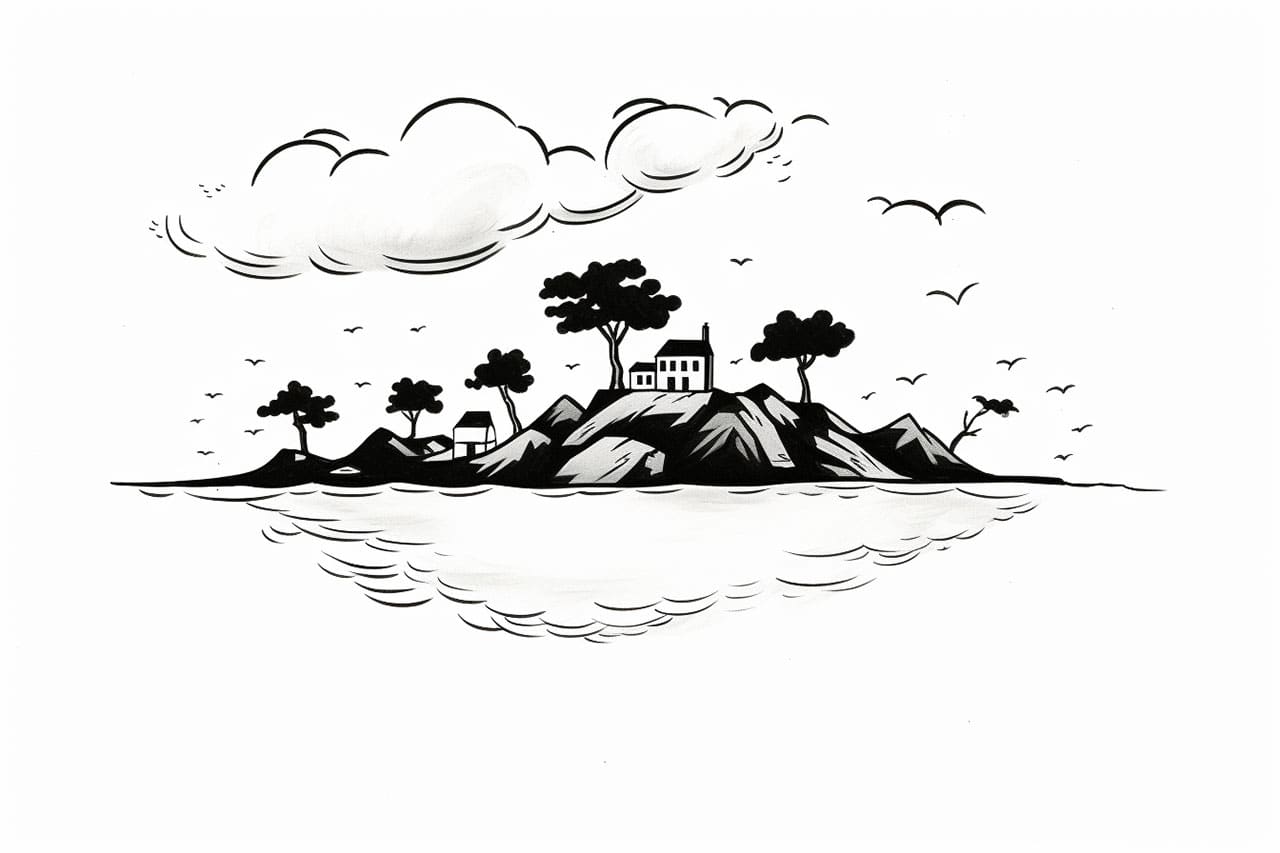
Step 4: Add Details to the Land
Now that you have the basic shapes in place, it’s time to add some details to the landmass of your island. Start by sketching some trees and vegetation on the hills or mountains. Use short, curved lines to represent the foliage, and vary the size and shape of the trees to create a more natural look.
Step 5: Create Texture
To add texture to your drawing, use short, overlapping lines to represent the grass or sand on the land. You can also use cross-hatching or stippling techniques to add texture to the trees or rocks. Experiment with different shading techniques to create depth and dimension in your drawing.
Step 6: Refine Your Drawing
Take a step back and evaluate your drawing. Are there any areas that need refinement or adjustments? Use your eraser to remove any unwanted lines or make any necessary changes. This is also a good time to darken the lines that you want to keep and add more details to your drawing if desired.
Step 7: Add Color (Optional)
If you want to add color to your drawing, now is the time to do so. Use markers or colored pencils to bring your island to life. Start by coloring the landmass with shades of green or brown, depending on the type of vegetation you want to depict. Then, add shades of blue for the water and sky. You can also experiment with adding highlights and shadows to create a more realistic effect.
Conclusion
Drawing an island can be a rewarding and enjoyable experience. By following these step-by-step instructions, you can create your own tropical paradise on paper. Remember to start with a basic outline and gradually add details and textures to bring your drawing to life. Don’t be afraid to get creative and personalize your island with unique land features and vegetation. So grab your drawing materials and start creating your own beautiful island masterpiece!