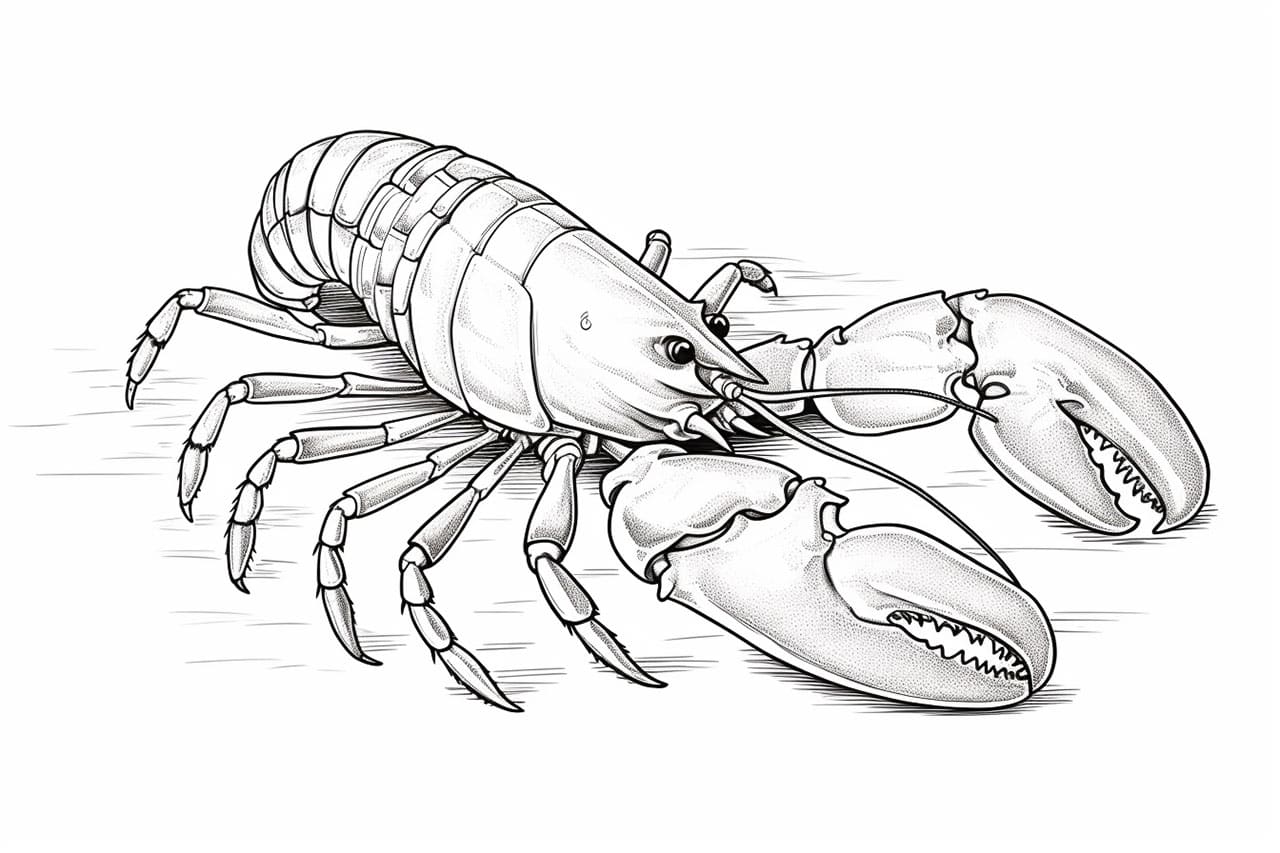
Welcome to this step-by-step tutorial on how to draw a lobster! Whether you’re an aspiring artist or simply want to try your hand at drawing this fascinating creature, this guide will walk you through the process in a clear and concise manner. So let’s dive in and bring these incredible sea creatures to life on paper!
Materials Required
Before we get started, make sure you have the following materials on hand:
- Pencil
- Eraser
- Paper
- Colored pencils or markers (optional)
Now that you have your materials ready, let’s move on to the actual drawing process.
Step 1: Outlining the Body
Start by drawing a small oval shape towards the top of your paper. This will serve as the main body of the lobster. Next, sketch two curved lines on each side of the body to indicate the lobster’s tail. Remember to keep your lines light and easy to erase, as we will be refining them later.
Step 2: Adding the Head and Antennae
At the front of the body, draw a larger oval shape to represent the lobster’s head. Connect the head to the body with a curved line. On top of the head, sketch two antennae using thin, curved lines. These antennae can vary in length and shape depending on the type of lobster you are drawing, so feel free to add your own creative touch.
Step 3: Drawing the Eyes and Mouth
Within the head shape, add two small circles to represent the lobster’s eyes. Leave a small white space within each eye to create a highlight. Just below the eyes, draw a curved line to form the lobster’s mouth. It should resemble a sideways “U” shape.
Step 4: Shaping the Tail
Now that we have the basic outline of the lobster, let’s focus on refining the shape of the tail. Start by adding several curved lines along the length of the tail to create the segmented structure. Make sure the lines gradually get smaller towards the tip of the tail, giving it a tapered look.
Step 5: Sketching the Legs
Lobsters have a total of ten legs, with the front pair being significantly larger and more claw-like. To draw the legs, create a series of thin, slightly curved lines along each side of the body. Remember to add small details such as joints and segments to make them look more realistic. For the front pair of legs, draw larger, more defined claws at the ends.
Step 6: Adding Details
Now that the basic structure of the lobster is complete, it’s time to add some details to make our drawing more lifelike. Start by sketching small lines within the tail segments to represent the texture and shape. You can also add some lines to define the body and legs, giving them a slightly rugged appearance. Don’t forget to add small dots to the eyes to complete the look.
Step 7: Erasing the Guidelines
Once you are satisfied with the overall shape and details of your lobster, carefully erase any unnecessary guidelines that may still be visible. Use a gentle touch with your eraser to avoid smudging or damaging the drawing.
Step 8: Adding Color (optional)
If you’d like to take your drawing to the next level, you can add color to your lobster using colored pencils or markers. Lobsters come in various shades of red, but you can also experiment with different colors and patterns to make your drawing unique. Don’t be afraid to get creative and have fun with it!
Conclusion
Congratulations! You have successfully learned how to draw a lobster. By following these step-by-step instructions and using your creativity, you can create stunning lobster drawings that showcase the beauty and intricacies of these fascinating creatures. Remember to practice regularly, as drawing is a skill that improves with time and dedication. So grab your pencils and start sketching!