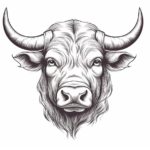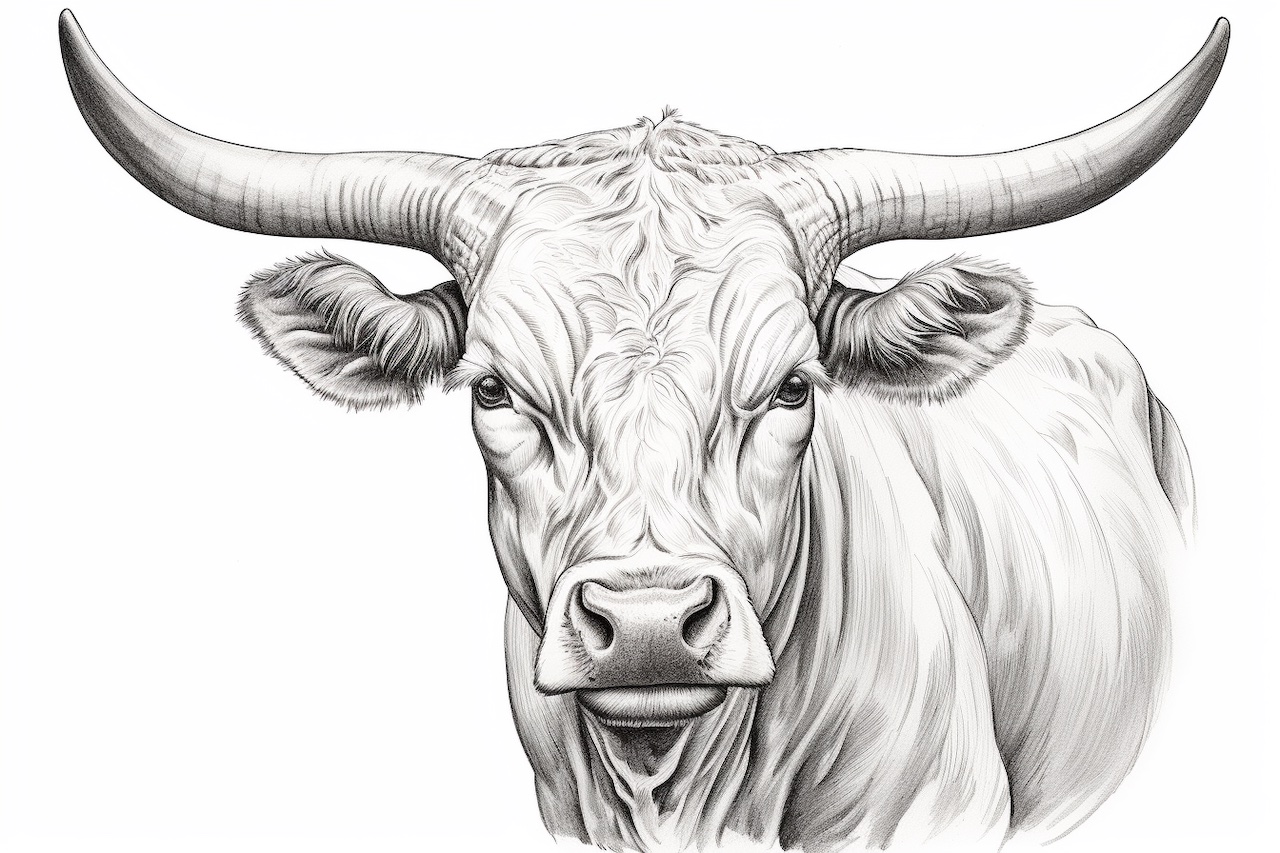
Welcome to this step-by-step guide on how to draw a longhorn. Whether you’re an aspiring artist or just looking for a fun and creative project, drawing a longhorn can be a rewarding experience. Known for its majestic horns and iconic appearance, the longhorn is a beloved symbol of the American West. So, let’s grab our drawing materials and get started on creating our own masterpiece!
Materials Required:
- Pencil
- Paper
- Eraser
- Ruler (optional)
- Colored pencils or markers (optional)
Step 1: Start with Basic Shapes
Begin by lightly sketching the basic shapes that will form the foundation of your longhorn drawing. Start with an oval shape for the head and add a smaller circle for the muzzle. Then, draw two intersecting lines across the head to help position the features later on.
Step 2: Outline the Head
Using the basic shapes as a guide, outline the head of the longhorn. Add the ears on either side of the head, making sure to capture their distinctive shape. Then, draw a curved line for the back of the head, connecting it to the muzzle.
Step 3: Add the Eyes and Nose
Now, focus on the facial features of the longhorn. Draw two small circles for the eyes, placing them on either side of the head. Within each eye, add smaller circles for the pupils. Then, draw a rounded triangle shape for the nose, connecting it to the muzzle.
Step 4: Define the Horns
The longhorn is known for its impressive horns, so let’s add them now. Start by drawing two long, curved lines extending upward from the top of the head. These lines will serve as the base for the horns. Then, add more curved lines along the length of each horn to create the texture and details.
Step 5: Outline the Body
Moving on to the body, draw a long, curved line extending backward from the head. This line will form the back of the longhorn. Then, add another curved line beneath it to create the belly. Connect these lines with a curved line at the end to complete the body shape.
Step 6: Draw the Legs
Now it’s time to add the legs of the longhorn. Draw four straight lines extending downward from the body, evenly spaced. These lines will be the legs. Add small hooves at the bottom of each leg by drawing curved lines.
Step 7: Add the Tail
Next, draw a long, curved line extending downward from the back of the longhorn’s body. This line will form the tail. Add some texture to the tail by drawing small lines along its length.
Step 8: Refine the Details
Now that the basic structure is in place, it’s time to refine the details of the longhorn. Use your pencil to add shading and texture to the horns, body, and tail. Pay close attention to the curves and contours of the longhorn to create a realistic effect.
Step 9: Erase the Guidelines
Once you are satisfied with the overall drawing, take an eraser and carefully remove any remaining pencil guidelines. Be gentle to avoid smudging your drawing and only erase the lines that are no longer needed.
Step 10: Add Color (Optional)
If you want to take your longhorn drawing to the next level, consider adding some color. Use colored pencils or markers to bring your longhorn to life. Longhorns come in various colors, so feel free to get creative and experiment with different shades and patterns.
Conclusion
Congratulations on completing your longhorn drawing! You’ve learned how to create the basic shapes, outline the head and body, define the horns, add the legs and tail, and refine the details. Remember, practice makes perfect, so keep honing your skills and trying new drawing techniques. With time and dedication, you’ll be able to create even more amazing artworks. Enjoy the journey of artistic expression and have fun drawing longhorns!