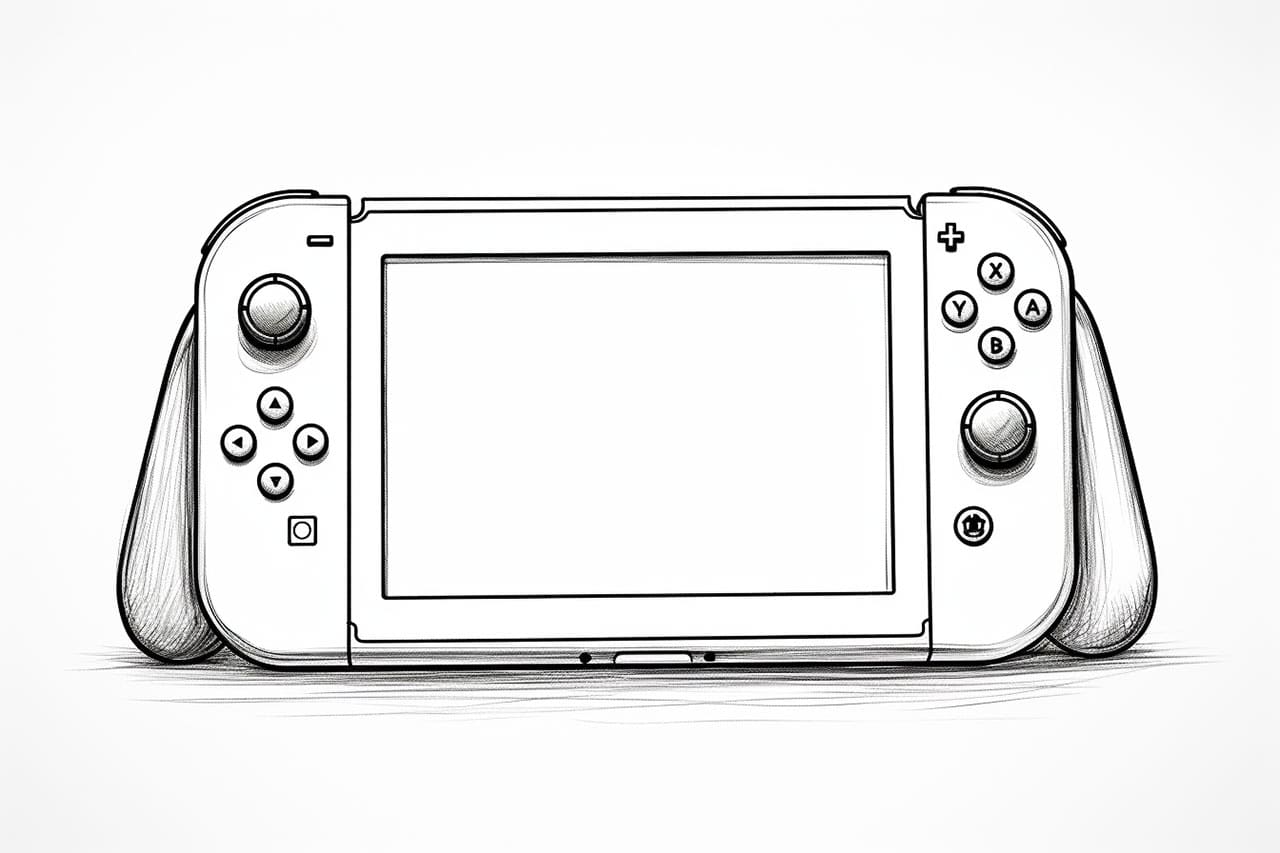
The Nintendo Switch is a popular gaming console known for its versatility and unique design. Whether you’re a fan of Nintendo games or simply enjoy drawing technology, learning to draw a Nintendo Switch can be a fun and rewarding experience. In this step-by-step guide, I will teach you how to draw a Nintendo Switch with clear and concise instructions. So grab your pencil and paper, and let’s get started!
Materials Required
Before we begin, make sure you have the following materials ready:
- A piece of paper
- Pencil (preferably a mechanical pencil or a set of drawing pencils)
- Eraser
- Ruler or straight edge
- Fine-tip black marker (optional for outlining and details)
- Colored pencils or markers (optional for coloring)
Now that you have all your materials ready, let’s dive into the step-by-step process of drawing a Nintendo Switch.
Step 1: Outline the Main Shape
Start by drawing a rectangular shape in the center of your paper. This will be the main body of the Nintendo Switch. Use light and loose pencil strokes to create the outline, as it will help you make adjustments later if needed.
Step 2: Add the Controllers
On each side of the rectangular shape, draw two small rectangular shapes slightly angled towards the center. These will represent the controllers attached to the Nintendo Switch. Make sure the size and proportions are symmetrical.
Step 3: Draw the Screen
Inside the main rectangular shape, draw a smaller rectangular shape at the top. This will be the screen of the Nintendo Switch. It should be slightly wider than the controllers and positioned in the center.
Step 4: Add Buttons and Controls
On the right-hand side of the screen, draw four circular buttons in a diamond shape. These buttons represent the control buttons on the Nintendo Switch. Below the buttons, add a small rectangular shape for the directional pad.
Step 5: Create the Joysticks
On each side of the directional pad, draw two small circular shapes. These will be the joysticks. Make sure they are positioned diagonally from each other.
Step 6: Add the Speakers
At the bottom of the main rectangular shape, draw two small elongated shapes on each side. These will represent the speakers on the Nintendo Switch.
Step 7: Refine the Outline
Once you have the basic shapes in place, go over the outline with firmer pencil strokes to define the shape of the Nintendo Switch. Smooth out any rough edges or uneven lines. Take your time and make adjustments as needed.
Step 8: Add Details
Now it’s time to add some details to make your drawing more realistic. Add buttons and labels to the control buttons, screen, and joysticks. You can also draw lines or patterns on the main body to mimic the texture of the Nintendo Switch.
Step 9: Ink the Drawing (Optional)
If you want to make your drawing bolder and more defined, you can use a fine-tip black marker to go over the pencil lines. Be careful not to smudge the ink and let it dry completely before erasing any pencil marks.
Step 10: Color Your Drawing (Optional)
To add some color to your drawing, you can use colored pencils or markers. Look up reference images of the Nintendo Switch to see how the colors are distributed. Use light and even strokes to color each part of the console. You can also experiment with shading and highlighting to add depth and dimension.
Conclusion
Congratulations! You have successfully learned how to draw a Nintendo Switch. By following the step-by-step instructions in this guide, you were able to create a detailed and realistic representation of the popular gaming console. Remember to be patient and have fun with your drawing. Practice makes perfect, so keep honing your skills and exploring new subjects. Enjoy the process and continue to nurture your artistic abilities!


