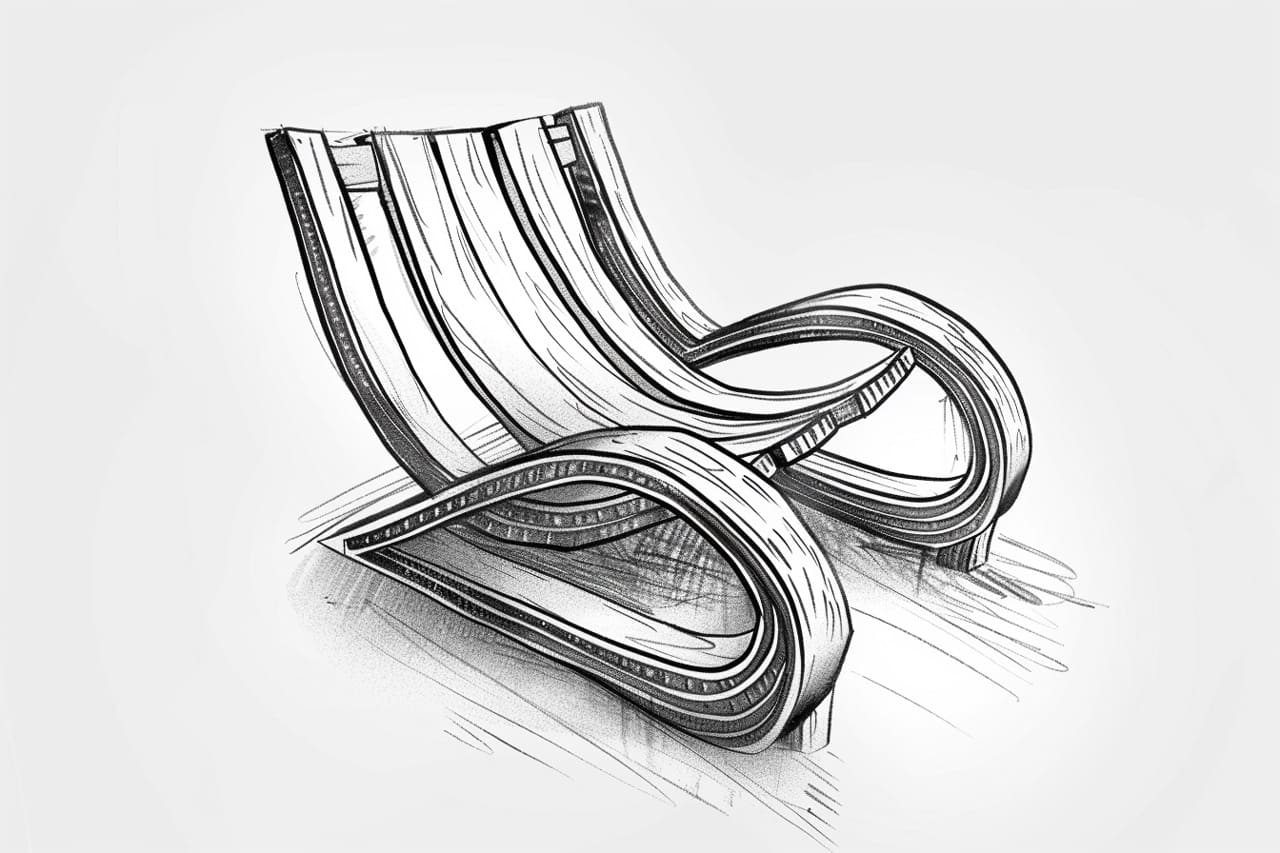
Drawing a 3D chair may seem challenging, but with the right guidance, anyone can master this skill. In this step-by-step tutorial, I will guide you through the process of drawing a realistic 3D chair. Whether you’re an aspiring artist or simply enjoy doodling in your spare time, this tutorial is perfect for you. So let’s grab our pencils and get started!
Materials Required
To follow along with this tutorial, you will need the following materials:
Now that you have your materials ready, let’s dive into the step-by-step process of drawing a 3D chair.
Step 1: Start with the Basic Shape
Begin by drawing a rectangular shape on your paper. This will be the seat of the chair. Make sure to use light strokes so that you can easily make adjustments later if needed.
Step 2: Add the Backrest
Now, draw a vertical line at one end of the rectangular shape. This will serve as the backrest of the chair. The height of the backrest is up to you, but make sure it is proportional to the seat.
Step 3: Create the Legs
Next, draw four lines extending downward from the four corners of the seat. These lines will represent the chair’s legs. Make sure they are parallel to each other and equal in length. You can use a ruler to achieve straight lines.
Step 4: Add Dimension to the Legs
To create a 3D effect, we need to add depth to the chair’s legs. Start by drawing horizontal lines at the bottom of each leg. These lines should be parallel to the seat and at the same height as the seat’s thickness.
Step 5: Connect the Lines
Now, it’s time to connect the horizontal lines we drew in the previous step. Draw vertical lines from the end of each horizontal line to the ground. This will create the illusion of the legs extending into the distance.
Step 6: Refine the Shape
Take a step back and observe your drawing so far. Now is the time to make any necessary adjustments to ensure everything looks proportional. Use your eraser to clean up any stray lines or mistakes.
Step 7: Add Detailing to the Backrest
To make the backrest appear more realistic, add some detailing. Draw vertical lines along the length of the backrest, indicating the wooden panels or cushions. Be sure to add shading to create a sense of depth.
Step 8: Work on the Seat
Similar to the backrest, add detailing to the seat as well. You can draw horizontal lines across the seat to represent the planks or cushions. Remember to add shading to enhance the 3D effect.
Step 9: Perspective Lines
To further enhance the 3D illusion, we’ll add perspective lines. These lines will guide the viewer’s eyes towards the vanishing point. Using a ruler and a pencil, draw diagonal lines from the corners of the seat and backrest towards the same vanishing point.
Step 10: Final Touches
Now that you have the basic structure of the chair, it’s time to add the final touches. Add shading and highlights to create a sense of depth and realism. Pay attention to light sources and shadows to make your drawing more convincing.
Conclusion
Congratulations! You have successfully learned how to draw a 3D chair from scratch. With a little practice and patience, you can create stunning 3D drawings of various objects. Remember to experiment with different styles, colors, and details to make your drawings unique. So grab your pencil and keep exploring the world of art!


