Welcome to this step-by-step tutorial on how to draw a juice box! Whether you’re an aspiring artist or just looking for a fun and creative activity, this guide will help you master the art of drawing a refreshing juice box. Grab your pencils, paper, and let’s get started!
Materials Required
- A pencil
- Paper
- Eraser
- Colored pencils or markers (optional)
Step 1: Outline the Shape of the Juice Box
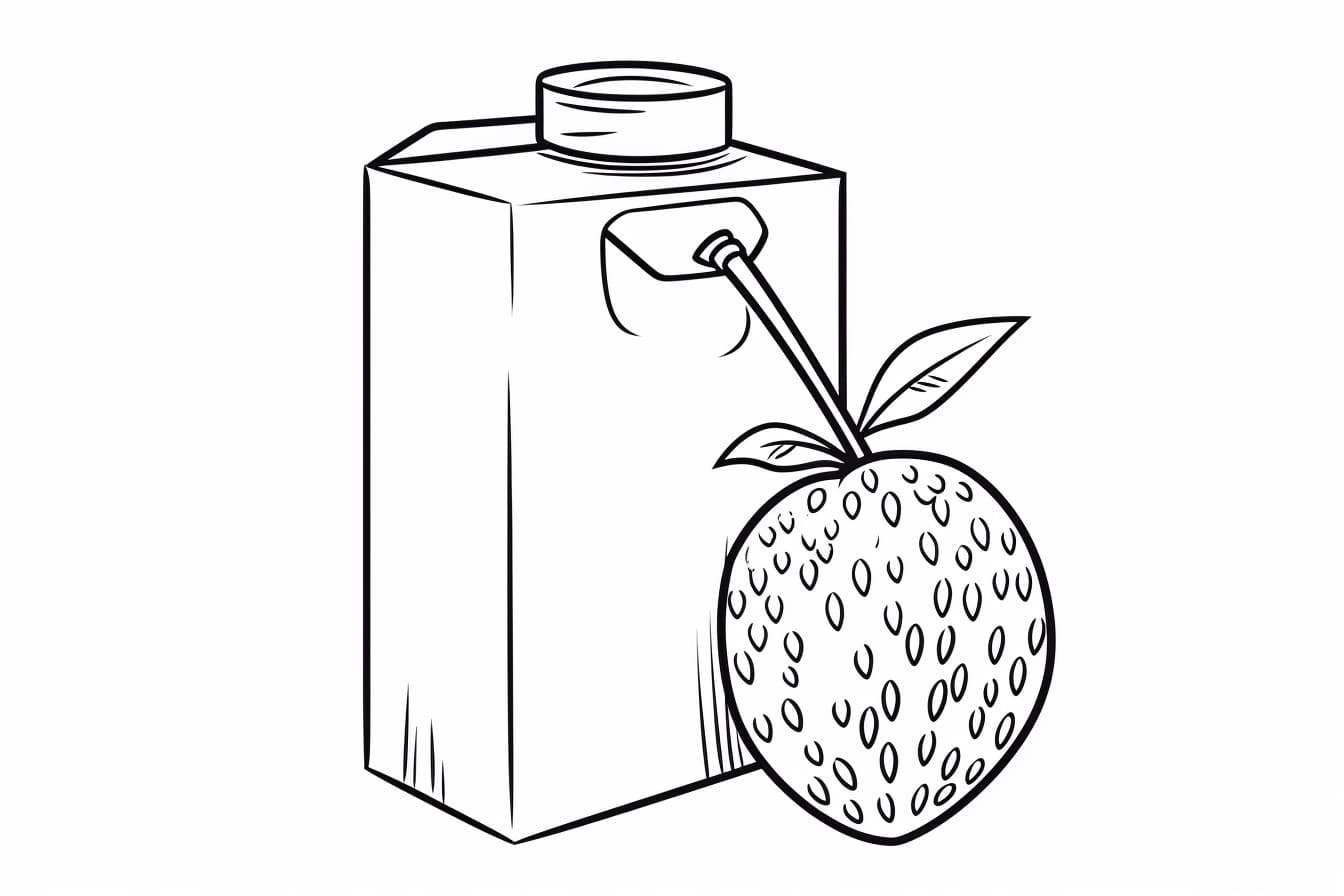
Start by drawing a rectangle in the center of your paper. This will be the basic shape of your juice box. Make the top and bottom lines slightly curved to give it a more realistic appearance.
Step 2: Add the Details
Inside the rectangle, draw two parallel horizontal lines near the top and bottom edges of the shape. These lines will create the lid and base of the juice box. Connect the lines on the sides with vertical lines. On the front side of the box, draw a smaller rectangle for the spout.
Step 3: Draw the Top Lid
At the top of the rectangle, draw a smaller rectangular shape for the lid. Make sure it’s slightly larger than the base of the juice box. Add a curved line at each corner to make it look more three-dimensional.
Step 4: Sketch the Opening Tab
On the right side of the top lid, draw a small rectangular shape for the tab that opens the juice box. Add a curved line at each corner to give it a rounded appearance. Don’t forget to draw a small rectangle at the bottom of the tab for the opening.
Step 5: Outline the Base
At the bottom of the juice box, draw a rectangular shape slightly smaller than the top lid. Like before, add curved lines at each corner to give it dimension. You can also draw a small rectangular shape on the front side for the straw hole.
Step 6: Erase Unnecessary Lines
Now that you’ve outlined the main shapes, take your eraser and carefully erase any unnecessary lines. Be sure to keep the essential outlines intact.
Step 7: Add the Juice Box Details
To make your juice box look more authentic, add some basic details. Draw a horizontal line across the spout rectangle to show where the straw would go in. You can also draw two curved lines on each side of the straw hole to indicate where the juice would come out.
Step 8: Render the Texture
To make your juice box appear more realistic, add some texture. Use short diagonal lines to create a series of parallel lines across the entire surface of the juice box. This will give the impression of a cardboard texture.
Step 9: Color Your Juice Box (optional)
If you want to make your drawing more vibrant, grab your colored pencils or markers and add some color to your juice box. Feel free to choose any color you like for the box and use a bright color for the juice inside. Don’t forget to add some shading to create depth and dimension.
Step 10: Final Touches
Take a moment to review your drawing and make any necessary adjustments. Add any additional details or colors as desired. Once you’re satisfied with the result, you can carefully outline your drawing with a pen or marker to make it stand out.
Congratulations! You’ve successfully drawn a juice box. Remember, practice makes perfect, so don’t be afraid to experiment with different styles and techniques. Have fun and keep honing your artistic skills!
Thank you for following this step-by-step guide on how to draw a juice box. We hope you enjoyed this tutorial and found it helpful in enhancing your drawing abilities. Now, take this newfound knowledge and create your own refreshing juice box masterpiece!