As an expert artist and drawing instructor, I will guide you through the process of drawing a grenade step by step. Drawing objects from real life can be challenging but with the right techniques, anyone can create stunning artwork. In this tutorial, we will break down the complex shape of a grenade into simple and manageable steps. So let’s get started!
Materials Required
Before we begin, gather the following materials:
- Paper: Use a smooth, heavyweight paper suitable for drawing, such as drawing paper or bristol board.
- Pencil: A regular HB or 2B pencil will work well for sketching and initial outlines.
- Eraser: Have a good quality eraser on hand to remove any unwanted lines.
- Pens or markers: After completing your pencil sketch, you may choose to outline and add details with pens or markers of your choice.
- Optional: Colored pencils or paints can be used to add color and enhance your drawing.
Now that you have all the necessary materials, let’s dive into the steps to draw a grenade.
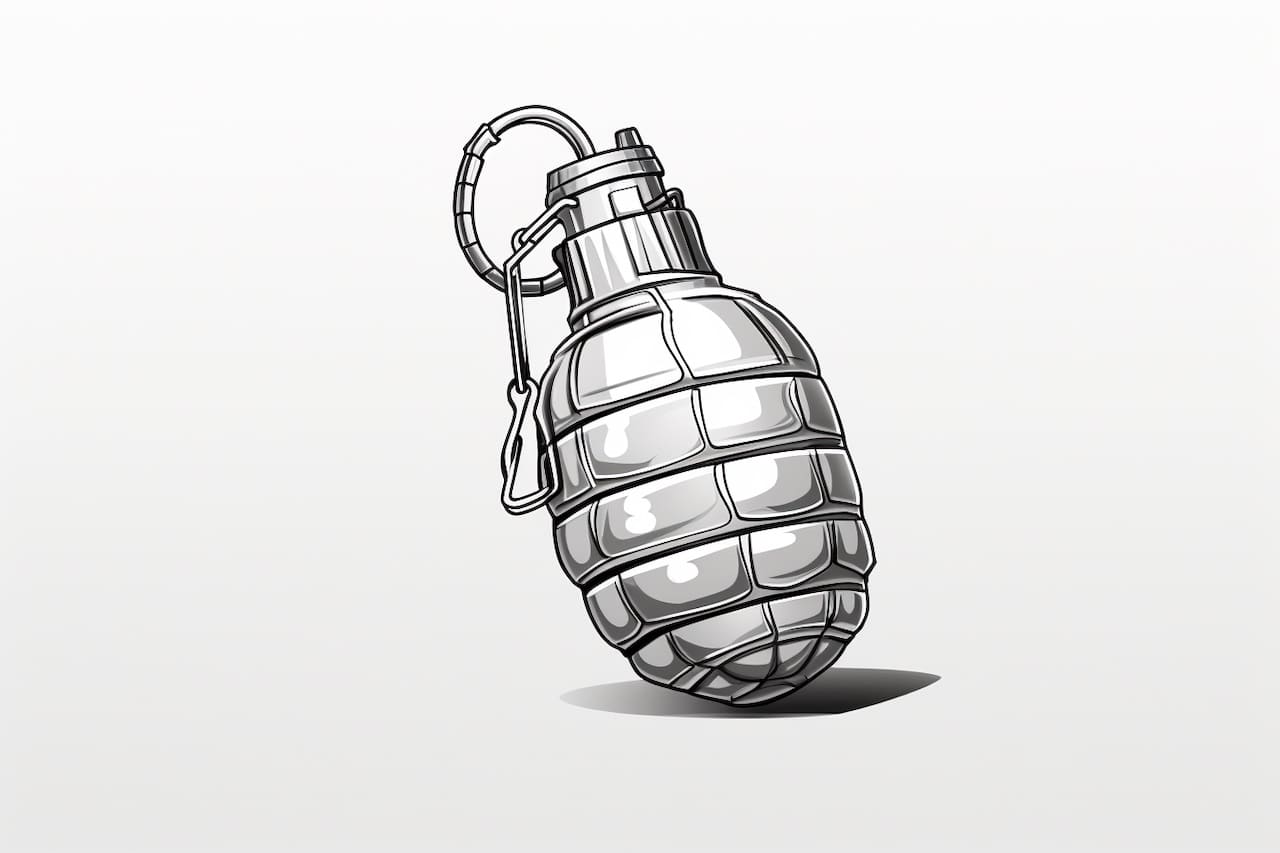
Step 1: Sketch the Basic Shape
Start by lightly sketching the basic shape of the grenade. A grenade typically has a cylindrical body with a rounded top and bottom. Draw a vertical line to determine the length of the grenade, and then add rounded shapes at the top and bottom for the curved sections.
Step 2: Add the Safety Lever
Next, draw the safety lever on the top of the grenade. It is usually a curved metal piece that is connected to the grenade’s body. Start by drawing a small rectangle shape on top of the curved section of the grenade. Then, add a curved line connecting the rectangle to the grenade’s body, forming the lever.
Step 3: Outline the Pin
Draw a curved line below the safety lever to represent the pin. The pin is a small metal piece that holds the lever in place until it is pulled. Make sure the line is slightly curved to give it a three-dimensional appearance.
Step 4: Sketch the Grenade’s Body
Now it’s time to add details to the grenade’s body. Use your initial sketch as a guide and add more definition to the cylindrical shape. Add extra lines to indicate the ridges or grooves on the grenade’s body. These details will give your drawing a more realistic look.
Step 5: Draw the Grenade’s Handle
The handle of the grenade is usually located on the side. It is a curved metal piece used for throwing the grenade. Start by drawing a curved line that extends from the body of the grenade. Then, add another smaller curved line parallel to the first one, creating the shape of the handle.
Step 6: Add Texture and Shading
To make your drawing more realistic, add texture and shading to the grenade. Use cross-hatching or parallel lines to create the illusion of texture on the body of the grenade. Shade the areas that would be in shadow, such as the underside of the rounded top and bottom, as well as the crevices and grooves. This will give your drawing depth and dimension.
Step 7: Finalize the Outline
Once you are satisfied with the details and shading, go over the final outline of the grenade with a darker pencil or pen. This will help define the shapes and make your drawing stand out.
Step 8: Optional – Add Color
If you prefer to add color to your drawing, now is the time to do so. Use colored pencils or paints to bring your grenade to life. Research the colors of real grenades to ensure accuracy. You can also experiment with different color combinations for a more creative approach.
Conclusion
Congratulations on successfully drawing a grenade! By following these step-by-step instructions, you have learned how to break down a complex object into manageable shapes and details. Remember to practice regularly and have fun exploring different drawing techniques. With time and dedication, your artistic skills will continue to grow. Enjoy your newfound ability to draw grenades with confidence!