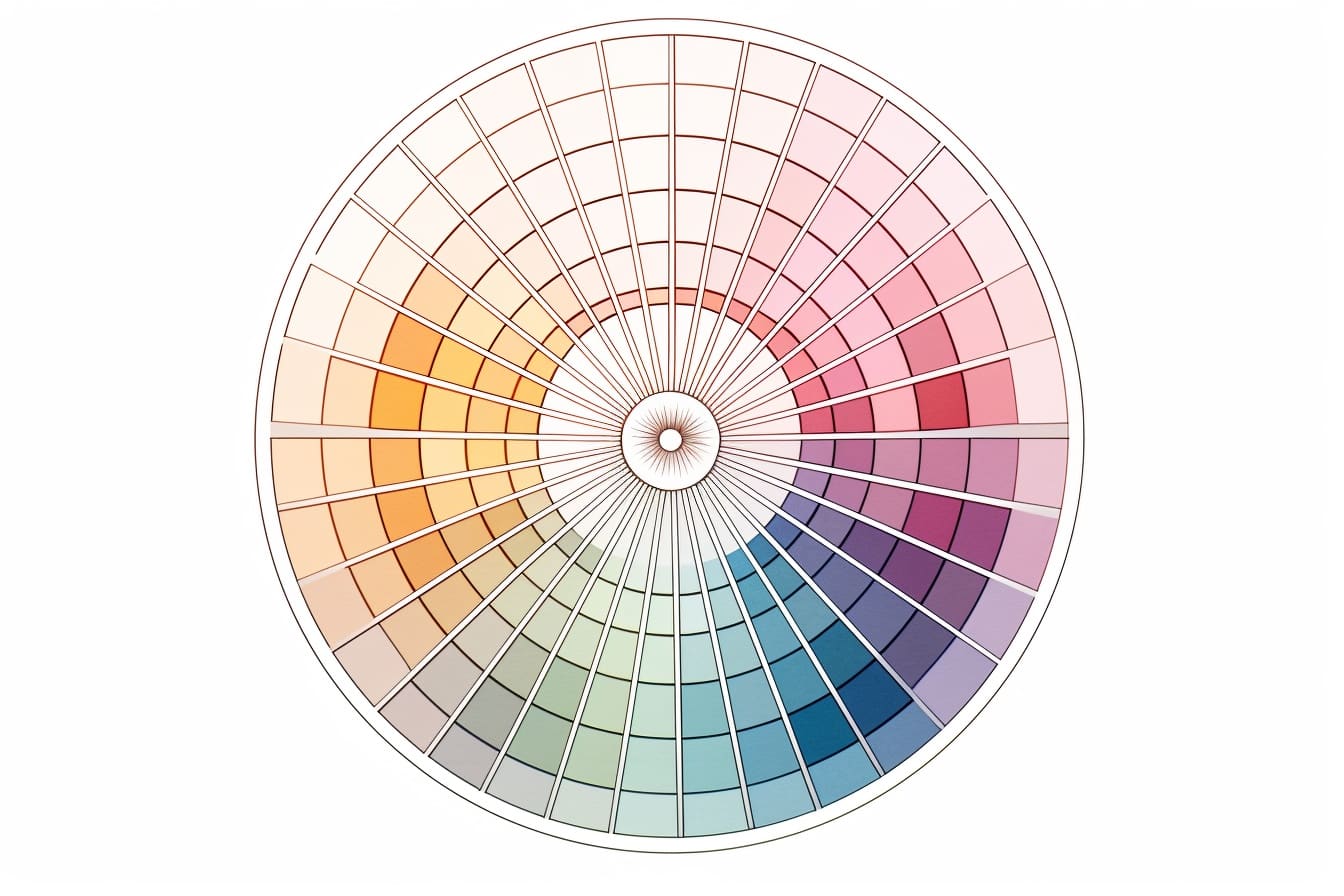
Creating a color wheel is an essential first step for any aspiring artist or designer. The color wheel is a visual representation of the primary, secondary, and tertiary colors, providing a valuable resource for understanding color theory and harmonizing different hues in your artwork. In this article, we will guide you through the process of drawing a color wheel from scratch, using simple and easy-to-follow steps.
Materials Required
To draw a color wheel, you will need the following materials:
- A blank sheet of paper
- A pencil
- A compass
- A ruler
- Colored pencils or markers
Now that you have gathered your materials, let’s get started!
Step 1: Draw a Circle
Begin by using your compass to draw a large circle in the center of your blank sheet of paper. Ensure that the circle is evenly round and takes up a significant portion of the page. The circle will serve as the base for your color wheel.
Step 2: Divide into Six Sections
Use your ruler to divide the circle into six equal sections. To do this, draw a straight line from the top of the circle to the bottom, passing through the center. Repeat this process, but this time draw a line from the left side to the right side, again going through the center. You should now have a circle divided into six equal parts.
Step 3: Add Primary Colors
In the first section of the circle, nearest to the top, write the name of the primary color “Red.” In the second section, moving clockwise, write “Yellow,” and then “Blue” in the third section. These three colors are the primary colors and are used as the foundation for all other colors.
Step 4: Add Secondary Colors
Moving on, in the fourth section of the circle, write “Orange.” This color is created by mixing equal parts of red and yellow. In the fifth section, write “Green,” which is a blend of blue and yellow. Finally, in the sixth and final section, write “Purple,” which is formed by combining equal parts of red and blue. These three colors are known as the secondary colors, as they are formed by mixing two primary colors.
Step 5: Add Tertiary Colors
Now it’s time to add the tertiary colors. These are the colors that are created by mixing a primary color with a neighboring secondary color. Draw a small triangle inside each section of the color wheel, dividing it into three equal parts. Starting with the triangle between red and orange, write “Red-Orange.” Moving clockwise, continue with “Yellow-Orange,” “Yellow-Green,” “Blue-Green,” “Blue-Purple,” and finally, “Red-Purple.” These six colors are the tertiary colors and complete the color wheel.
Step 6: Color the Wheel
Now that your color wheel is fully divided and labeled, it’s time to add color! Begin by coloring the primary colors: red, yellow, and blue. Make sure to stay within the lines and use consistent pressure to achieve a smooth and even color. Next, color the secondary colors: orange, green, and purple. Finally, move on to the tertiary colors, using a combination of the neighboring primary and secondary colors to create each shade. Take your time and enjoy the process of filling in the colors, making sure to keep the wheel neat and distinct.
Conclusion
Drawing a color wheel is a fundamental skill for anyone interested in art or design. By understanding the relationships between primary, secondary, and tertiary colors, you can create harmonious and visually pleasing compositions. We hope this step-by-step guide has been helpful in teaching you how to draw a color wheel. Now, armed with this knowledge, you can confidently explore the world of color and unleash your creativity in your future artwork.