Welcome to this step-by-step guide on how to draw a sand castle! Whether you’re at the beach or just wanting to create a fun summer-themed artwork, drawing a sand castle can be a delightful and relaxing activity. In this article, I will provide you with easy-to-follow instructions that will help you create your very own sand castle masterpiece. So grab your drawing materials and let’s get started!
Materials Required
Before we begin, it’s important to gather the necessary materials. Here’s what you’ll need:
- Drawing paper or sketchbook
- Pencil
- Eraser
- Drawing pens or fine-tip markers
- Colored pencils or markers (optional)
Make sure you have all these materials ready before moving on to the next steps.
Step 1: Outline the Castle
Start by lightly sketching the outline of the sand castle. Begin with the base, which is typically a rectangle shape representing the bottom part of the castle. You can make it as small or as large as you like, depending on your preference. Remember, drawing lightly will allow you to easily make changes and adjustments later.
Step 2: Add Turrets and Towers
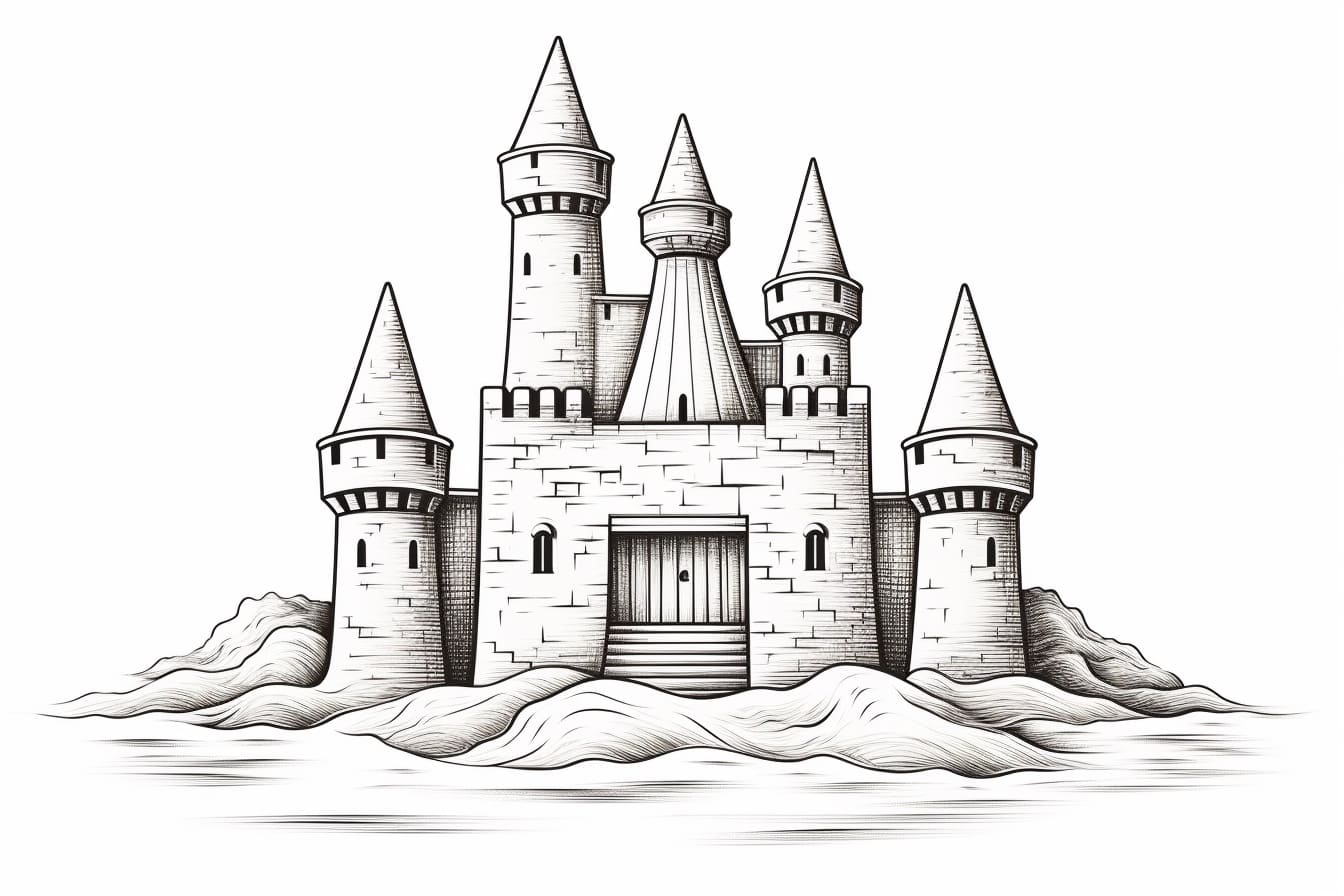
Next, add the turrets and towers to the castle. These are the iconic structures that give the sand castle its distinct appearance. Turrets are cone-shaped, while towers are rectangular in shape. Position them at various points along the outline of the castle to create visual interest.
Step 3: Detail the Turrets and Towers
Now that you have the basic shapes in place, it’s time to add some details to the turrets and towers. Draw vertical lines on the turrets to represent the bricks. For the towers, draw small rectangular windows and lines to indicate the different levels. These details will bring your sand castle to life.
Step 4: Draw the Entrance
Every castle needs a grand entrance, and your sand castle is no exception. Add a doorway in the center of your castle, between the turrets or towers. Draw an arch shape at the top of the doorway for added elegance. Feel free to get creative with the design of the entrance, adding embellishments such as flags or banners.
Step 5: Create Texture
To make your sand castle look realistic, it’s important to create a sense of texture. Use short, curved lines to add texture and shading to the base of the castle, giving the illusion of sand. You can also add some shading to the turrets and towers, emphasizing the different levels and edges.
Step 6: Add Details
Now it’s time to add some fun and creative details to your sand castle. Draw shells, starfish, and seaweed around the base of the castle to give it a beachy feel. You can also draw tiny people playing in the sand or add little flags on top of the turrets. Let your imagination run wild and personalize your sand castle with unique elements.
Step 7: Outline with Ink
Once you are satisfied with your pencil sketch, go over the lines with drawing pens or fine-tip markers. This will make your drawing more bold and defined. Start with the outline of the castle and then move on to the smaller details. Take your time and be careful not to smudge the ink as you go.
Step 8: Color Your Sand Castle
If you want to add some color to your sand castle, now is the perfect time to do so. Use colored pencils or markers to bring your drawing to life. Experiment with different shades of brown and beige to create a realistic sand effect. Add pops of color to the flags, shells, and other elements to make them stand out.
Conclusion
Congratulations! You have successfully drawn a sand castle. I hope you enjoyed this step-by-step guide and found it helpful in creating your own masterpiece. Remember, drawing is all about experimenting and having fun, so don’t be afraid to add your own unique touches to your sand castle. Happy drawing!