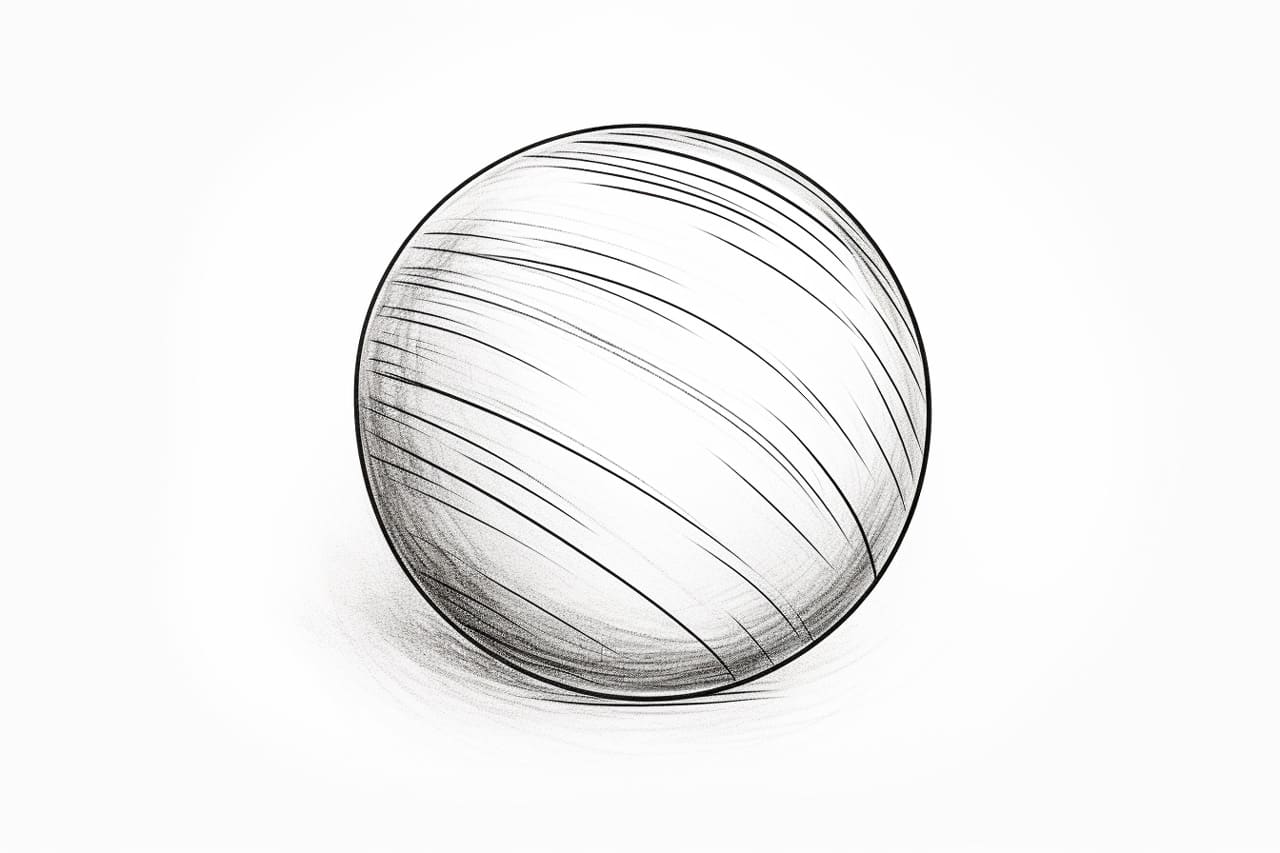
Welcome to this step-by-step guide on how to draw a ball! Whether you’re a beginner or an experienced artist, this tutorial will teach you how to capture the form and texture of a ball on paper. By following these simple instructions, you’ll be able to create an impressive drawing that showcases your artistic skills. So, let’s grab our materials and get started!
Materials Required
Before we begin, let’s gather the necessary materials needed to draw a ball:
- Drawing paper or sketchbook
- Pencil (preferably an HB or 2B)
- Eraser
- Blending stump or cotton swab (optional)
- Charcoal or soft graphite pencil (optional, for shading)
Once you have these materials ready, we can move on to the step-by-step instructions.
Step 1: Sketch the Basic Outline
Start by lightly sketching a circle on your paper. This will serve as the basic outline of the ball. Remember, the circle does not have to be perfect, as natural objects like balls can have slight imperfections. Use light, loose strokes, as we’ll be refining this sketch as we progress.
Step 2: Add Volume and Depth
To make the ball appear three-dimensional, we need to add volume and depth. Imagine a light source coming from a specific direction, and visualize where the shadows would form. Using your pencil, gently darken the areas of the ball that would be in shadow. This will help create the illusion of a rounded object.
Step 3: Refine the Contours
Now, take a closer look at the ball and observe its contours. Look for any ridges or bumps that may be present. With your pencil, carefully refine the outline of the ball, taking into consideration these details. Pay attention to the subtle changes in curvature, as they will contribute to the realism of your drawing.
Step 4: Create the Texture
Balls typically have a smooth, reflective surface. To depict this texture, we can use shading techniques. With the side of your pencil, apply a light layer of shading to the ball, focusing on the areas that are in shadow. The shading should be done with short, controlled strokes, following the contour of the ball. Gradually build up the values by adding more layers of shading.
Step 5: Blend the Shading (optional)
For a smoother and more seamless look, you can blend the shading using a blending stump or a cotton swab. Gently rub the stump or swab over the shaded areas, softening the lines and creating a smoother transition between light and shadow. This step is optional, but it can enhance the overall appearance of your drawing.
Step 6: Add Highlights
To make the ball appear even more realistic, we need to add highlights. The highlights are areas where the light source directly hits the ball, creating a bright spot. Using an eraser, carefully lift off some of the graphite or charcoal from the areas that would catch the light. This will create the illusion of a reflective surface and add a sense of depth to your drawing.
Step 7: Shade the Background (optional)
To make the ball stand out even more, you can shade the background. This will provide contrast and make the ball appear more three-dimensional. Using your pencil or charcoal, lightly shade the area around the ball, gradually darkening it as you move away from the ball. This will create a sense of depth and make your drawing pop.
Step 8: Refine and Adjust
Take a step back and evaluate your drawing. Look for any areas that may need refining or adjusting. Pay attention to the overall proportions, values, and details. Make any necessary corrections or modifications to ensure the ball looks realistic and visually pleasing.
Conclusion
Congratulations! You’ve successfully learned how to draw a ball step by step. By following these instructions and practicing regularly, you’ll continue to improve your drawing skills and be able to tackle more complex subjects. Drawing objects like a ball can help you understand the fundamentals of light, shadow, and form. So, grab your materials and start experimenting with different shapes and sizes. Enjoy the process, and have fun creating remarkable drawings!


