Do you have a fascination with crystal balls and want to learn how to draw one? Drawing a crystal ball may seem like a challenging task, but with a few simple steps, you can create a realistic and mesmerizing artwork. In this article, I will guide you through the process of how to draw a crystal ball from start to finish. So, grab your drawing materials and let’s get started!
Materials Required
Before we begin, gather the following materials:
- Drawing paper or sketchbook
- Pencil (preferably HB or 2B)
- Eraser
- Ruler
- Compass or circular object (e.g., a lid or jar)
- Fine-tip black pen or marker
- Colored pencils or markers (optional)
Now that you have your materials ready, let’s delve into the step-by-step process of drawing a crystal ball.
Step 1: Sketching the Base
To start, draw a horizontal line near the bottom of your paper using a ruler. This line will act as the base of the crystal ball. Make sure the line is straight and spans the width of your paper.
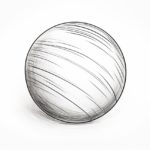
Step 2: Creating the Circle
Using a compass or a circular object, such as a lid or jar, draw a perfect circle on top of the base line. This circle represents the shape of the crystal ball. Take your time to ensure the circle is symmetrical and well-proportioned.
Step 3: Adding Depth
To make the crystal ball appear three-dimensional, we need to add depth. Draw another smaller circle inside the first one, but slightly towards the bottom. This smaller circle will form the inner curve of the crystal ball, creating the illusion of depth.
Step 4: Detailing the Base
Next, let’s add some details to the base of the crystal ball. Draw two vertical lines extending downward from the ends of the base line. These lines will serve as the supports for the crystal ball. You can make them as long or short as you like, depending on your preference for the overall height of the crystal ball.
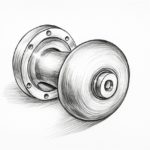
Step 5: Adding the Stand
Now, let’s draw the stand for the crystal ball. Start by sketching two straight lines that converge towards the center of the base line. These lines will represent the edges of the stand. Then, connect the ends of these lines by drawing a slightly curved horizontal line. This will create the top surface of the stand.
Step 6: Detailing the Stand
To add more interest and realism to the stand, draw some additional details. Add vertical lines on both sides of the stand to represent the legs. These lines should extend from the top surface of the stand to the base line. You can also add some decorative elements, such as patterns or engravings, to make the stand more visually appealing.
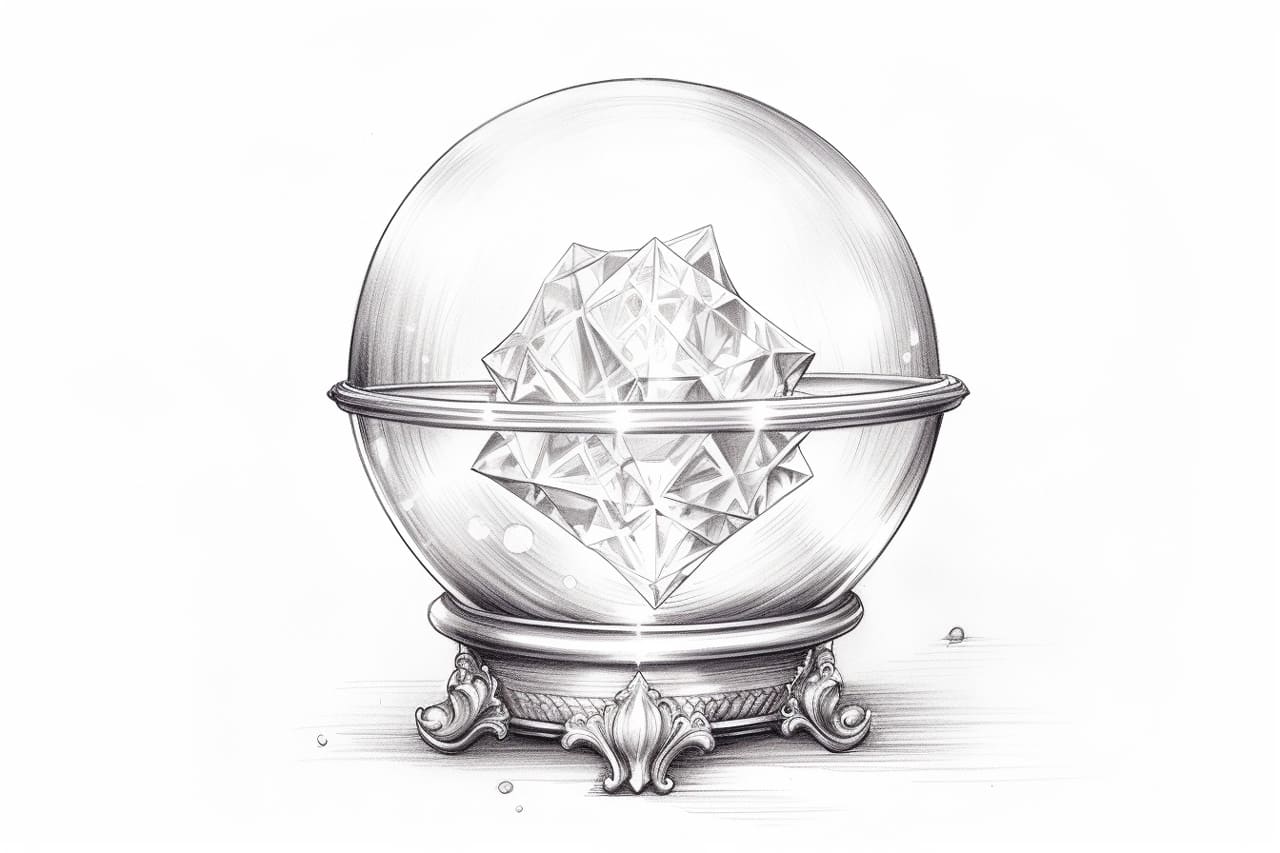
Step 7: Refining the Crystal Ball
Now, let’s focus on the crystal ball itself. Start by erasing the inner portion of the smaller circle we drew earlier. This will create a clear area within the crystal ball. Next, sketch some light diagonal lines across the surface of the crystal ball to imitate reflections and give it a more realistic appearance.
Step 8: Adding Highlights
To make the crystal ball look shiny and transparent, we need to add highlights. Identify the primary light source in your drawing, and imagine where it would create reflections on the crystal ball. Using your eraser, carefully lighten those areas, creating soft highlights. Remember to leave the edges of the highlights slightly blurred for a more natural look.
Step 9: Inking the Drawing
Once you are satisfied with the pencil sketch, it’s time to ink the drawing. Grab a fine-tip black pen or marker and carefully trace over all the lines. Take your time, as this will determine the final appearance of your artwork. Be confident in your strokes and try to keep them smooth and consistent.
Step 10: Coloring (Optional)
If you want to add color to your crystal ball drawing, now is the time to do so. Using colored pencils or markers, carefully fill in the crystal ball with the desired colors. Consider using light, translucent shades to maintain the illusion of transparency. You can also experiment with gradients or shading techniques to create a more dimensional effect.
Conclusion
Congratulations! You have successfully learned how to draw a crystal ball from scratch. By following these step-by-step instructions and adding your own creative flair, you can create stunning and magical artworks. Don’t be afraid to experiment and try different variations of crystal balls. So, grab your materials and start drawing your very own crystal ball masterpiece today!