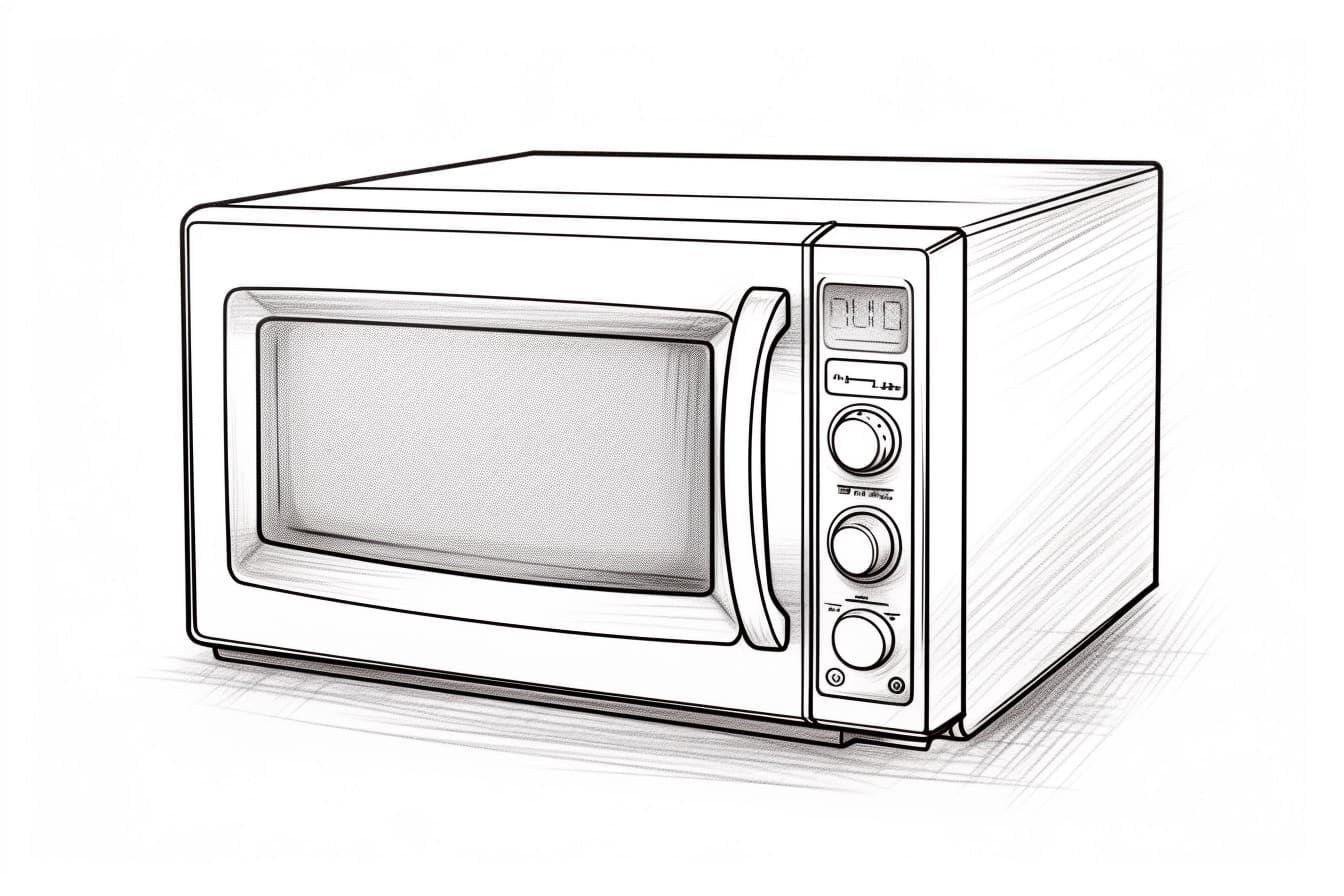
Welcome to this step-by-step tutorial on how to draw a microwave! Whether you are an aspiring artist or just looking for a fun creative activity, this guide will help you create a realistic and detailed drawing of a microwave. So, let’s get started!
Materials Required
Before we begin, make sure you have the following materials:
- A pencil
- A sketchbook or drawing paper
- An eraser
- Colored pencils or markers (optional)
Now that you have your materials ready, let’s move on to the steps!
Step 1: Draw the Basic Shape
Start by drawing a rectangle that will represent the main body of the microwave. This rectangle can be tall or wide, depending on the perspective you prefer. Remember to use light and loose strokes at this stage, as we will refine the shape later.
Step 2: Add the Control Panel
Inside the rectangle, draw another smaller rectangle for the control panel. This rectangle should be slightly smaller and centered within the main body. You can add some buttons and a display panel on the control panel for a more realistic look.
Step 3: Sketch the Door
Next, draw a vertical line slightly off-center, dividing the main body into two parts. This line will represent the door of the microwave. Then, add a handle on the right side of the door with a horizontal line and a curved shape.
Step 4: Refine the Shape
Refine the shape of the microwave by adding rounded corners to the rectangle. Smooth out the edges and make sure the proportions are correct. Take your time with this step to ensure a polished finish.
Step 5: Add Details
Now it’s time to add some details to make the microwave look realistic. Draw a circle or oval shape at the top of the main body to represent the window. Then, add a grid pattern or tiny dots inside the window to mimic the mesh used in real microwaves. You can also draw a couple of vents or airholes on the sides or back of the microwave.
Step 6: Shade and Shadow
To give your drawing depth and dimension, add shading and shadow. Imagine a light source coming from a specific direction and shade the areas accordingly. Darken the inner part of the microwave, especially around the window, to create the illusion of depth. Add some subtle shadow beneath the microwave to ground it.
Step 7: Optional Coloring
If you want to add some color to your drawing, now is the time to do so. Use colored pencils or markers to bring your microwave to life. You can go for a metallic silver or white color for the body, and add some vibrant colors to the control panel buttons and display.
Conclusion
Congratulations, you have successfully drawn a microwave! This step-by-step guide has helped you create a realistic representation of a microwave, from the basic shape to the finer details. Remember to practice regularly, experiment with different perspectives, and have fun with your drawings. Happy creating!


