Are you looking to add a touch of holiday magic to your artwork? Drawing a Christmas snow globe is a beautiful way to capture the joy and wonder of the season. In this step-by-step tutorial, I will guide you through creating your beautiful snow globe illustration. Get your pencils ready, and let’s dive in!
Materials Required
To create your Christmas snow globe drawing, you will need the following materials:
- Drawing paper or sketchbook
- Pencils (HB, 2B, 4B)
- Eraser
- Fine-tipped black pen or marker
- Colored pencils or markers
- Ruler
- Compass
- Circular objects of different sizes for tracing (optional)
- Reference image of a snow globe (optional)
Now that you have gathered your materials let’s draw the snow globe!
Step 1: Sketch the Basic Shape
Start by lightly sketching the basic shape of the snow globe using a pencil. You can draw a circle or an oval shape, depending on your preference. Use a ruler or a compass to help you create a perfect shape. Keep your lines light and loose, as you will refine the details later.
Step 2: Add the Base
Draw a slightly curved line to create the base at the bottom of the snow globe shape. Ensure the base is broader than the globe to give it stability. You can also add some decorative lines or patterns to enhance the design of the base.
Step 3: Draw the Glass Dome
Draw a slightly curved line inside the snow globe shape from one side to the other, following the contour of the world. This will be the glass dome of the snow globe. Add a smaller curved line inside the dome to represent the inner edge where the water and snowflakes are contained.
Step 4: Sketch the Scene
Now it’s time to add your desired scene inside the snow globe. You can draw a snowy landscape, a cozy house, a Christmas tree, or anything that represents the holiday spirit. Use your imagination or find inspiration from reference images if needed. Sketch the main elements lightly using basic shapes, and remember to include some snowflakes floating in the air.
Step 5: Refine the Details
Once you have sketched out the main elements, it’s time to refine the details. Use a darker pencil, such as a 2B or 4B, to add more definition to your drawing. Shading and hatching add more depth and texture to the landscape, house, or tree. Pay attention to the lighting and shadows to create a realistic effect.
Step 6: Ink the Final Lines
When you are satisfied with your pencil sketch, it’s time to ink the final lines. Use a fine-tipped black pen or marker to trace your pencil lines carefully. Start with the outer shape of the snow globe, then move on to the base, the glass dome, and finally, the scene inside. Be confident with your lines, and take your time to create smooth and consistent strokes.
Step 7: Erase the Guidelines
Once the ink is dry, use a soft eraser to erase any remaining pencil guidelines. Be careful not to smudge the inked lines while erasing. This step will give your snow globe drawing a clean and polished look.
Step 8: Add Color
Now comes the fun part – adding color to your snow globe drawing! Use colored pencils or markers to bring your scene to life. Choose festive colors that evoke the holiday spirit. Color the sky, the landscape, the house, the tree, and other elements in your drawing. Don’t forget to add some highlights and shadows to create depth and dimension.
Step 9: Enhance with Details
Consider adding some extra details to make your snow globe drawing even more enchanting. You can use metallic pens or markers to add a shimmering effect to the glass dome or the snowflakes. Add small dots or lines to create falling snow or a sense of movement. Be creative and let your imagination guide you in adding those final touches.
Shake It Up
Congratulations! You have successfully learned how to draw a Christmas snow globe. Sketching, refining details, inking, and coloring have allowed you to create a festive and magical scene within a beautiful snow globe. So grab your materials and create stunning snow globe illustrations to spread the holiday spirit!
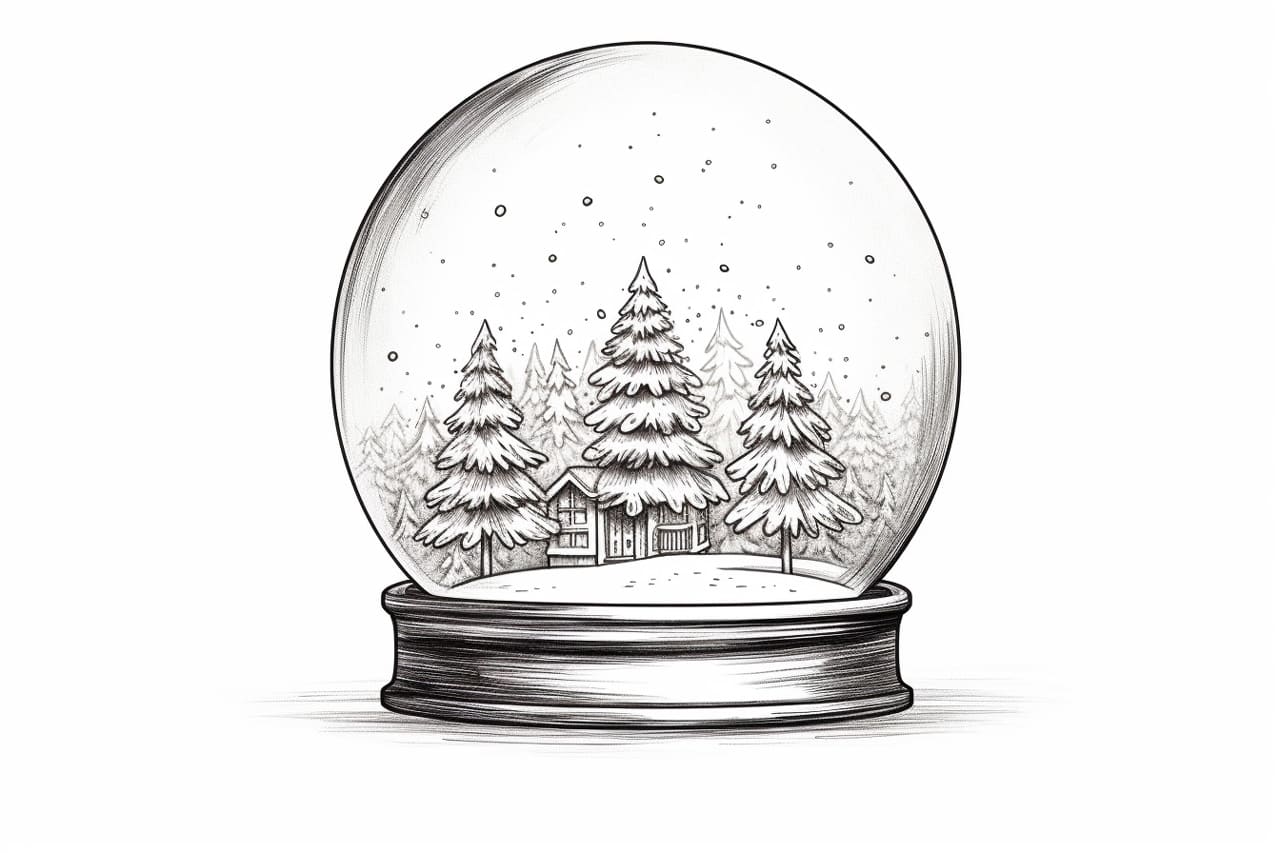
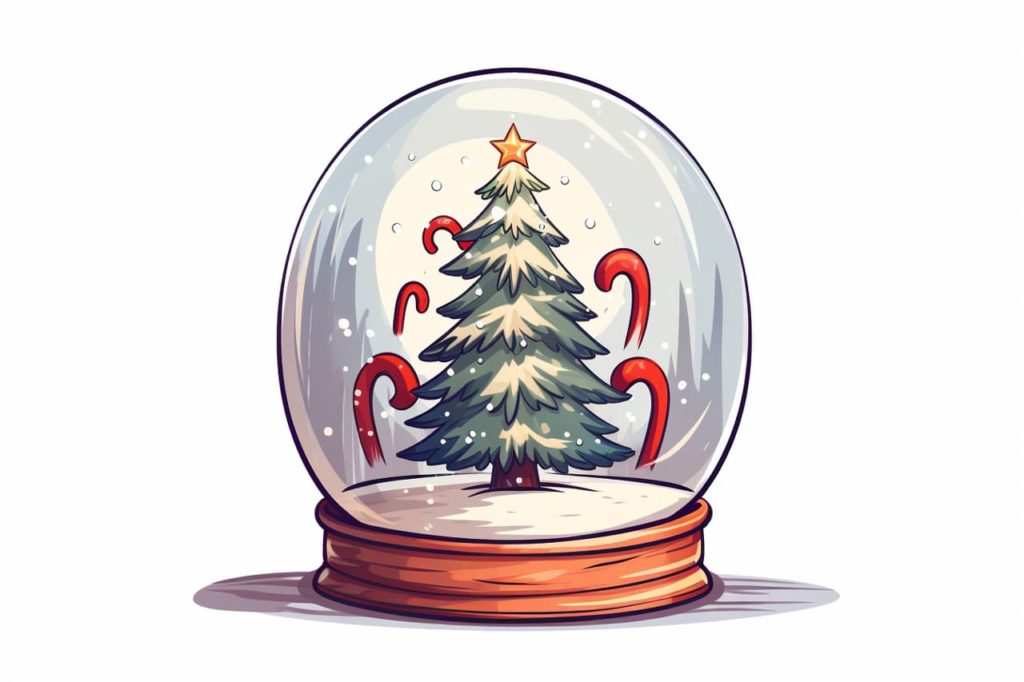
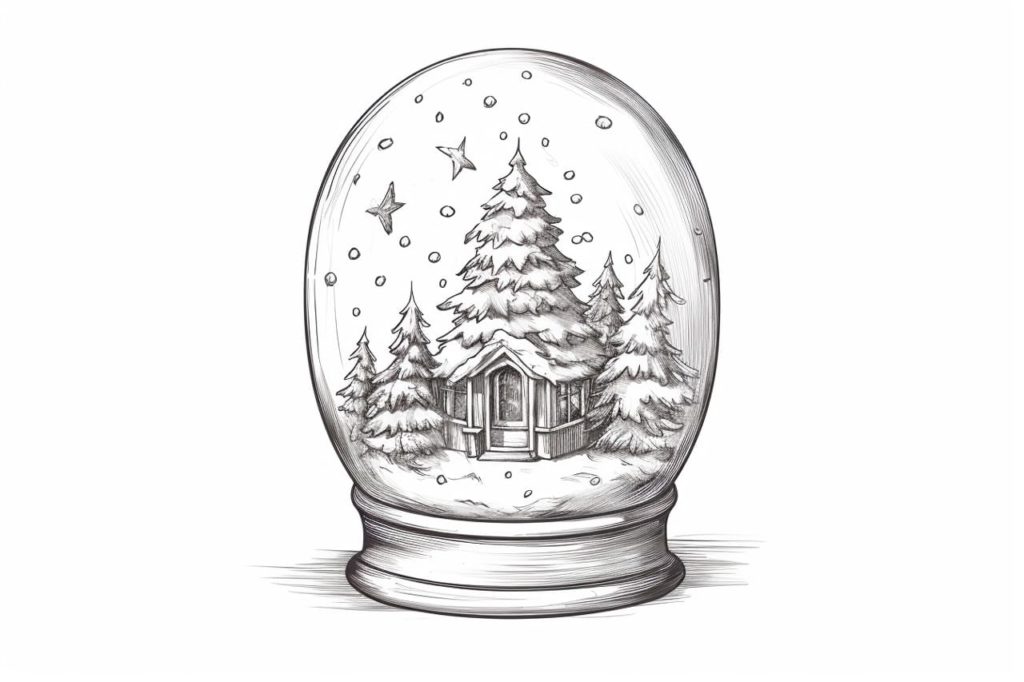
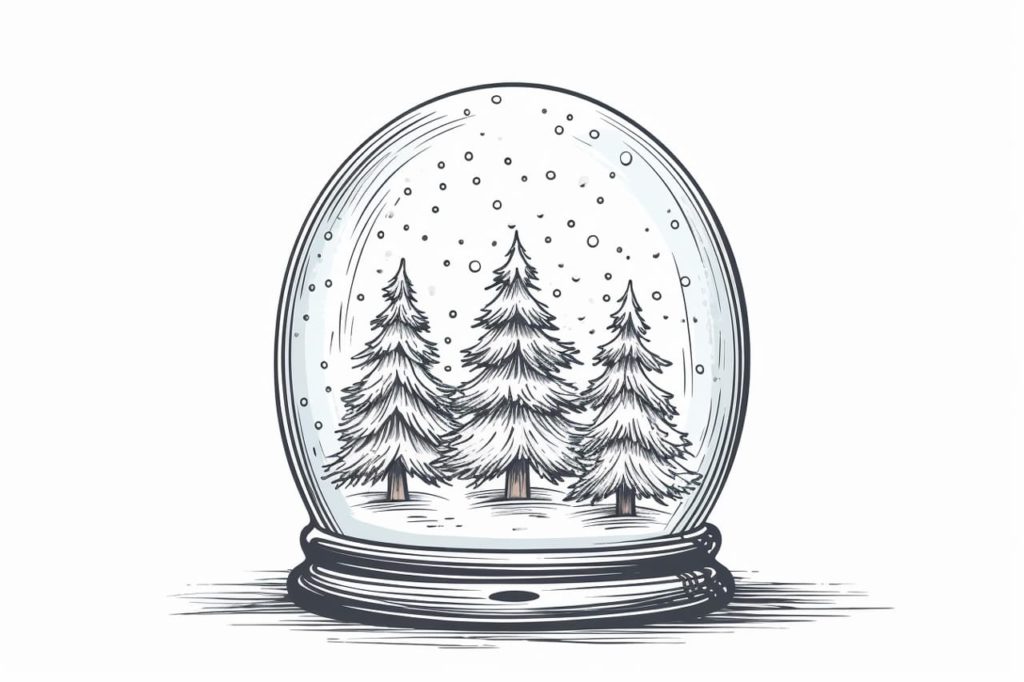
Gallery of Christmas Snow Globe Drawings
Fun Facts About Christmas Snow Globes
- Snow globes originated in 19th-century France, where they were first used as paperweights before becoming decorative collectibles.
- The first patented snow globe was created in 1900 by Austrian inventor Erwin Perzy, who accidentally discovered the effect while trying to improve lightbulbs!
- Traditional snow globes contain glycerin or glycol, which slows the fall of the “snow” and makes the swirling flakes linger longer in the water.
- Holiday-themed snow globes are especially popular, often featuring Christmas trees, Santa Claus, reindeer, snow-covered cottages, and winter scenes.
- Some vintage snow globes are now considered valuable collector’s items, especially those from the mid-20th century made with hand-painted interiors.
- Snow globes can be musical, too—many wind up to play classic tunes like “Jingle Bells” or “Silent Night” as the snow gently falls.
- Modern snow globes can include LED lights, glitter, and even fan-blown snow, adding extra sparkle and animation to the classic design.
- Snow globes are popular gifts because they evoke nostalgia, coziness, and a sense of peaceful wonder—like holding a tiny world in your hands.
- In pop culture, snow globes often symbolize memory, imagination, or magic, appearing in movies like Citizen Kane, The Santa Clause, and Klaus.
- You can even make your own DIY snow globe using a jar, water, glitter, and a small waterproof figurine—art and craft collide!
Suggestions for Scenes and Settings for Christmas Snow Globe Drawings
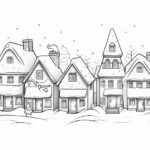
- Classic Christmas Village: Draw a miniature village scene with snow-dusted rooftops, glowing windows, carolers in scarves, and a Christmas tree at the town square.
- Santa’s Sleigh in Flight: Create a globe that captures Santa in his sleigh soaring over a snowy town with reindeer, gift sacks, and a trail of sparkling magic in the air.
- Cozy Cabin in the Woods: Picture a warm log cabin nestled among pine trees, smoke curling from the chimney, with a snowman waving nearby.
- Gingerbread Wonderland: Design a whimsical gingerbread house scene, complete with candy cane lamp posts, frosting roofs, and gumdrop pathways.
- Nutcracker Ballet Stage: Turn your snow globe into a theater showing a tiny ballerina spinning in front of festive curtains and twinkling lights.
- Polar Bear Playground: Draw polar bears sliding on ice or playing in the snow under the Northern Lights, all contained within the icy globe.
- Christmas Train Ride: Illustrate a vintage train chugging through a winter landscape, wrapped in garlands and lights, with puffs of steam swirling upward.
- Reindeer Barn at the North Pole: Picture a cozy barn with reindeer peeking out, warming up before their big Christmas Eve journey.
- Winter Market Scene: Fill your snow globe with tiny market stalls, string lights, shoppers bundled up in coats, and hot cocoa stands.
- Magical Tree in the Forest: Create a solitary, glowing Christmas tree in the middle of a quiet snowy forest, with woodland creatures gathered around in awe.