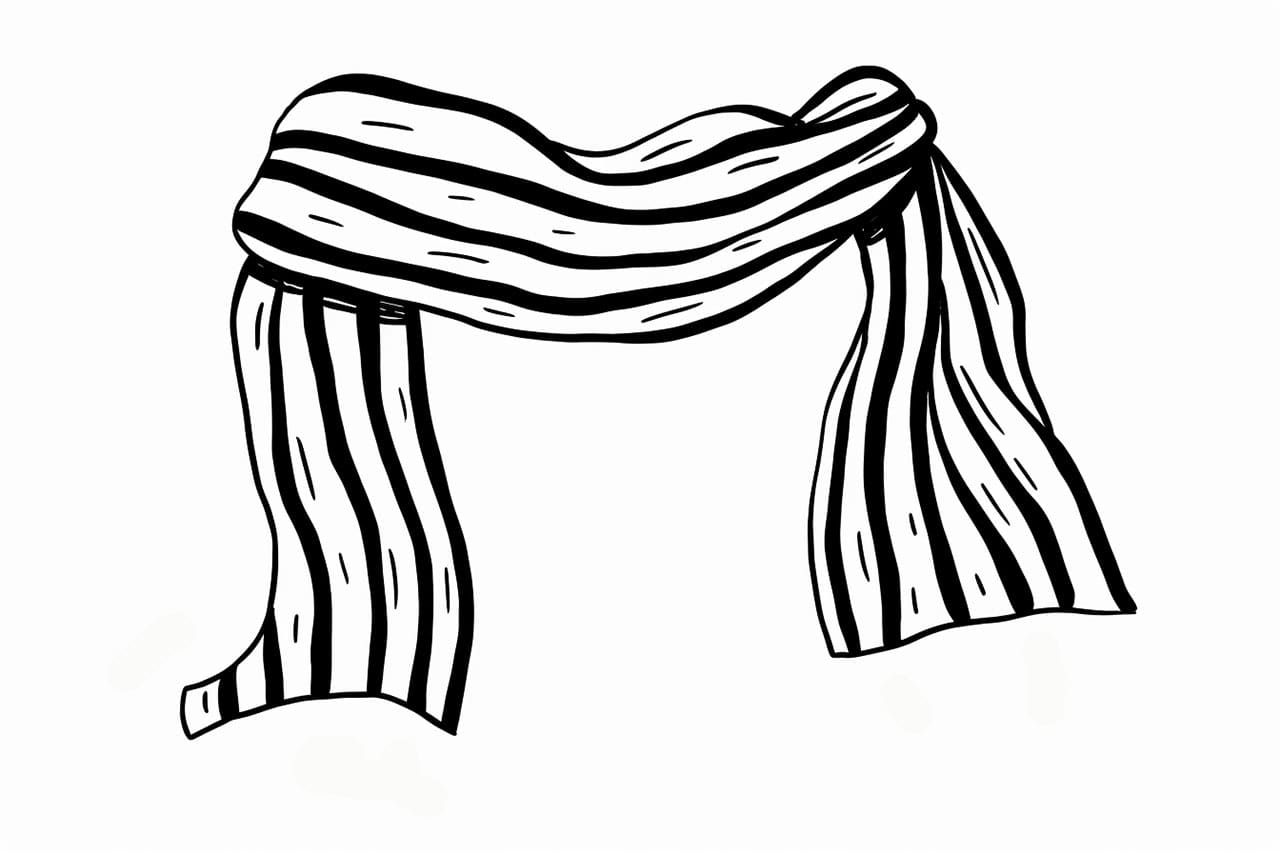
A scarf is a fashionable and versatile accessory that can add warmth, style, and personality to any outfit. Whether you want to create a detailed illustration, design a scarf for a fashion project, or simply enjoy the art of drawing, learning how to draw a scarf can be a fun and rewarding experience. In this step-by-step guide, I will walk you through the process of drawing a scarf, from sketching the basic shape to adding intricate details.
Materials Required
Before we begin, gather the following materials:
- Pencil
- Eraser
- Paper
- Colored pencils or markers (optional)
Now that you have your materials ready, let’s get started on drawing a scarf!
Step 1: Draw the Basic Shape
To begin, lightly sketch an elongated rectangle shape on your paper. This will serve as the foundation for your scarf. You can adjust the size and proportions to your preference, depending on the style of scarf you want to depict. Remember to keep your lines light and loose at this stage, as they will be refined later on.
Step 2: Add Fringe or Tassels
Scarves often feature fringe or tassels at the ends. To add these details, draw a series of short, curved lines at both ends of the rectangle shape. These lines should extend beyond the rectangle and vary in length to create a realistic effect. The number and thickness of the fringe or tassels can vary depending on your artistic preference.
Step 3: Refine the Shape
Now that you have the basic outline and fringe in place, it’s time to refine the shape of the scarf. Use your pencil to darken and define the outline, making it more distinct. Pay attention to the curves and folds of the fabric, as these details will add depth and realism to your drawing. You can also adjust the shape as necessary to achieve the desired look.
Step 4: Add Texture
To create a realistic texture for your scarf, use your pencil to add small diagonal lines or subtle shading throughout the fabric. This will give the impression of a woven or knitted texture. Pay attention to the direction of the lines, following the contours of the scarf and emphasizing the folds and curves.
Step 5: Add Patterns or Designs (Optional)
If you want to take your scarf drawing to the next level, consider adding patterns or designs to your artwork. This could include stripes, polka dots, floral motifs, or any other pattern you find appealing. Use your artistic creativity to add these details within the confines of the scarf’s shape. You can use colored pencils or markers to make the patterns stand out.
Step 6: Finalize the Details
Now that you have the main elements in place, take a moment to review your drawing and make any necessary adjustments. Pay attention to the overall balance, proportions, and symmetry of your work. Erase any unwanted lines or smudges, and darken the lines that you want to stand out. Take this opportunity to add any additional details or highlights to enhance the realism or storytelling of your drawing.
Conclusion
Drawing a scarf can be a delightful exercise in creativity and skill. By following these step-by-step instructions, you can create a beautiful scarf drawing that showcases your artistic abilities. Remember to start with a basic shape, add details such as fringe and texture, and feel free to incorporate patterns or designs for a unique touch. So grab your materials, let your imagination soar, and enjoy the process of bringing a scarf to life on paper!