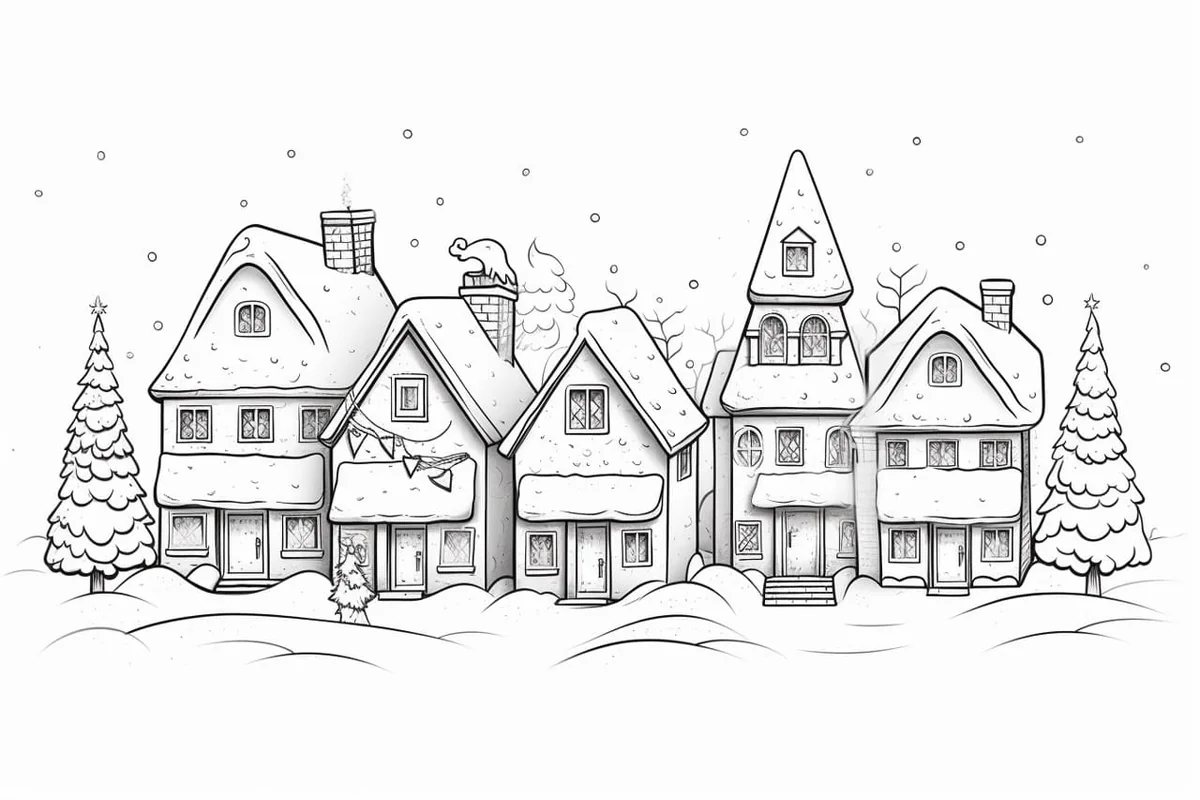
How to Draw a Christmas Village in 7 Simple Steps
Learn how to draw with this step-by-step tutorial.
Materials You'll Need
- Drawing paper
- Pencil (HB or 2B)
- Eraser
- Colored pencils
- Markers
- Ruler
- Blending stump
Welcome to this beginner-friendly guide on how to draw a Christmas village! Imagine a cozy, snow-covered town adorned with twinkling lights, charming cottages, and festive decorations—a perfect winter wonderland captured on paper. Drawing a Christmas village is a delightful way to celebrate the season and infuse your artwork with the warmth and joy of the holidays.
In this step-by-step tutorial, we'll guide you through creating your enchanting village scene, complete with quaint houses, snowy landscapes, and festive details. Whether crafting a holiday card, creating a seasonal decoration, or simply enjoying a fun, creative activity, this guide will help you bring your Christmas vision to life.
Grab your pencils, markers, or colored pencils, find a cozy spot, and let's build a magical Christmas village together—one charming detail at a time!


Materials Required
Before we begin, let's gather the materials you'll need:
-
Pencils (HB, 2B, 4B)
-
Fine-tip black marker or pen
-
Colored pencils or markers (optional)
Now that we have everything ready let's dive into the enchanting world of Christmas villages!
How to Draw a Christmas Village: A Step-by-Step Guide ✨
A Christmas village is more than just a collection of tiny homes—it's a magical world filled with twinkling lights, snow-covered rooftops, and holiday cheer. Drawing one is the perfect way to capture the cozy charm and festive spirit of the season. Whether you're a beginner or an experienced artist, this guide will walk you through the process of building a charming winter wonderland on paper—one snow-dusted rooftop at a time.
From sketching the basic layout to adding snowy details and colorful decorations, each step will bring your Christmas village to life. So grab your pencil, paper, and a mug of hot cocoa—it's time to create something merry and magical!
**Step 1: Sketch the Basic Outline **
Start by lightly laying down the foundation of your village.
-
Use simple geometric shapes—squares and rectangles for houses, and triangles for rooftops.
-
Vary the size, height, and angle of your buildings to create a more dynamic composition.
-
Arrange them in rows, clusters, or winding paths to suggest depth and layout.
-
Consider drawing one or two buildings in the foreground, with smaller ones in the background for perspective.
Don't worry about perfect lines or details yet—this is just your blueprint!
**Step 2: Add Character to the Houses **
Now, give your buildings personality and charm.
-
Decorate with holiday elements:Wreaths on doors
-
Garlands around windows
-
Strings of Christmas lights
Make each house feel like it belongs to a different character in your village!
**Step 3: Shape the Landscape **
Next, set the wintry stage around your buildings.
-
Draw gentle snow-covered hills beneath and behind the houses using curved, soft lines.
-
Add paths or cobblestone roads weaving through the town.
-
Sketch a few trees—use triangles or jagged lines to build your evergreens.
-
Consider placing treesbetween buildings or near the edges to frame the scene.
Vary the shape and height of trees to avoid repetition—nature is never uniform!
**Step 4: Add Small Details and Seasonal Touches **
Time to sprinkle in those little magical elements that bring a scene to life.
-
Draw bushes, fences, or snow-covered benches.
-
Add icicles hanging from rooftops or porches.
-
Sketch lampposts with ribbons, sleds leaning against a wall, or footprints in the snow.
-
Don't forget smoke curling from chimneys—a cozy detail that suggests warmth inside.
Tiny details can tell stories—maybe one house has a snowman, and another has a mailbox overflowing with cards!
**Step 5: Outline Your Drawing **
Once your full scene is sketched and you're happy with the layout, go over it with a fine-tip pen or marker.
-
You can experiment with varying line weights:Thicker lines for building outlines
-
Thinner lines for finer details like icicles or garlands
This is where your drawing becomes bold and stylized—take your time and enjoy the process.
**Step 6: Erase the Pencil Lines **
When the ink is dry, gently erase all visible pencil marks.
-
Use a clean, soft eraser to avoid smudging the ink.
-
This will leave you with a crisp, clean illustration—the perfect canvas for adding color.
**Step 7: Add Color to Your Village (Optional) **
Now the magic really begins—time to bring your village to life with color!
-
Use soft blues, purples, and grays for shadows and snow.
-
Add warm, cozy colors to the houses—brick red, pine green, golden yellow, or icy blue.
-
Use pops of color for holiday lights, decorations, and candy cane accents.
-
Don't forget the night sky: try blending dark blue and purple for a twilight or evening effect.
Use layering and gentle blending with colored pencils for a soft, snowy texture.
**Step 8: Final Touches and Highlights **
Look over your village and add anything that feels missing.
-
Use white gel pen or white colored pencil to add sparkle—stars, snowflakes, or highlights on windows.
-
Add light glows in windows using warm yellows and oranges.
-
Draw a moon or shooting star in the sky for a magical finishing touch.
Little touches of light and contrast can make your scene feel truly alive.
Tip: When drawing your Christmas village, start by sketching the basic shapes of your buildings loosely with a light pencil—this will allow you to adjust proportions easily as you refine your drawing. Consider using a ruler for straight lines, especially for roofs and doorframes, to maintain a tidy, structured look. Once the outlines are in place, add details like windows, doors, and festive decorations, keeping in mind varying sizes and perspectives to create depth. For added charm, layer your colors thoughtfully; use lighter tones for snow and darker shades for shadows to give your scene a cozy, wintry atmosphere. Finally, don't forget to add tiny details like smoke curling from chimneys or twinkling lights, as these will enhance the festive spirit and bring your village to life!
**Conclusion: Your Christmas Village Is Complete! **
Congratulations—you've created a charming, festive Christmas village filled with warmth, detail, and holiday cheer! From cozy homes to sparkling snow and whimsical decorations, your drawing captures the spirit of the season and showcases your artistic creativity.
Each time you draw a village, it can be a little different. Try adding carolers, animals, a skating pond, or even Santa's sleigh in future versions! The possibilities are endless. Most importantly, enjoy the process and keep letting your imagination guide your pencil.
Happy drawing, and may your holidays be merry and bright!