Learn the art of drawing beautiful Christmas ornaments with this step-by-step guide.
Are you looking to add a personal touch to your Christmas decorations? Drawing your Christmas ornaments can be a fun and creative way to bring the holiday spirit to your home. Whether you’re an experienced artist or just starting, this guide will walk you through the process of how to draw a Christmas ornament. So grab your pencils and get ready to create!
Materials Required
Before we dive into the drawing process, let’s go over the materials you’ll need:
- Drawing paper: Use high-quality drawing paper that can handle various drawing techniques.
- Pencil: Choose a set of graphite pencils with different lead hardness (HB, 2B, 4B, etc.) for shading and detailing.
- Eraser: Have a kneaded and standard eraser to correct mistakes.
- Colored pencils or markers: If you want to add color to your ornaments, have a set of colored pencils or markers on hand.
- Ruler: A ruler will help draw straight lines.
- Compass: To draw perfect circles, a compass is essential.
- Fineliner pens: These pens are great for adding fine details to your ornaments.
With these materials ready, let’s move on to the step-by-step instructions for drawing Christmas ornaments.
Step 1: Sketch Basic Shapes
Start by lightly sketching the basic shape of the ornament. You can choose from various shapes like spheres, teardrops, or bells. Use your compass to draw a circle for a spherical ornament or freehand the shape for a more unique design. Keep the lines light so that they can be easily erased later.
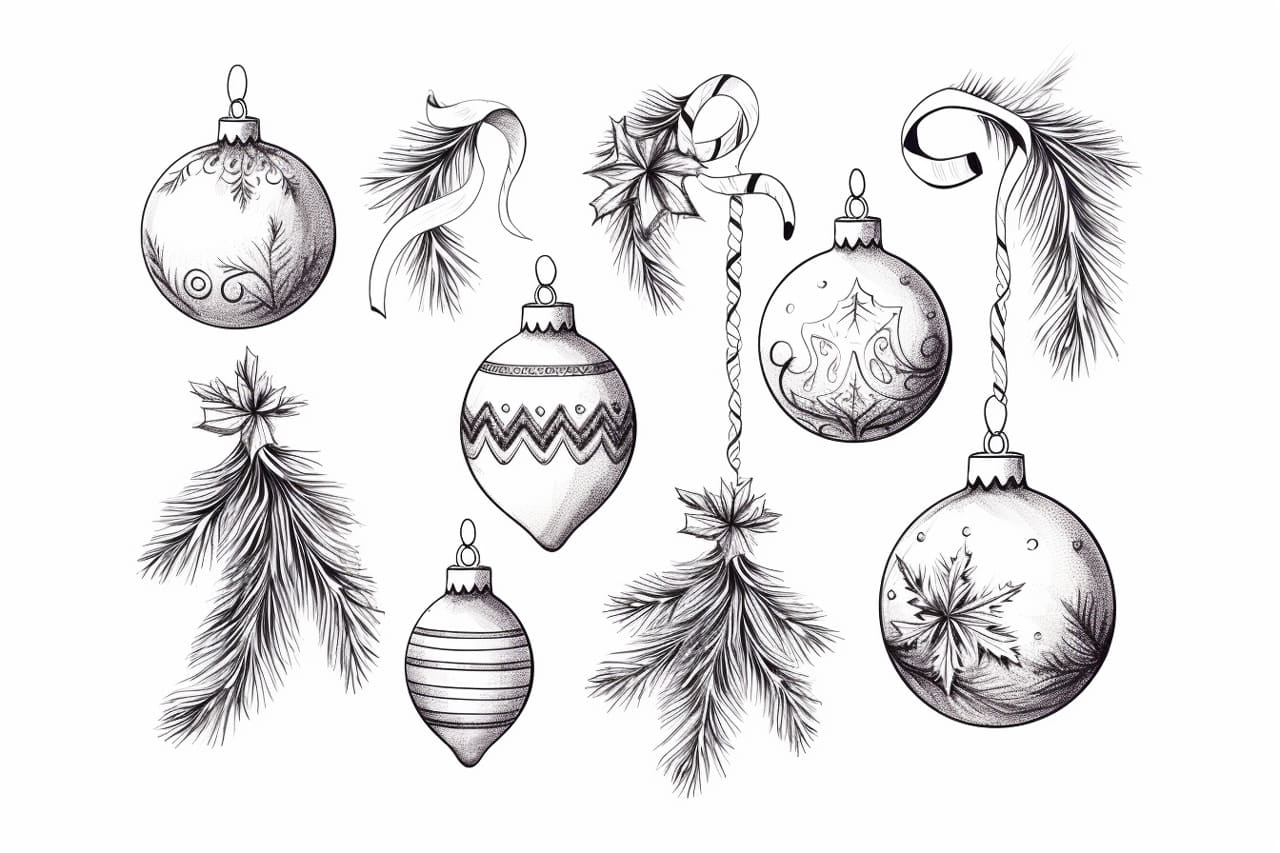
Step 2: Add Details and Patterns
Now, it’s time to add details and patterns to your ornament. Think about what you want your ornament to look like – do you want it to be a traditional red and green ornament? Or maybe you’d prefer something more whimsical with stripes, polka dots, or snowflakes. Use your imagination and start adding these details to your sketch.
Step 3: Shade and Highlight
You’ll need to add shading and highlighting to make your ornament look three-dimensional and realistic. Identify a light source in your drawing and imagine where the shadows and highlights would fall on the ornament. Use your different pencils with varying hardness to create the desired shading effect. Start with light pressure and build up the value gradually.
Step 4: Color Your Ornament (Optional)
If you want to add color to your ornaments, now is the time. Use colored pencils or markers to bring your design to life. Consider using complementary colors to create a harmonious and eye-catching decoration. Remember to blend the colors smoothly and use shading techniques to add depth and dimension.
Step 5: Add Final Details
Now that you have the basic shape, patterns, shading, and color, it’s time to add any final details to your ornament. This could include additional patterns, glitter, bows, or anything else that enhances the overall design. Be creative and make your ornament genuinely unique.
Conclusion
Drawing your Christmas ornaments is a beautiful way to showcase your artistic skills and personalize your holiday decor. You can create beautiful decorations that add a special touch to your festive celebrations with patience and creativity. So grab your art supplies and start drawing your Christmas ornaments today! And remember that Christmas ornaments always look best hanging on a Christmas tree!