Drawing an oven can be a fun and rewarding experience, allowing you to explore the intricate details and shapes that make up this essential kitchen appliance. From the curved lines of the door to the geometric patterns of the burners, there are endless possibilities to showcase your artistic skills. Whether you are a beginner looking to improve your drawing abilities or a seasoned artist seeking a new challenge, capturing the essence of an oven on paper can be a creative and enjoyable endeavor. In this guide, we will explore techniques and tips to help you bring your oven drawing to life with depth and realism. So grab your pencil and paper, and let’s get started on this artistic journey!
Materials Required
To draw an oven, you will need the following materials:
- Drawing paper or sketchbook
- Pencils (varying hardness for different shading effects)
- Eraser
- Ruler (for straight lines)
- Compass (for drawing circles or arcs)
- Fine tip pens or markers (for outlining)
- Colored pencils or markers (optional, for adding color)
- Reference image of an oven (optional, for accuracy)
These materials should be sufficient for creating a detailed and realistic drawing of an oven.
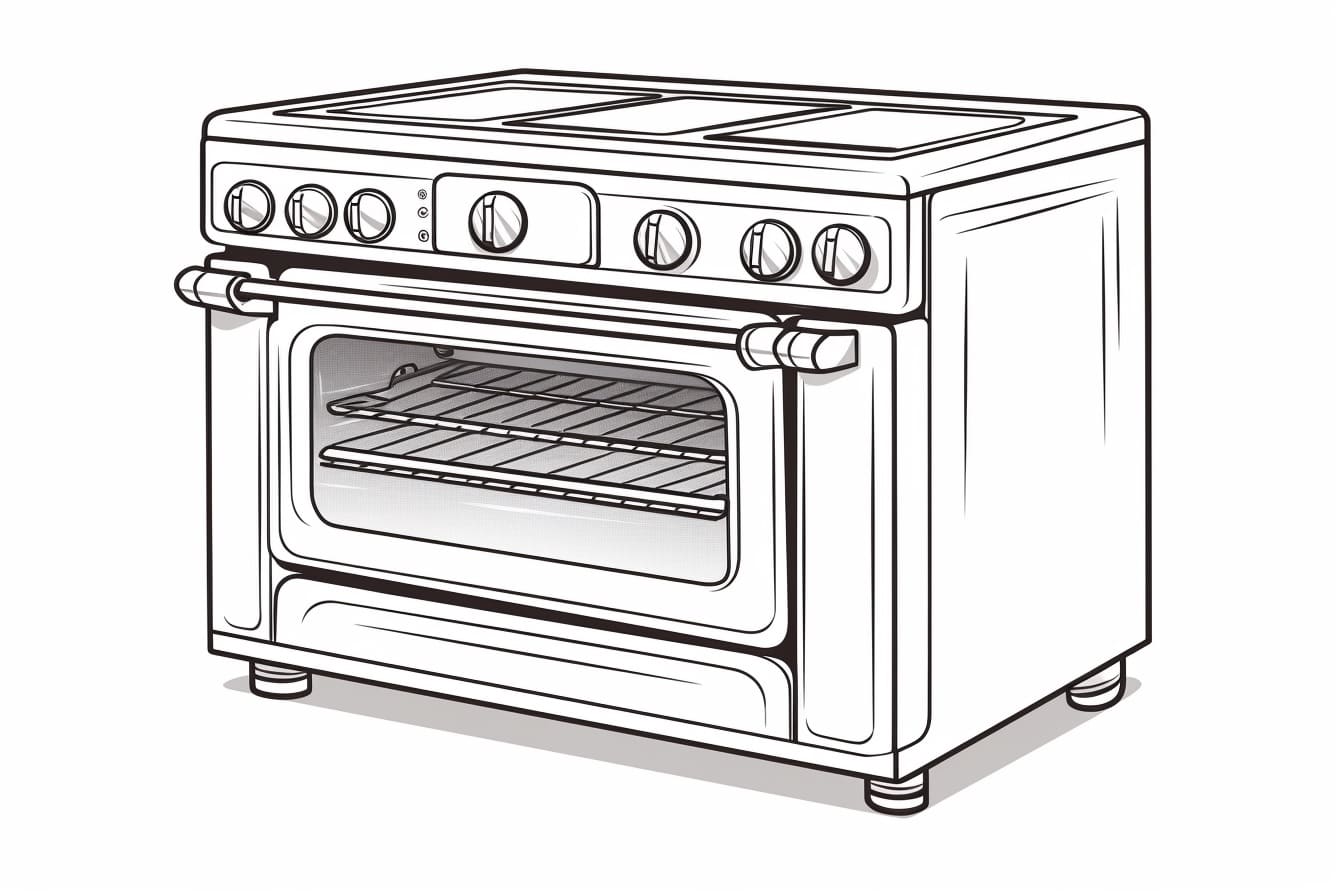
How to Draw an Oven: a Step-by-step Guide
Step 1: Sketch the Basic Shape
Start by sketching a rectangular shape for the main body of the oven. Use light, loose lines to outline the width and height of the oven.
Step 2: Add the Door and Control Panel
Draw a smaller rectangle within the main body to represent the oven door. Add a smaller rectangle or square on the top portion of the oven for the control panel.
Step 3: Add Details
Within the door, draw a smaller rectangle to represent the window. Add a handle on the door by drawing a small rectangle or curved shape. On the control panel, sketch buttons or knobs for settings.
Step 4: Draw the Shelves
Inside the oven, draw horizontal lines to represent the shelves. These lines should be parallel to the top and bottom of the oven.
Step 5: Add the Legs or Base
Draw four small rectangles or squares at the bottom corners of the oven to represent the legs or base of the oven.
Step 6: Refine and Finalize
Go over your sketch with darker, more defined lines to solidify the shapes and details. Erase any unnecessary guidelines and refine any rough edges.
Step 7: Add Shading and Texture
To give your oven a more realistic look, add shading to indicate depth and dimension. You can also add texture to the control panel or door to make them look more tactile.
Step 8: Add Color (Optional)
If you’re working with color, add appropriate shades to different parts of the oven. Consider adding metallic or reflective elements to make it more visually appealing.
Step 9: Review and Adjust
Take a step back and review your drawing. Make any necessary adjustments to ensure proportions are correct and details are well-defined.
Step 10: Sign and Date Your Artwork
Once you are satisfied with your drawing, sign your name and date it to mark your completion and progress as an artist.
Conclusion
In conclusion, drawing an oven requires attention to detail and precision to accurately capture its features. By following the steps outlined in this article and practicing regularly, you can improve your skills in drawing household objects. Remember to take your time, observe carefully, and enjoy the creative process as you bring this everyday item to life on paper. With patience and dedication, you can master the art of drawing an oven and enhance your overall drawing abilities.
Fun Facts About Ovens
- The word “oven” comes from the Latin word “furnus,” which means “oven” or “stove.”
- The first known ovens were used in ancient civilizations such as the Egyptians and Greeks, who used clay or brick ovens to bake bread.
- The first gas oven was invented in the early 19th century by British inventor James Sharp.
- The microwave oven was invented by Percy Spencer in 1946 after he noticed a candy bar melted in his pocket while working with radar equipment.
- The largest oven in the world is the oven at the TPC (Taiyo Pacific Partners) bakery in Japan, which measures 3,000 square meters.
- Ovens can reach temperatures of up to 500 degrees Fahrenheit or more, depending on the type of oven.
- Convection ovens use a fan to circulate hot air around the food, cooking it more quickly and evenly than conventional ovens.
- Dutch ovens are a type of heavy, cast-iron pot with a tight-fitting lid that can be used on the stovetop or in the oven.
- Some modern ovens come equipped with smart technology, allowing users to control and monitor their oven remotely using a smartphone app.
- Ovens have been used for centuries not only for cooking food but also for heating homes, smelting metal, and even for pottery making.
Suggestions for Scenes and Settings for Oven Drawings
Of course! Here are some suggestions for scenes and settings that you can incorporate into your drawings of an oven:
- Cozy Kitchen: Place the oven in a warm and inviting kitchen setting with a checkered tablecloth, hanging pots and pans, and a vase of fresh flowers on the counter.
- Bakery: Show the oven in a bustling bakery scene with trays of freshly baked bread, croissants, and pastries cooling nearby.
- Outdoor BBQ: Draw the oven in an outdoor setting, perhaps at a backyard BBQ with friends and family gathered around, enjoying grilled foods.
- Holiday Baking: Depict the oven in a festive holiday kitchen setting with a tray of cookies, a gingerbread house, and a pot of mulled cider on the stove.
- Restaurant Kitchen: Create a busy restaurant kitchen scene with chefs bustling around, orders being called out, and the oven working overtime to prepare delicious dishes.
- Farmhouse Kitchen: Show the oven in a charming farmhouse kitchen with a vintage stove, baskets of freshly picked produce, and a farmhouse sink.
- Pizza Party: Illustrate the oven in a pizza shop setting with a wood-fired oven, pizza paddles, and a variety of toppings ready to be baked into delicious pies.
- Cafe Setting: Draw the oven in a cozy cafe setting with patrons sipping coffee, enjoying pastries, and the aroma of freshly baked goods filling the air.
- Baking Class: Illustrate the oven in a baking class setting with a chef demonstrating techniques to a group of eager students, with mixing bowls, measuring cups, and recipe books scattered around.
- Outdoor Market: Place the oven in a bustling outdoor market setting with vendors selling fresh produce, bread, and pastries, creating a lively and colorful scene.
Remember to think about the lighting, colors, and details to bring your chosen scene to life and make your drawing of the oven truly captivating and engaging!