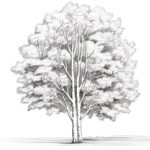
Drawing a landscape can be a rewarding experience for artists of all skill levels. Whether you’re a novice just beginning your artistic journey or a seasoned creator seeking to refine your techniques, this step-by-step guide of how to draw a landscape will equip you with the knowledge and skills to turn a simple scene from nature into an impressive work of art.
In this article, you will discover clear, concise instructions designed to help you navigate the process of landscape drawing. From selecting the right materials to shading and adding intricate details, we’ll cover everything you need to know to effectively bring your ideas to life on paper. The beauty of landscapes lies not only in their stunning visuals but also in the emotions they evoke, and this guide will help you capture that essence.
So, if you’re ready to embark on this artistic adventure, grab your drawing materials and prepare to unleash your creativity. Each step in this guide is crafted to build your confidence and enhance your skill set, allowing you to create landscapes that inspire and captivate. Let’s get started!
Materials Required
Before we begin, gather the following materials:
- Drawing paper or sketchbook
- Pencils (HB, 2B, 4B, 6B)
- Eraser
- Blending stump or cotton swabs
- Ruler
- Reference photo or visual inspiration
Having these materials ready will help you create a successful landscape drawing. Now, let’s get started!
Step 1: Observing the Landscape
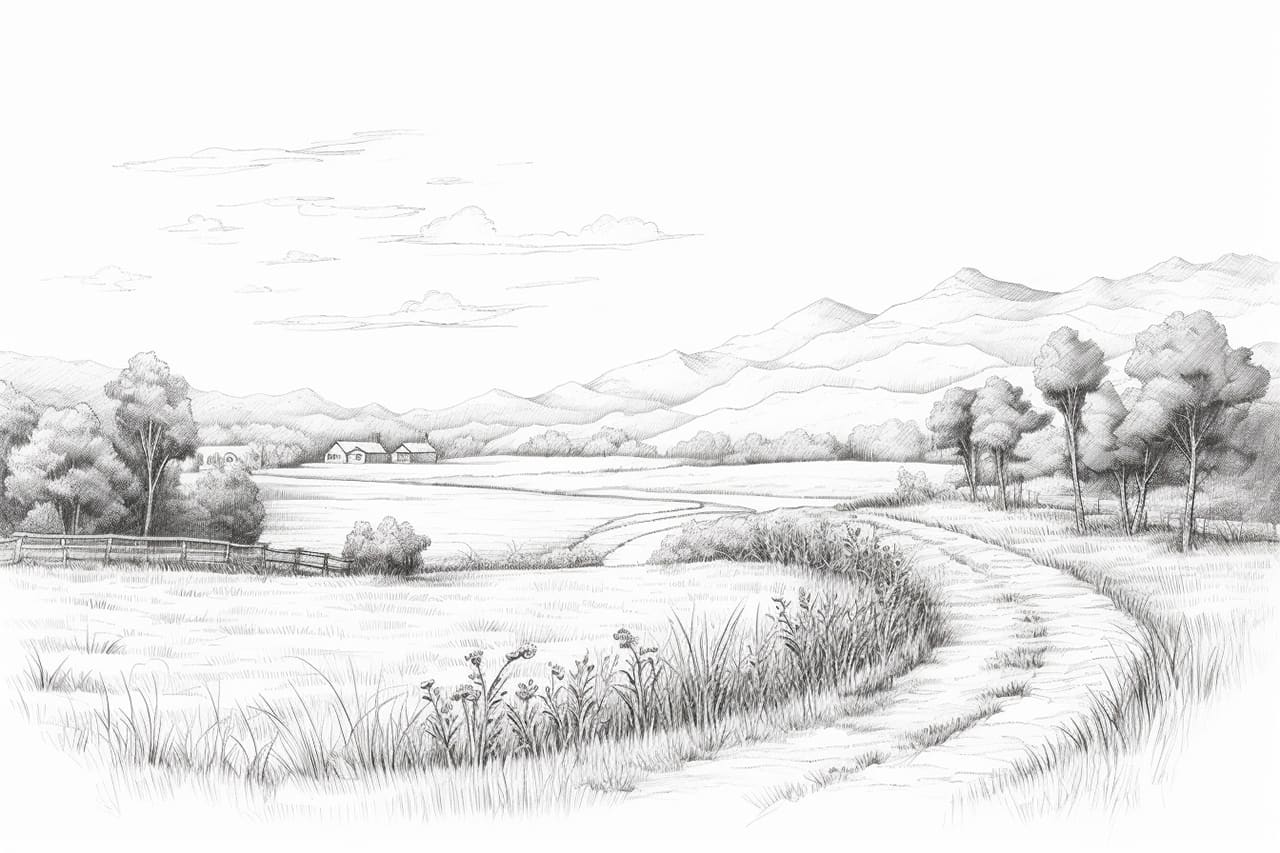
Begin by observing the landscape you wish to draw. Take a moment to study its unique features, such as the shapes of mountains, trees, and any other elements that catch your eye. Pay attention to the lighting and shadows as well, as they add depth and dimension to your drawing.
Step 2: Planning Your Composition
Next, plan the composition of your landscape drawing. Decide which elements you want to include and how you want to arrange them on your paper. Consider using the rule of thirds, a technique where you divide your drawing area into thirds both horizontally and vertically, and place your focal points along these lines or their intersections.
Step 3: Sketching the Horizon Line
Using a light pencil, lightly sketch a horizontal line across your paper. This will be your horizon line, which separates the sky from the land or water in your landscape. Ensure that the line is straight and level.
Step 4: Drawing the Foreground
Start by drawing the foreground elements, such as trees, rocks, or bushes. Begin with light and loose pencil strokes, allowing yourself to make adjustments as you go. Use reference photos or visual inspiration to guide you in capturing the details of these elements.
Step 5: Adding Middle Ground Elements
Moving on to the middle ground, draw objects that are located between the foreground and the background. This could include additional trees, buildings, or any other elements that contribute to the overall composition. Pay attention to scale and proportion to create a sense of depth in your drawing.
Step 6: Sketching the Background
Now, focus on sketching the background elements. These could be distant mountains, a faraway cityscape, or a serene lake. Use lighter pencil strokes and fade the details as you move farther into the background. This will create a sense of distance and depth in your landscape.
Step 7: Adding Value and Texture
Once you have sketched the basic elements of your landscape, it’s time to add value and texture. Start by identifying the light source in your landscape and add shading accordingly. Use a range of pencil grades to create different values, from the lightest highlights to the darkest shadows.
To add texture, observe the natural patterns and textures found in your landscape. For example, use short, jagged lines to depict furrowed tree bark, or gentle, curved lines to represent rolling hills. Experiment with different pencil techniques, such as hatching, cross-hatching, or stippling, to achieve the desired textures.
Step 8: Blending and Smudging
To achieve a smoother and more realistic appearance, use a blending stump or cotton swabs to blend and smudge your pencil marks. This technique helps soften harsh lines and creates a seamless transition between different values and textures in your drawing.
Step 9: Refining and Detailing
Now it’s time to refine and add finer details to your landscape drawing. Pay attention to the smaller elements, such as leaves on trees, reflections in water, or distant windows in buildings. Use a sharper pencil to add these details, ensuring that they are not overpowering but rather enhance the overall composition.
Step 10: Final Touches
Take a step back and evaluate your landscape drawing. Make any necessary adjustments and add any final touches to complete your artwork. This could include adding a signature, adjusting values, or enhancing certain areas to create a focal point. Once you are satisfied with your drawing, it’s time to admire your masterpiece!
Conclusion
Congratulations on completing your landscape drawing! By following these step-by-step instructions, you have learned the techniques and tips required to create a captivating landscape on paper. Remember to practice regularly, observe your surroundings, and experiment with different compositions and techniques. With time and dedication, you will continue to improve and develop your artistic skills.
Now go ahead and pick up your drawing materials, find a stunning landscape to inspire you, and create your own masterpiece! Happy drawing!

