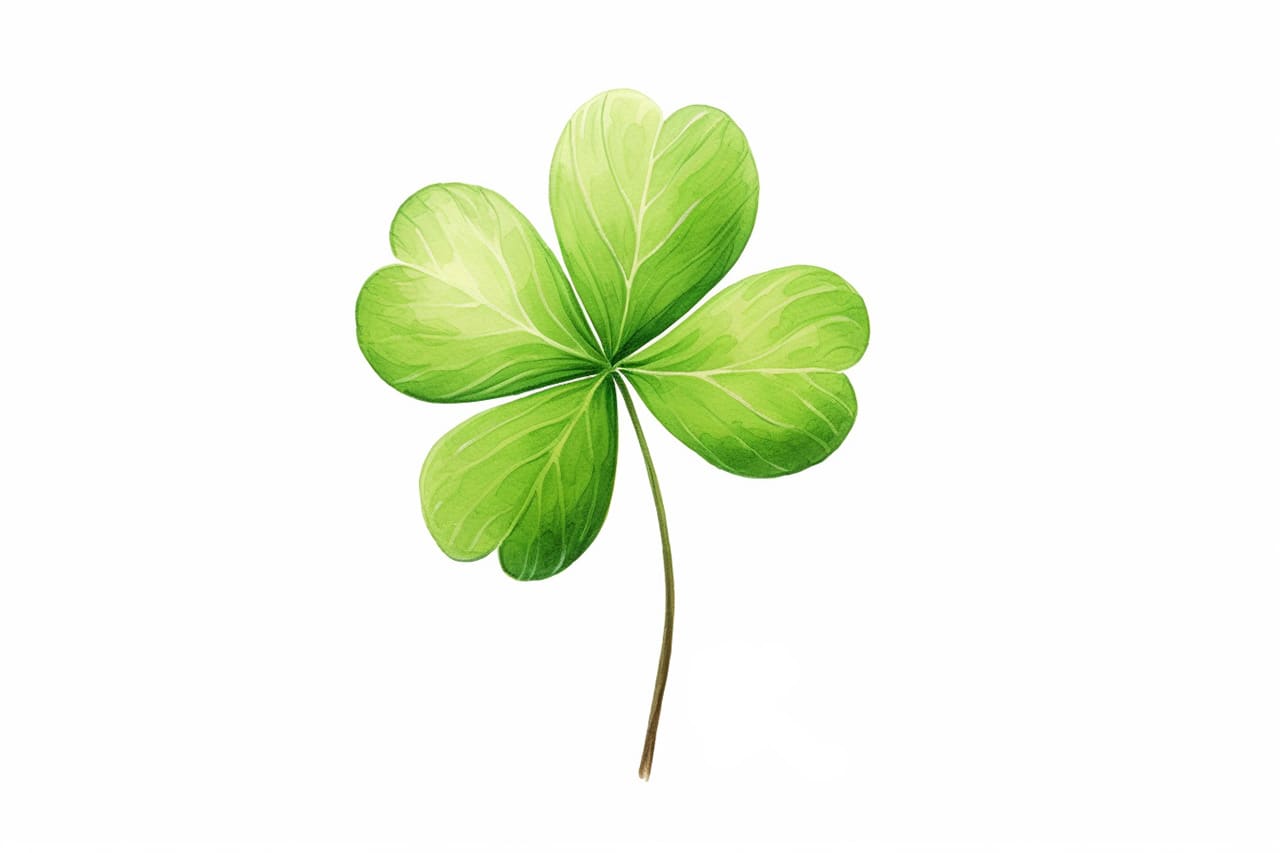
In this step-by-step tutorial, I will guide you on how to draw a four-leaf clover. Four-leaf clovers are considered lucky, and being able to draw them can bring a bit of that luck into your artistic endeavors. So grab your drawing materials and let’s get started!
Materials Required
To draw a four-leaf clover, you will need the following materials:
- Paper: Use a blank sheet of paper or a sketchbook to draw your clover.
- Pencil: A regular graphite pencil will work just fine for this drawing.
- Eraser: Keep an eraser handy to correct any mistakes or guide your lines.
- Colored pencils or markers (optional): If you want to add some color to your clover, have some colored pencils or markers ready.
Now that you have your materials ready, let’s begin drawing our four-leaf clover!
Step 1: Drawing the Stem
Start by drawing a vertical line that will serve as the stem of your clover. The length of the stem is up to you, but make sure it is long enough to provide enough space for the leaves above.
Step 2: Creating the First Leaf
At the top of the stem, draw a curved line that bends slightly to the right. This will be the outline of the first leaf. Make sure the curve is gentle and not too sharp.
Step 3: Drawing the Second Leaf
Next, draw another curved line that mirrors the first leaf, bending slightly to the left. This will be the outline of the second leaf. The two leaves should be similar in size and shape.
Step 4: Adding the Third Leaf
Now, draw a third curved line that is slightly smaller than the previous two, curving to the right. This will be the outline of the third leaf. The three leaves should be evenly spaced and symmetrical.
Step 5: Completing the Fourth Leaf
For the fourth and final leaf, draw a curved line that mirrors the third leaf, curving slightly to the left. This leaf should also be slightly smaller than the previous two. The four leaves should create a balanced and harmonious shape.
Step 6: Adding Details
To make your clover more realistic, you can add some details. Draw a small, curved line extending from the tip of each leaf, towards the center of the clover. These lines represent the vein patterns on the leaves. Repeat this for all four leaves.
Step 7: Erasing and Refining
Take a moment to analyze your drawing and make any necessary adjustments. Erase any stray lines or mistakes, and refine the outline of your clover. Pay attention to the overall shape and symmetry, making sure each leaf looks proportionate to the others.
Step 8: Coloring (optional)
If you want to add some color to your four-leaf clover, now is the time! Use colored pencils or markers to fill in the leaves with shades of green or any other colors of your choice. You can also add some shading or highlights to make your drawing more vibrant and realistic.
Conclusion
Congratulations! You have successfully drawn a four-leaf clover. Drawing this lucky symbol can be a fun and rewarding experience, and now you can proudly showcase your artistic skills. Remember to take your time and enjoy the process. Whether you decide to leave it as a black and white sketch or add some color, your four-leaf clover drawing is sure to bring a touch of luck to your artwork.
With practice, you can create four-leaf clovers of various sizes and styles. Keep experimenting and exploring your creativity. Best of luck with your future artistic endeavors!


