How to Draw a Mountain Landscape in 8 Easy Steps
Learn how to draw with this step-by-step tutorial.
Materials You'll Need
- Drawing paper
- Pencil (HB or 2B)
- Eraser
- Blending stump
Learning how to draw a mountain landscape offers a unique opportunity to connect with nature through art. Whether you're a novice just picking up a pencil or a seasoned artist looking to refine your skills, capturing the grandeur of mountains on paper can be both challenging and immensely rewarding. Mountains evoke a sense of awe and inspiration, and replicating their beauty can be a fantastic outlet for your creativity.
In this comprehensive guide, we'll take you through each step of the drawing process, starting from the initial sketch to the final details that will bring your artwork to life. You'll learn how to observe and translate the majestic forms and intricate textures of mountains into your drawings. By the end of this tutorial, you will not only have a stunning landscape to showcase but also gain valuable techniques to enhance your overall drawing abilities.
So, gather your materials and prepare to embark on this artistic journey. With patience and practice, you'll discover the joy of creating a breathtaking mountain landscape that reflects your personal style. Let's get started!
Materials Required
Before we dive into the step-by-step instructions, let's first gather all the materials you will need for this drawing:
-
Drawing paper or sketchbook: Choose a medium to heavyweight paper that can withstand different drawing techniques.
-
Pencils: Have a range of graphite pencils (HB, 2B, 4B, 6B) to create different values and shades in your drawing.
-
Eraser: A kneaded eraser or a gum eraser will work well for shading and correcting mistakes.
-
Blending tools: Consider using blending stumps, tortillons, or even tissue paper to blend and soften your pencil marks.
-
Reference image: Find a high-quality photograph of a mountain landscape to use as a reference. It will help you understand the shapes and details of mountains.


Now that we have our materials ready, let's move on to the step-by-step instructions of how to draw a mountain landscape.
How to Draw a Mountain Landscape Step-by-Step
Step 1: Sketch the Basic Shapes
Start by lightly sketching the basic shapes of the mountains on your paper. Begin with a few horizontal lines to represent the distant mountain range. Then, using gentle curved lines, add the shapes of the larger mountains in the foreground. Remember, at this stage, focus on capturing the overall shape and proportion rather than the fine details.
Step 2: Define the Silhouette
Once you have sketched the basic shapes, it's time to define the silhouette of the mountains. Carefully darken the outlines using a softer graphite pencil (like 2B or 4B) to make them more prominent. Pay attention to the variations in height and angle of the peaks as you create the silhouette.
Step 3: Add the Details
Now that the silhouette is defined, you can start adding more details to your mountain landscape. Use a range of pencils with different degrees of darkness to add texture and shading. Observe the reference image closely to capture the variations in light and shadow on the mountains. Use light, gentle strokes to create the illusion of rocky surfaces and slopes.
Step 4: Create Depth with Shading
To make your mountain landscape appear more three-dimensional, focus on shading. Study the reference image to understand where the light is coming from. Use your graphite pencils to add darker shading on the side of the mountains that are away from the light source, and lighter shading on the sides that are facing the light. This will create depth and dimension in your drawing.
Step 5: Add Atmospheric Perspective
Mountains in the distance often appear lighter and less detailed due to atmospheric perspective. To create this effect, lightly shade the distant mountains using a lighter pencil (like HB) and soften the edges. This will make them recede into the background and give a sense of depth to your mountain landscape.
Step 6: Enhance with Details
Now that you have the basic elements of your mountain landscape, you can enhance it with more intricate details. Use a sharp pencil to add finer lines and textures, such as rock formations, trees, or foliage. Be mindful of the scale and perspective as you add these details to maintain a realistic portrayal of the landscape.
Step 7: Blend and Soften
To create a smoother and more cohesive look, blend some areas of your drawing using blending tools or even your fingers. This will help to soften harsh lines and create a gradual transition between different shades and tones. Be cautious not to overblend, as it may result in a loss of detail.
Step 8: Final Touches
Take a step back and assess your drawing. Add any final touches or adjustments to make your mountain landscape even more captivating. Pay close attention to the tonal values, textures, and overall composition. Use your eraser to lighten specific areas if necessary or make corrections to any mistakes.
Congratulations! You have successfully drawn a stunning mountain landscape. Remember, as with any artwork, practice is key. The more you draw landscapes, the better you will become at capturing the unique beauty of mountains.
Tip: To effectively capture the depth and dimension of your mountain landscape, focus on layering your pencil strokes. Start by lightly sketching the basic shapes and outlines of the mountains with a hard pencil (like H or 2H) to keep your lines clean. Once you are satisfied with the composition, switch to a softer pencil (like 2B or 4B) for shading; use varied pressure to create gradients that simulate light and shadow. Incorporate techniques such as cross-hatching and stippling to add texture, particularly in rocky areas. Lastly, don't hesitate to blend with a blending stump or your finger for softer transitions, but remember to maintain some contrast to keep your mountains looking three-dimensional.
Conclusion
Drawing a mountain landscape can be a fulfilling artistic endeavor. Following the step-by-step instructions outlined in this guide, you can create a captivating and realistic portrayal of mountains on paper. Remember to gather your materials, sketch the basic shapes, define the silhouette, add details and shading, create depth, add atmospheric perspective, enhance with details, blend and soften, and give it final touches. Enjoy the process and let your imagination soar as you bring your mountain landscape to life!
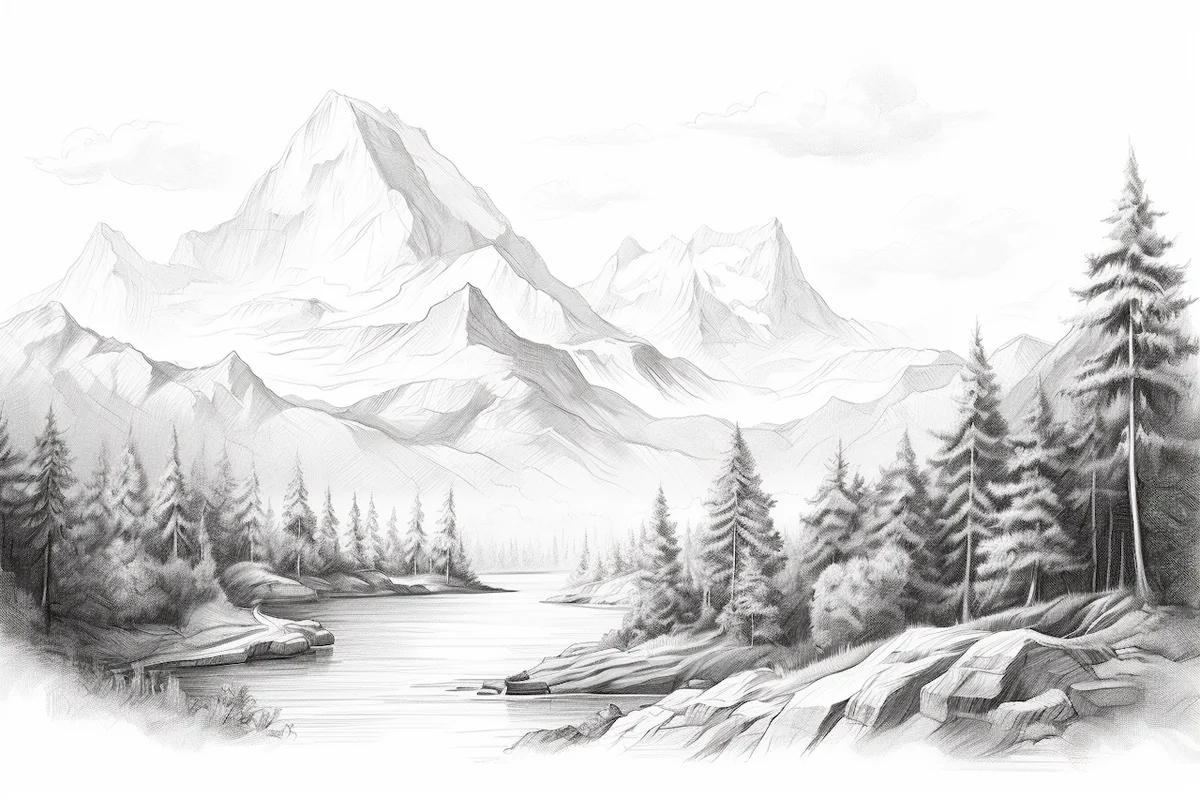
Gallery of Mountain Landscape Drawings


