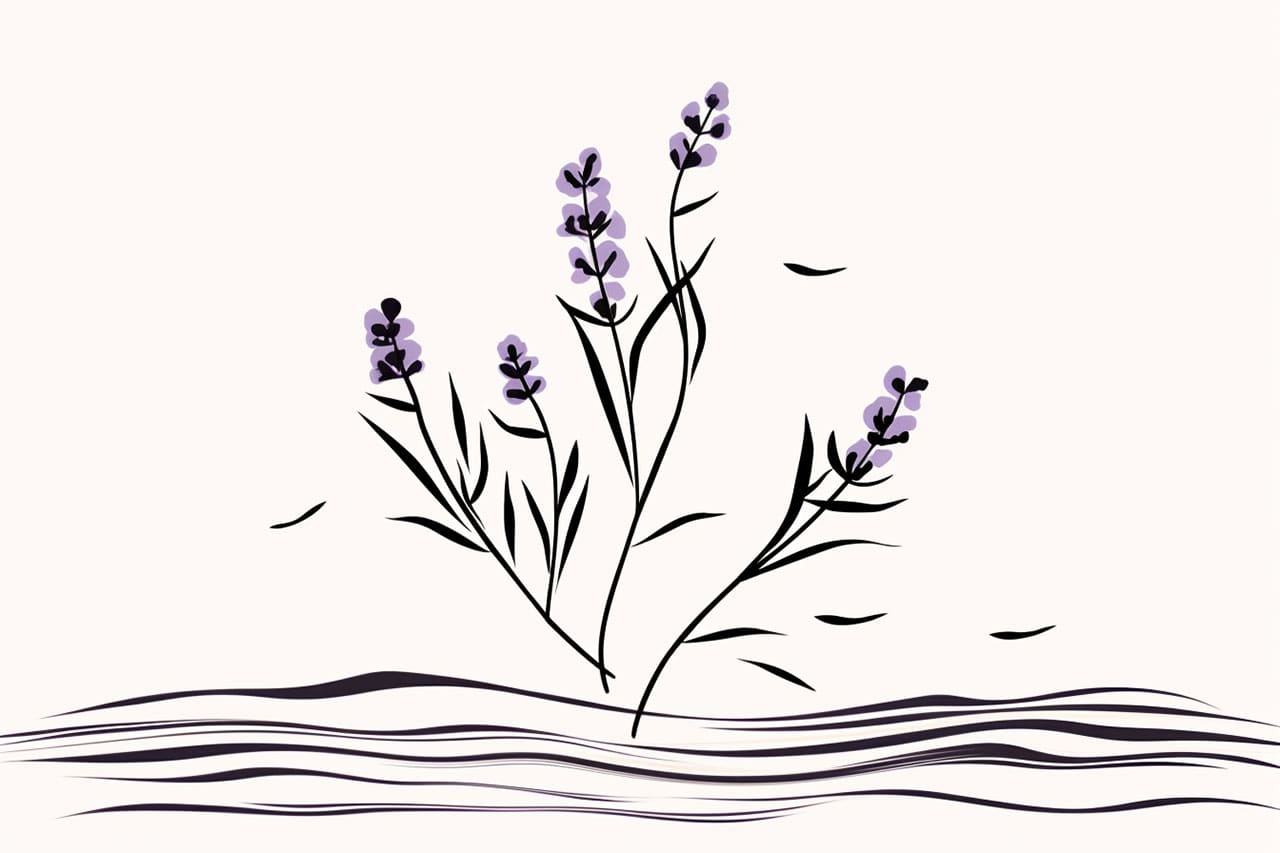
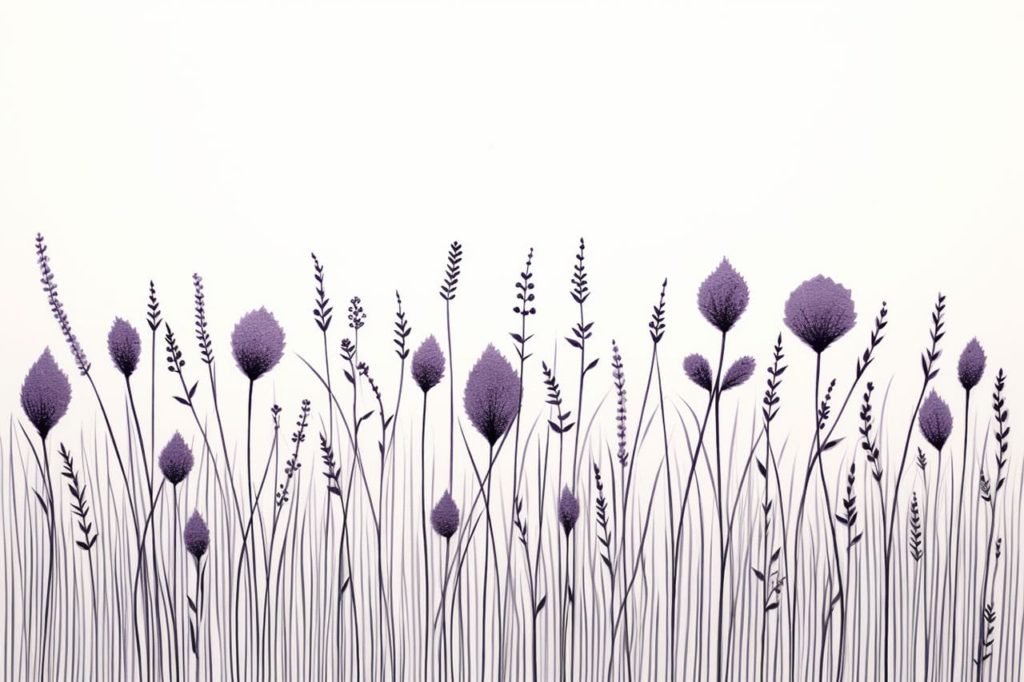
Drawing lavender is a wonderful way to relax and express your creativity. Known for its slender stems, soft petals, and calming fragrance, lavender embodies tranquility and charm, making it an ideal subject for artistic exploration. Whether you’re a budding artist or simply looking for a meditative and creative activity, this step-by-step guide on how to draw lavender will help you bring the beauty of this flower to life on paper.
In this tutorial, you’ll learn how to sketch the graceful stems, arrange the clusters of tiny flowers, and add depth and texture to your drawing. With patience and practice, you’ll be able to create a piece that captures the essence of this beloved plant. So, grab your pencils, settle into a calm space, and let’s begin drawing lavender!
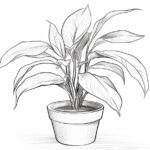
Learn How to Draw Flowers Step-by-Step
This simple and straightforward guide teaches you how to draw many different kinds of flowers with step-by-step instructions. It’s perfect both for total beginners and experienced artists who want to expand their skills.
Materials Required
Before we begin, let’s gather the materials you will need:
- Pencil: Choose a medium-soft graphite pencil for sketching and light shading.
- Paper: Opt for smooth, heavyweight paper that is suitable for drawing.
- Eraser: Have a soft eraser handy for making corrections and adjusting the sketch.
- Fine-Tip Pens or Markers: These will be used for outlining and adding details.
- Colored Pencils or Watercolors: Select colors that resemble lavender, such as varying shades of purple and green.
Now that you have your materials ready, let’s dive into the step-by-step process of drawing lavender.
How to Draw Lavender Step-by-Step
Step 1: Sketch the Basic Shape
Start by lightly sketching the basic shape of the lavender plant. Begin with a vertical line that represents the stem. Then, draw a slightly diagonal line extending from the top of the stem to indicate the main branch. Add a few more branches on either side, making sure they taper and branch out in a natural way.
Step 2: Outline the Flowers
Next, focus on outlining the flowers. Lavender flowers are composed of small, interconnected petals that form a spike-like shape. Begin by drawing the central spike of the flowers, keeping it slightly curved. Then, add smaller spikes on each side, gradually decreasing in size as you move towards the top.
Step 3: Add Detail to the Flowers
To add more realism to your drawing, it’s important to capture the fine details of the flowers. Start by sketching small oval shapes at the tip of each spike to represent the individual flower buds. Then, lightly draw curved lines from the base of each bud to create the petals. Remember that the petals should be longer near the bottom and gradually shorten towards the top.
Step 4: Outline the Leaves
Lavender leaves are narrow and elongated. Begin by drawing a few leaves attached to the main stem. Each leaf should be slightly curved with pointed tips. Add smaller leaves on the branches, ensuring they are unevenly spaced and facing different directions. This will give a natural and organic look to your drawing.
Step 5: Add Detail to the Leaves
To bring the leaves to life, it’s essential to add detail. Start by drawing small vein lines running through each leaf. These lines should curve gently following the shape of the leaf. Then, add texture by lightly drawing short, horizontal lines across the surface of the leaves.
Step 6: Refine Your Sketch
Take a step back and assess your drawing so far. This is the stage where you can make any necessary adjustments and refine the overall composition. Erase any unwanted lines or smudges and make sure the proportions and shapes look balanced. Pay attention to the flow and movement of the flowers and leaves.
Step 7: Ink the Final Lines
Once you are satisfied with your sketch, it’s time to ink the final lines. Use fine-tip pens or markers to carefully trace over the outlines of the flowers, leaves, and stem. Make sure to vary the thickness of the lines to add depth and dimension to your artwork. Take your time and work slowly, ensuring steady and confident strokes.
Step 8: Color your Drawing
The final step is to add color to your lavender drawing. If using colored pencils, start by layering different shades of purple to create depth and variation in the flowers. Use light, circular strokes to blend the colors smoothly. For the leaves, use varying shades of green, adding highlights and shadows to enhance their three-dimensional appearance.
If you prefer watercolors, wet the areas you want to color with a clean brush and apply diluted purple and green tones. Let the colors blend and flow naturally. Wait for the paint to dry before adding any details with colored pencils or fine-tip pens.
Conclusion
Drawing lavender requires attention to detail and patience, but the end result is worth it. By following these step-by-step instructions, you can capture the beauty and essence of this lovely flower in your artwork. Remember to enjoy the process and allow your creativity to flourish. So pick up your pencil, gather your materials, and start creating your own stunning lavender drawing.
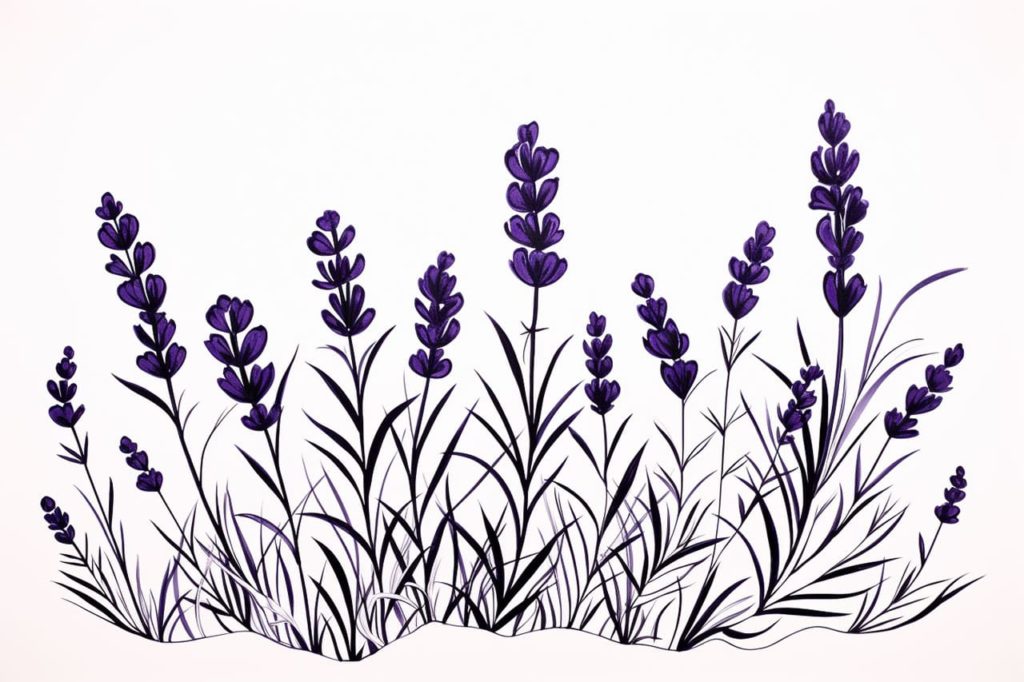
Gallery of Lavender Drawings
Fun Facts About Lavenders
- Lavenders belong to the mint family and are known for their soothing fragrance and beautiful purple flowers.
- The most common type of lavender used for its oil is Lavandula angustifolia, often called English lavender.
- Lavenders are native to the Mediterranean region but are widely cultivated in gardens across the world due to their hardy nature.
- Lavender oil has been used in aromatherapy to promote relaxation and has potential mild sedative properties.
- Ancient Egyptians used lavender in their mummification process, and it was highly prized for its scent and preservation qualities.
- Lavenders attract pollinators such as bees and butterflies, making them excellent plants for supporting garden ecosystems.
- The name “lavender” is derived from the Latin word lavare, which means “to wash,” reflecting its historical use in bathing and cleaning.
- Lavender has over 45 known species, providing a wide range of choices for gardeners and herbalists alike.
- In culinary use, lavender can add a unique floral note to a variety of dishes, from cookies and cakes to teas and marinades.
- Lavender sachets have traditionally been placed in drawers to keep clothes smelling fresh and deter moths.
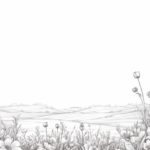
Suggestions for Scenes and Settings for Lavender Drawings
- Lavender Field at Sunrise: Capture the serene and picturesque scene of rows of lavender plants basking in the soft light of dawn.
- Lavender Bee Haven: Illustrate a close-up view of lavenders buzzing with bee activity, capturing the harmony between plant and pollinator.
- French Countryside: Depict a classic French lavender field, complete with rustic farmhouses and distant rolling hills under a clear blue sky.
- Lavender in a Home Garden: Show a cozy domestic garden scene where lavender is growing alongside vegetable patches and colorful flowers.
- Lavender Perfumery Workshop: Visualize a quaint workshop where lavenders are distilled into oils, surrounded by vintage bottles and fragrant steam.
- Lavender Festival: Create a joyful festival atmosphere filled with lavender-adorned stalls, locals weaving lavender crowns, and families enjoying the scenery.
- Lavender Bath Retreat: Imagine a relaxing spa setting with lavender sprigs in glass jars, calming candles, and a soothing bath ready to be enjoyed.
- Lavender and Herb Arrangement: Design a still life featuring a bouquet of lavenders and other aromatic herbs artistically arranged in a rustic vase.
- Lavender and Moonlight: Paint a dreamy nighttime scene where lavenders are softly illuminated by moonlight, casting delicate shadows on the ground.
- Lavender Picnic Spot: Envision a cozy picnic scene under the gently swaying lavender plants, with a blanket, basket, and the gentle hum of the countryside.
Related posts:
 How to Draw a Field of Flowers in 8 Easy Steps
 How to Draw a Lotus Flower in 10 Easy Steps
 How to Draw an Oak Leaf in 8 Easy Steps
 How to Draw a Flower in 5 Easy Steps
 How to Draw a Plant in 6 Easy Steps
 How to Draw a Lilac
 How to Draw an Oak Tree in 9 Simple Steps
 How to Draw a Garden in 7 Simple Steps