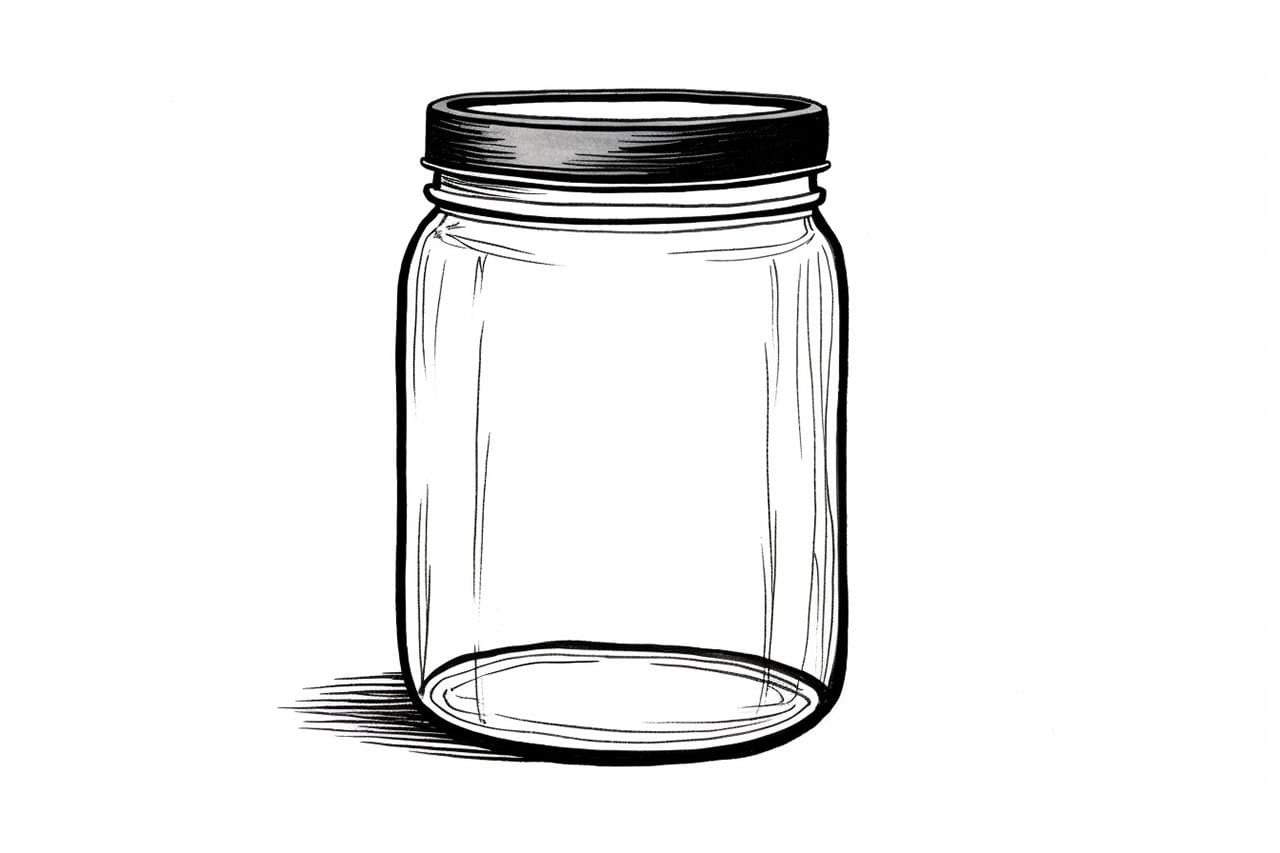
Welcome to this step-by-step tutorial on how to draw a jar! Whether you’re a beginner or an experienced artist, this guide will help you create a realistic and detailed drawing of a jar. By following these simple instructions, you’ll be able to capture the form and texture of a jar and develop your drawing skills. So grab your materials and let’s get started!
Materials Required
To complete this drawing, you will need the following materials:
- Pencil
- Eraser
- Paper
- Ruler (optional)
Now that you have your materials ready, let’s begin!
Step 1: Outline the Basic Shape of the Jar
Start by drawing the basic shape of the jar. Begin with a straight vertical line in the center of your paper to represent the middle of the jar. Extend this line from the top to the bottom of your paper. This line will serve as a guideline for the height of the jar.
Next, draw a horizontal line at the bottom of the vertical line to indicate the base of the jar. Ensure that this line is parallel to the bottom edge of your paper.
Step 2: Add the Curved Body of the Jar
From the bottom of the vertical line, draw a curved line to the left and then to the right, creating the body of the jar. The curve should be smooth and symmetrical on both sides.
Now, connect the top of the curved lines with a slightly curved line to complete the outline of the jar’s body.
Step 3: Sketch the Jar’s Neck and Lid
To draw the neck of the jar, extend two parallel lines upward from the top of the jar’s body. The length of these lines will determine the height of the neck. For a standard jar, the neck is usually one-third the height of the body.
At the top of the neck, draw a small circle or oval shape to indicate the jar’s lid.
Step 4: Add the Details
To give the jar a three-dimensional appearance, add some details. Start by drawing a curved line around the middle of the jar’s body to represent the label or the rim of the jar.
Next, add a shadow underneath the jar by drawing a curved line just below the base. This will create the illusion of the jar sitting on a surface.
Step 5: Refine the Shape and Clean up the Drawing
Take a moment to review your drawing and make any necessary adjustments. Use an eraser to remove any unwanted lines or smudges.
If you’d like your jar to have straight and clean edges, you can use a ruler to refine the shape of the jar.
Step 6: Add Texture and Shading
Now it’s time to add texture and shading to your drawing to make the jar look more realistic.
Start by shading the areas that are facing away from the light source. These areas will appear darker. Use light, gentle strokes to build up the shading gradually.
To add texture to the glass, use your pencil to create small, curved lines that follow the shape of the jar. These lines will give the impression of reflection and shine.
Conclusion
Congratulations! You have successfully learned how to draw a jar. By following this step-by-step tutorial, you’ve created a detailed and realistic drawing of a jar. Remember to practice regularly to improve your drawing skills and explore different techniques in shading and texture.
We hope you found this tutorial helpful. Happy drawing!