Drawing flowers can be a delightful and fulfilling artistic activity. Whether you’re an experienced artist or just getting started, this step-by-step guide will help you create a beautiful flower drawing. By following these instructions and using your creative flair, you’ll be able to capture the essence and beauty of nature on paper.
Materials Required
Before we begin, ensure you have the following materials ready:
- Drawing paper or sketchbook
- Pencil (preferably an HB or 2B)
- Eraser
- Fine-tip black marker or pen (optional for outlining)
- Colored pencils or markers (optional for adding color)
Now that you have your materials ready, let’s get started on creating a stunning flower drawing!
Step 1: Start with Basic Shapes
Begin by lightly sketching the basic shapes of your flower. Most flowers have a circular shape as their base, so start by drawing a simple circle in the center of your paper. This circle will serve as the flower’s core.
Step 2: Add Petals
Extend curved lines outward from the circle to represent the first layer of petals. The number of petals will depend on the type of flower you wish to draw. For a simple daisy, you can start with around five petals. Use light, swift strokes to give your flower a natural and organic look.
Step 3: Refine the Petal Shapes
Refine the shape of each petal by adding gentle curves and smooth lines. Take your time to observe the curves and bends of a real flower, and aim to capture those details in your drawing. Vary the length and shape of the petals to create a visually interesting flower.
Step 4: Add More Petal Layers
Add additional layers of petals to give your flower depth and dimension. Each new layer should slightly overlap the previous one. Use the same techniques as in the previous steps to create these new petals. You can experiment with different petal shapes and sizes to create a unique and visually appealing flower.
Step 5: Detail the Center
Focus on adding intricate details to the center of your flower. Most flowers have a distinct center, such as a stigma or stamen. Study reference images or real flowers to understand the specific details of your chosen flower. Use light, delicate strokes to create these intricate details, making sure not to overpower the overall composition.
Step 6: Erase Unwanted Lines
Carefully erase any unwanted lines or construction marks, ensuring that only the main outline and essential details remain. Take your time during this step to ensure a clean and polished final drawing.
Step 7: Outline the Drawing (Optional)
If you prefer a bold and defined look, you can outline your flower drawing using a fine-tip black marker or pen. This step is optional, as it depends on your personal style and preferences. If you choose to outline, do so with confidence and steady strokes, following the contours of your flower’s petals and details.
Step 8: Add Color (Optional)
To bring your flower drawing to life, consider adding color using colored pencils or markers. Select a color palette that suits the type of flower you’re drawing, and carefully fill in the petals and other elements. Be mindful of shading and blending techniques to create depth and realism in your drawing.
Conclusion
Drawing a beautiful flower is a wonderful way to explore your artistic abilities and capture the beauty of nature. By following the step-by-step instructions in this guide, you’ll be able to create a stunning flower drawing that showcases your creativity and attention to detail.
Remember to start with basic shapes, gradually add layers of petals, and pay attention to the details of the flower’s center. Don’t forget to erase unwanted lines and, if desired, outline your drawing for a bold look. Finally, you have the option to add color to your flower, bringing it to life with vibrant hues.
Now, armed with these techniques and your artistic vision, go ahead and create your own beautiful flower drawing! Enjoy the process and let your creativity blossom.
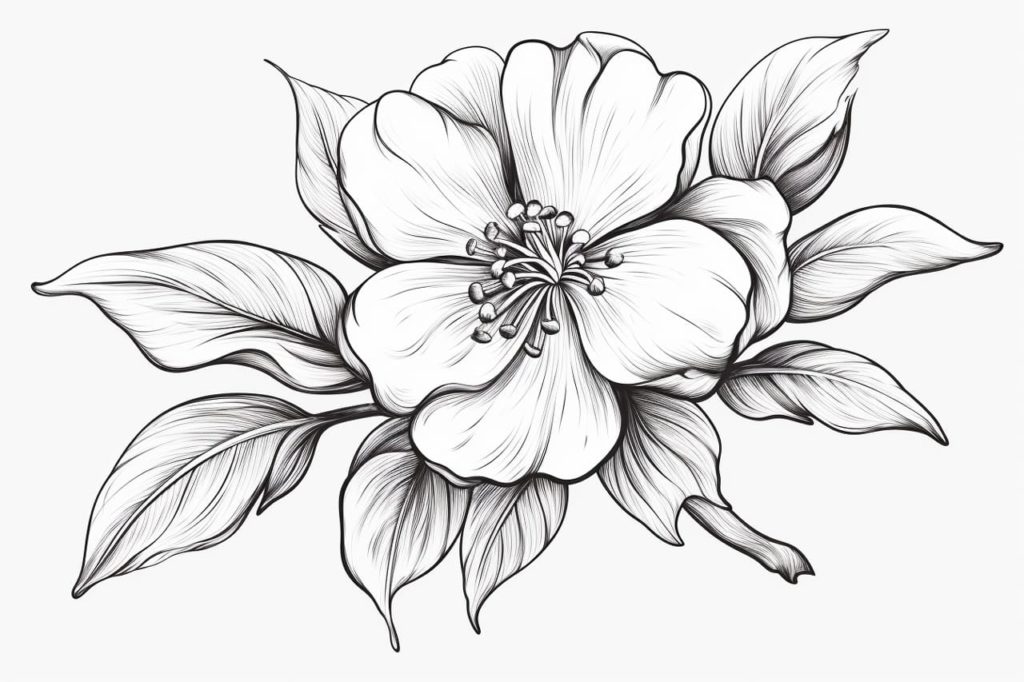
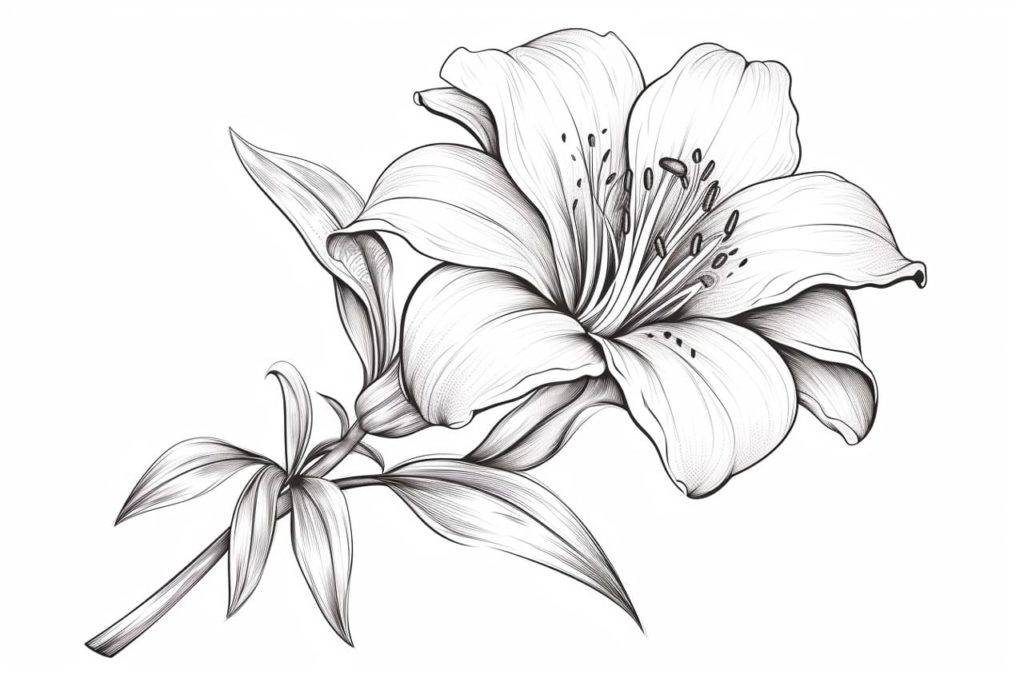
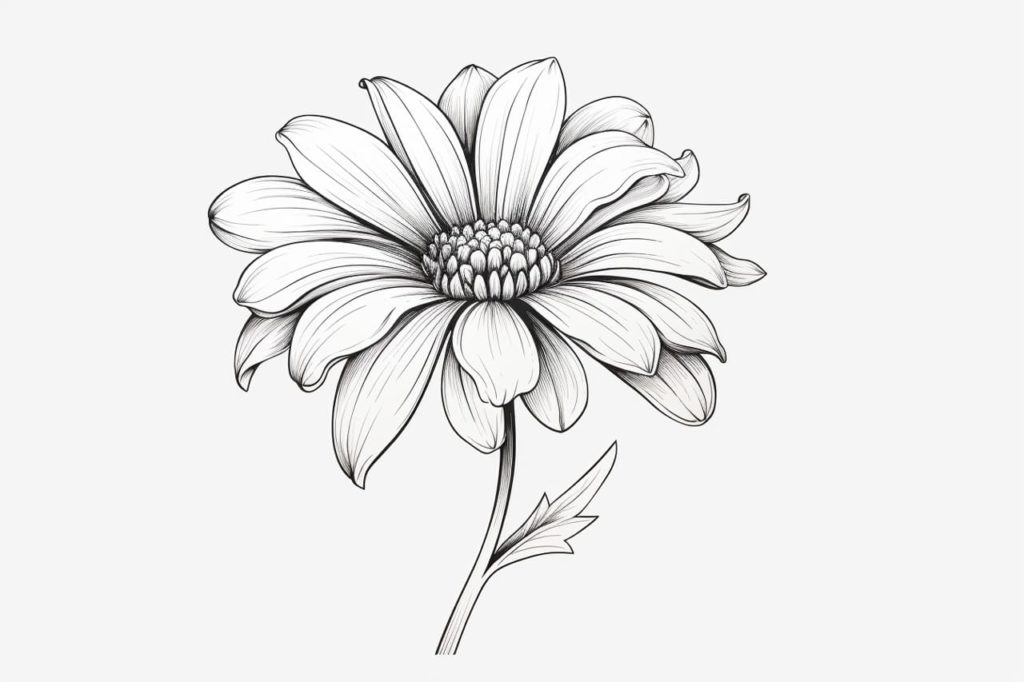
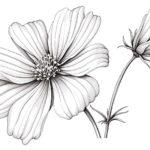
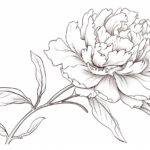
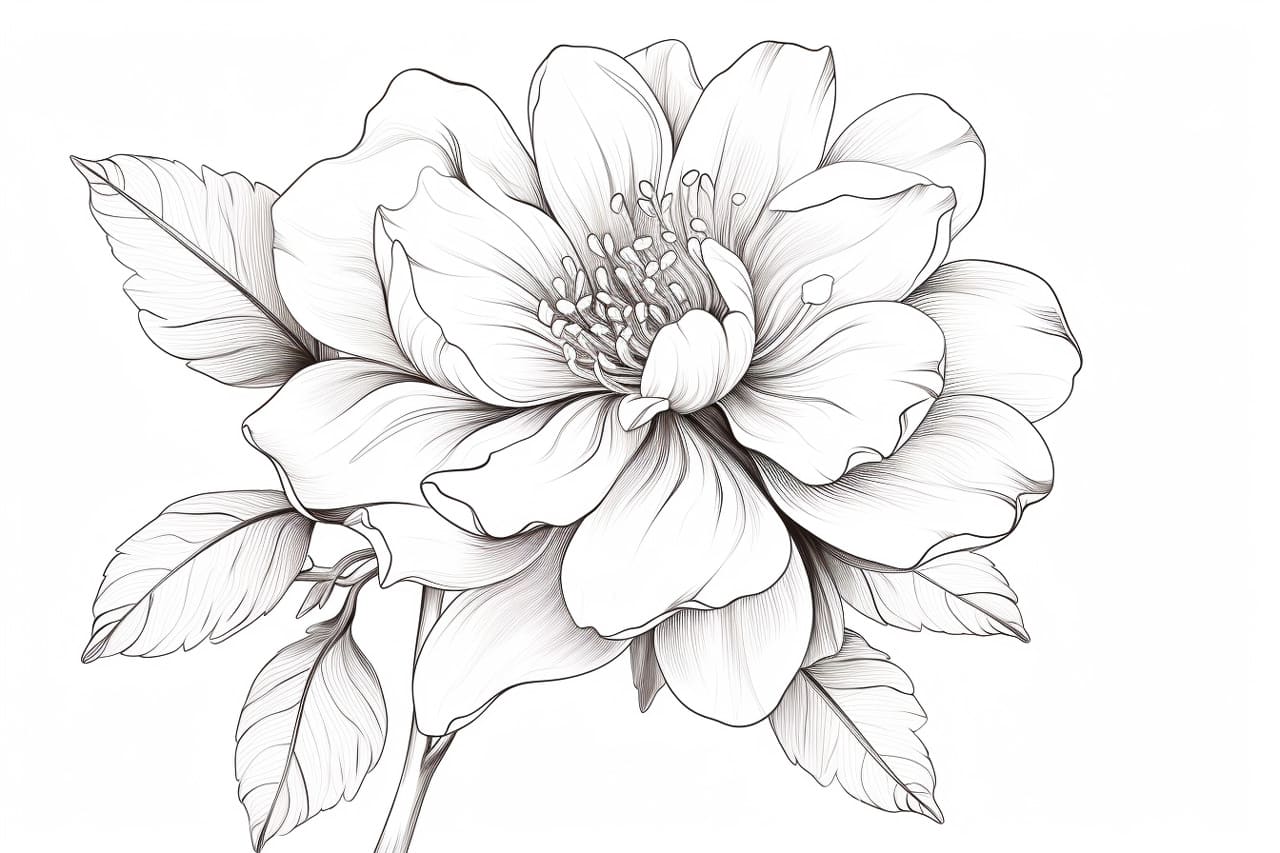
Gallery of Beautiful Flower Drawings