Drawing realistic and expressive black hair can be a challenge for many artists. The unique texture and appearance of black hair require careful observation and understanding of the underlying structure. In this step-by-step guide, I will teach you techniques to create lifelike black hair in your drawings. Whether you’re a beginner or an experienced artist looking to enhance your skills, follow these instructions to master the art of how to draw black hair.
Step 1: Gather Reference Images
Before starting, it’s essential to have reference images of black hair. Look for photographs or portraits that showcase the different styles and textures you want to draw. Pay attention to the way the light falls on the hair, the curl patterns, and the overall flow. Having references will help you understand the intricacies of black hair and guide you throughout the drawing process.
Step 2: Outline the Head
Begin by drawing a basic outline of the head. Use light, simple strokes to sketch the shape of the skull. Remember to consider the size and proportions of the hair in relation to the head. This initial outline will serve as a guide for placing the hair strands later on.
Step 3: Establish the Hairline
Identify the hairline and lightly sketch it on the forehead. Black hair often has a distinct shape, so pay attention to whether it is straight, curved, or uneven. The hairline can significantly influence the overall look of the hair, so take your time to get it right.
Step 4: Block in the Basic Shape
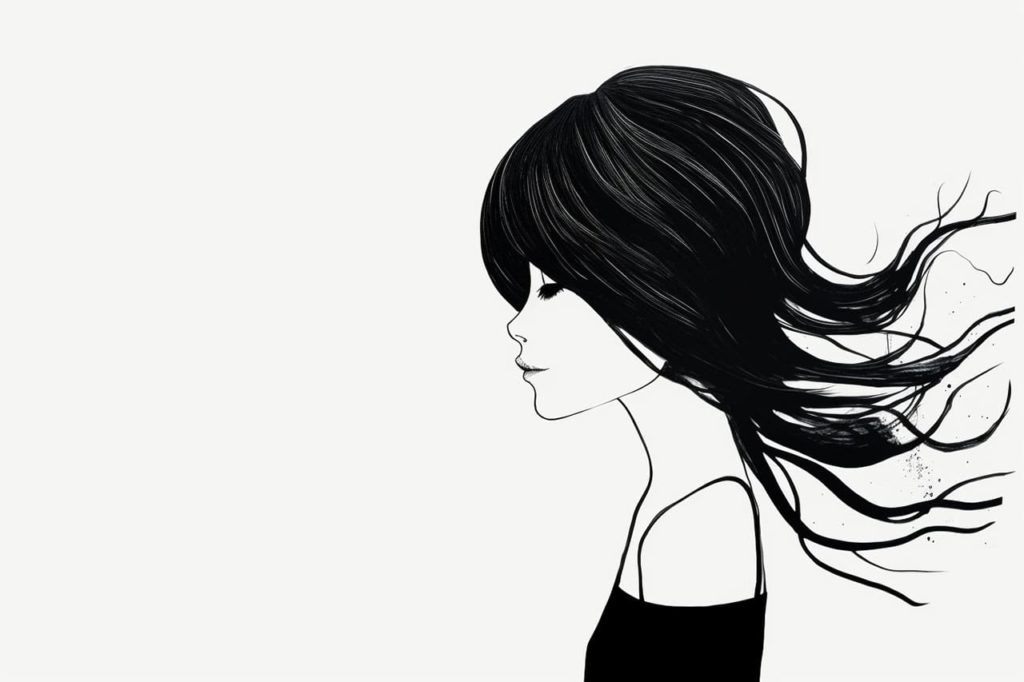
The next step is to block in the basic shape of the hair. Start by defining the overall volume and silhouette. Black hair tends to have a voluminous appearance, so use flowing lines to create an initial shape. Refer to your reference images to accurately capture the desired hairstyle. Decide whether you want to draw short hair, medium length, or long hair.
Step 5: Add Individual Strands
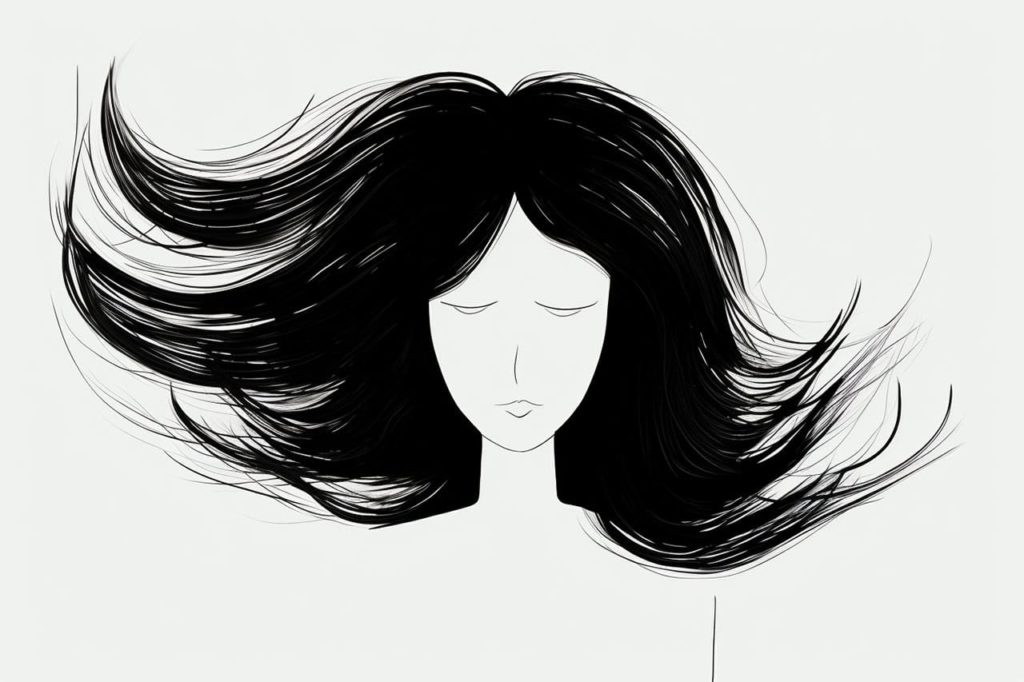
Now it’s time to add individual strands of hair. Observe the reference images carefully to understand the direction and flow of the hair strands. Using quick, loose strokes, draw the hair strands in the direction they would naturally fall. Remember, each strand can have different lengths and thicknesses, so vary your strokes accordingly. Now is a good time to decide if the hairstyle should have certain characteristics, like bangs in front.
Step 6: Create Texture and Volume
To add texture and volume to the hair, use various shading techniques. Start by identifying areas that would have more shadow, such as the roots or areas where hair overlaps. Use a darker pencil or shading tool to add depth and dimension. For areas with highlights, apply lighter strokes or leave them white to create contrast.
Step 7: Refine the Details
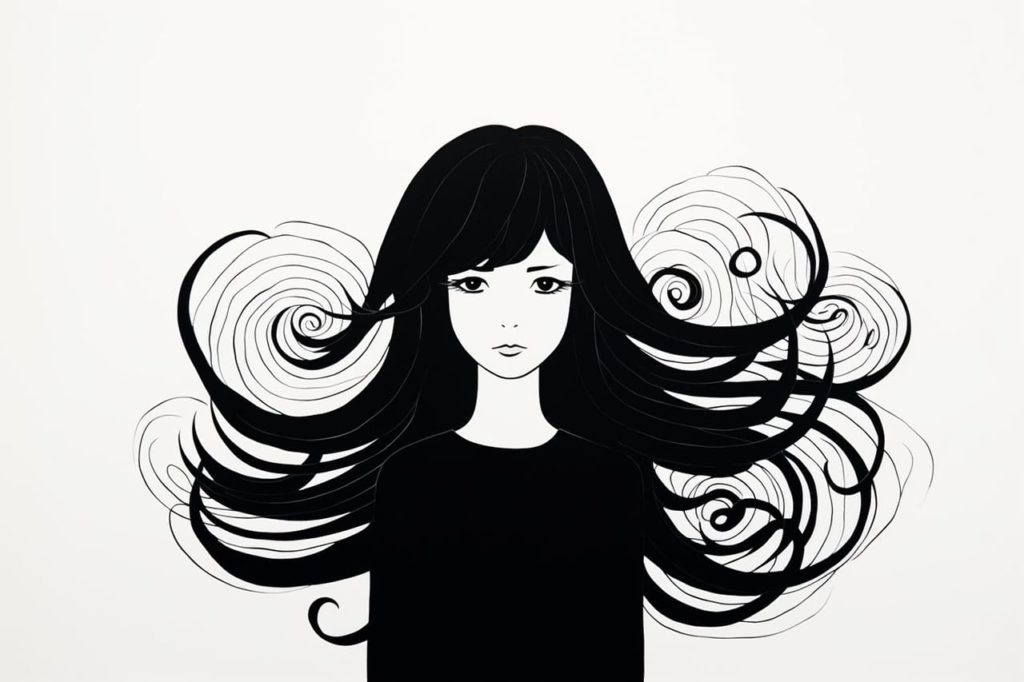
As you progress, pay attention to the smaller details that make black hair unique. Add subtle curls, kinks, or waves to individual strands to enhance realism. Use fine lines sparingly to suggest flyaways or strands of hair that might fall out of place. Remember, black hair can have a variety of textures, so don’t be afraid to experiment and add your artistic touch.
Step 8: Emphasize Highlights
To make the drawing more dynamic, highlight certain areas of the hair. Light reflecting off the hair can create shimmering highlights, especially on curly or wavy hair. Use a white pencil or a kneaded eraser to gently add these highlights. Be mindful of the direction and intensity of the highlights, as they can greatly enhance the overall look of the hair.
Step 9: Adjust the Tone and Contrast
Evaluate the overall tone and contrast of your drawing. Black hair can have a wide range of shades and highlights. Adjust the shading and value of different areas to achieve the desired effect. Darken the areas where more shadow is present and lighten areas that catch the light. Fine-tune the contrast to create depth and realism in your drawing.
Step 10: Finalize the Drawing
Take a step back and evaluate your drawing. Make any necessary adjustments or refinements to ensure that the hair looks realistic. Pay attention to the balance between the hair and the face, ensuring that they harmonize well together. Once you are satisfied with the result, darken the lines and refine the contours to finalize your drawing.
Conclusion
Drawing black hair requires careful observation and attention to detail. By following these step-by-step instructions, you can learn to capture the unique texture, flow, and style of black hair in your artwork. Remember to gather reference images, establish the basic shape, add individual strands, create texture and volume, and refine the details. With practice and patience, you’ll be able to create stunning drawings that showcase the beauty of black hair.
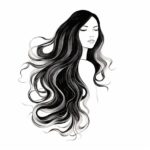
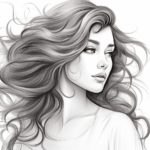
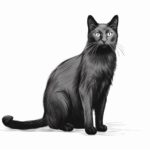
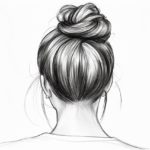
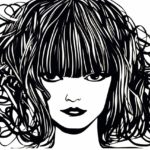
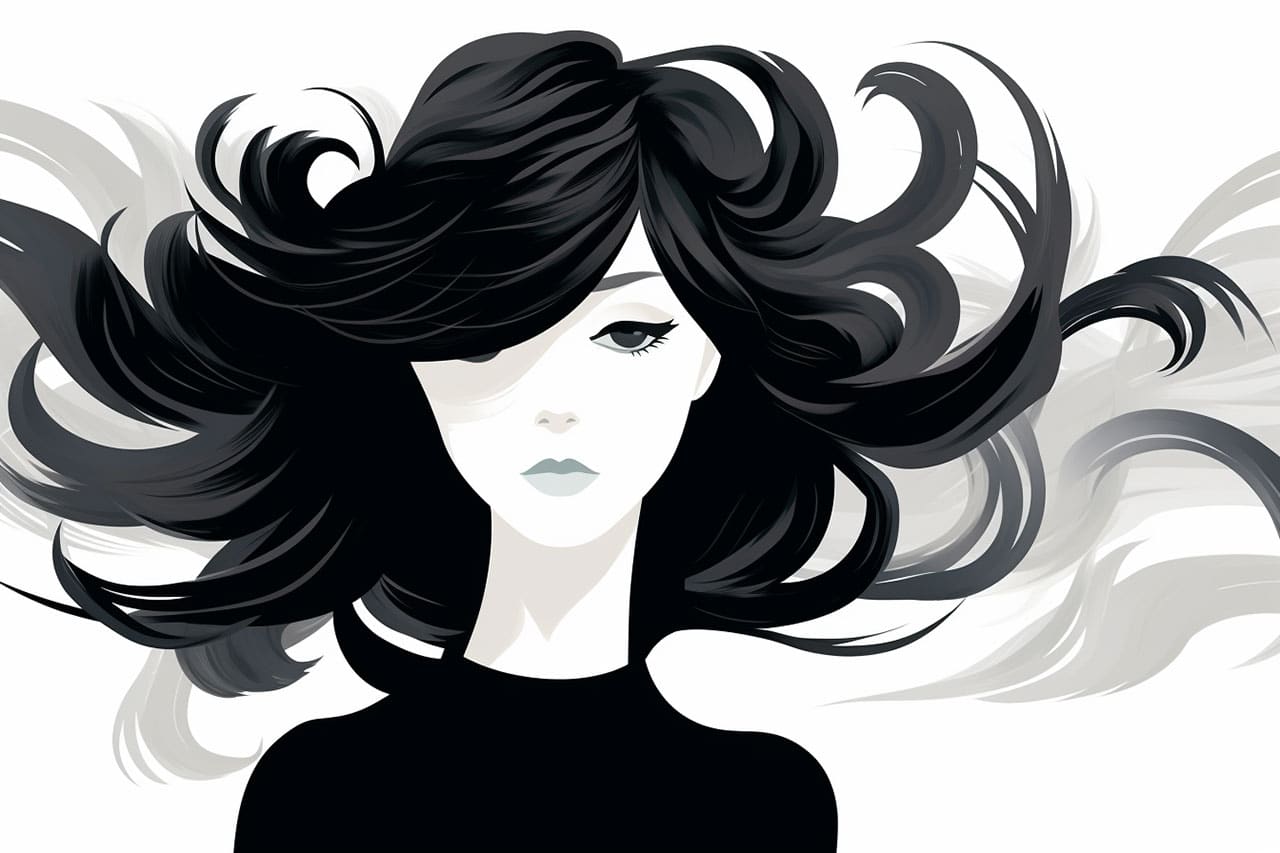
Gallery of Black Hair Drawings