Welcome to this step-by-step guide on how to draw the Titanic. In this article, I will provide you with clear and concise instructions to help you create a stunning depiction of this iconic ship. Whether you are a beginner or an experienced artist, this tutorial will provide you with the necessary guidance to create a beautiful artwork of the Titanic.
Materials Required
Before we begin, let’s gather the materials you will need for this drawing:
- Drawing paper or sketchbook
- Pencils (HB, 2B, and 4B)
- Eraser
- Sharpener
- Ruler
- Reference image of the Titanic (You can easily find one online)
Now that we have our materials ready, let’s dive into the step-by-step drawing process.
Step 1: Basic Outline
Begin by lightly sketching the basic outlines of the Titanic on your drawing paper. Start with a horizontal line near the top of the page to represent the waterline. Then, draw a slightly curved line above it to represent the upper deck of the ship. Next, sketch the front and back of the hull by drawing two long, slightly curved lines, connecting them at the ends. Finally, add a few vertical lines to represent the windows and portholes.
Step 2: Adding Details
Once you have the basic outline in place, start adding more details to your drawing. Begin with the upper deck by sketching the main structures such as the smokestacks, cabins, and the bridge. Take your time and refer to your reference image to ensure accuracy. Use light, gentle strokes for this stage, as you can refine and darken the lines later.
Step 3: Hull and Portholes
Now, focus on adding more details to the hull and portholes of the Titanic. Pay attention to the various levels and layers of the ship. Draw the different decks, lifeboats, and any other prominent features you see. Take your time to capture the intricate details and proportions accurately.
Step 4: Shading and Textures
To bring your drawing to life, it’s essential to add shading and textures. Start by identifying the light source in your reference image and visualize how it falls on the ship. Use a softer pencil such as a 2B or 4B to create gradual and smooth shading. Apply more pressure to create darker areas and less pressure for lighter areas. Pay attention to the subtle variations in shades and textures that give the Titanic its realistic appearance.
Step 5: Refining and Finalizing
Once you have completed the shading, take a step back and assess your drawing. Look for any areas that need refinement or correction. Use your eraser to clean up any smudges or mistakes. Sharpen your pencil to add finer details and crisp lines where necessary. Take your time during this stage to ensure that your drawing looks polished and complete.
Conclusion
Congratulations! You have successfully drawn the Titanic using this step-by-step guide. By following the instructions and taking your time to observe and replicate the details, you have created a beautiful artwork of this historic ship. Remember, practice makes perfect, so don’t hesitate to try this tutorial multiple times to enhance your skills as an artist. Enjoy the process and have fun exploring your creativity!
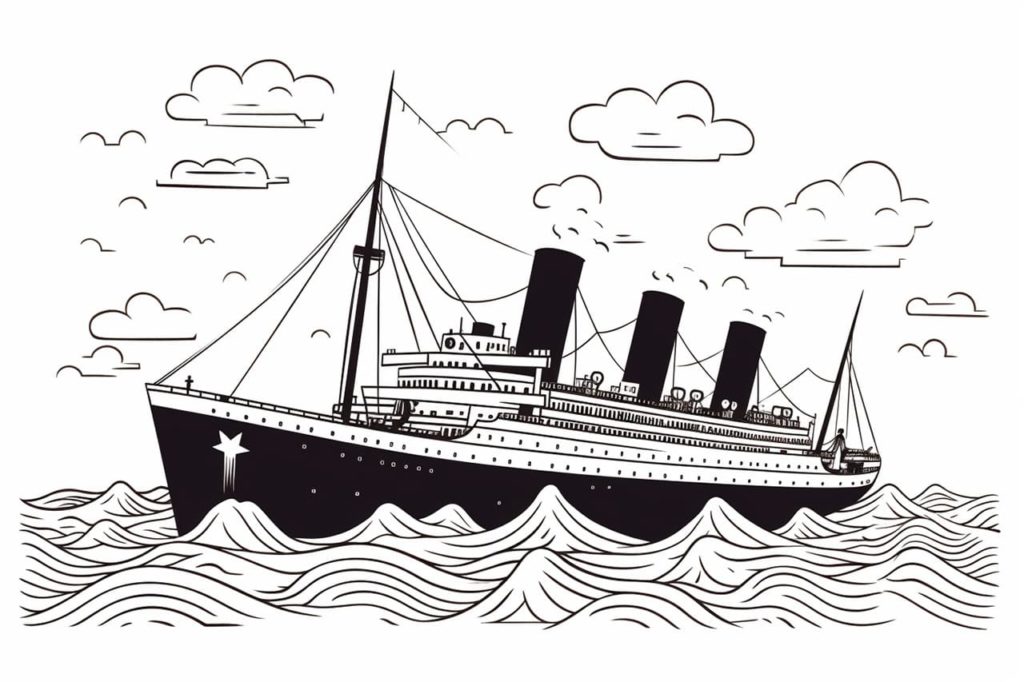
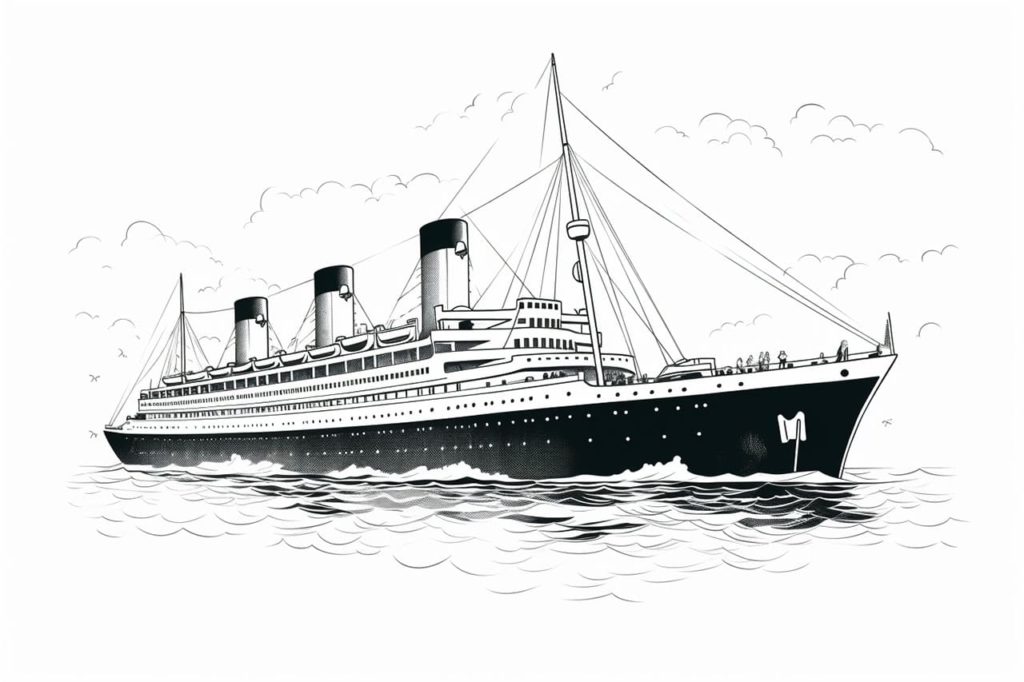
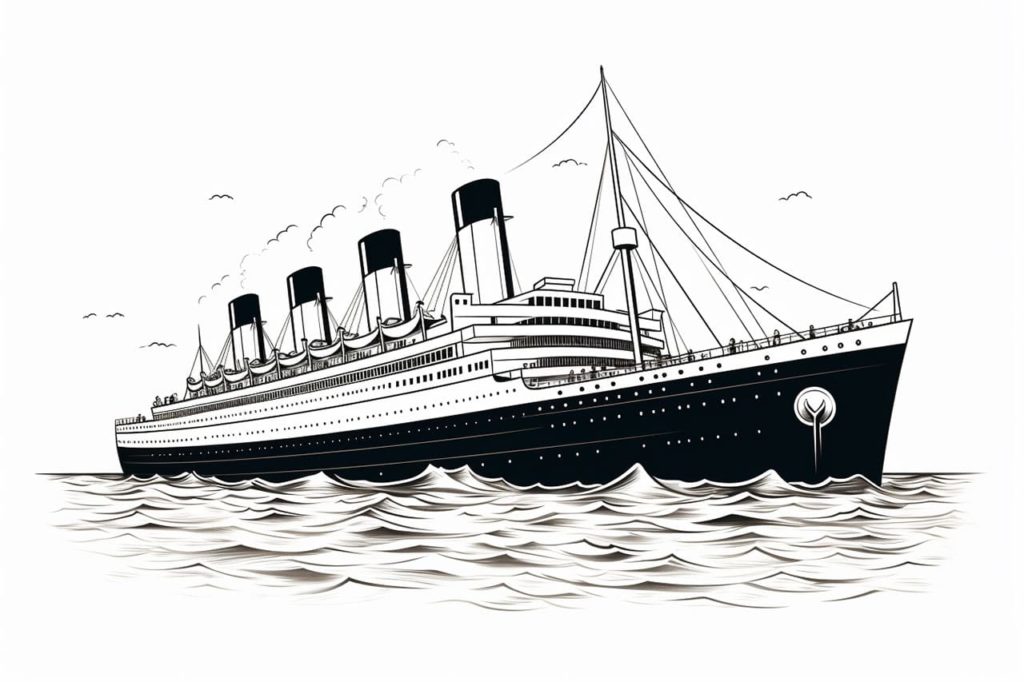
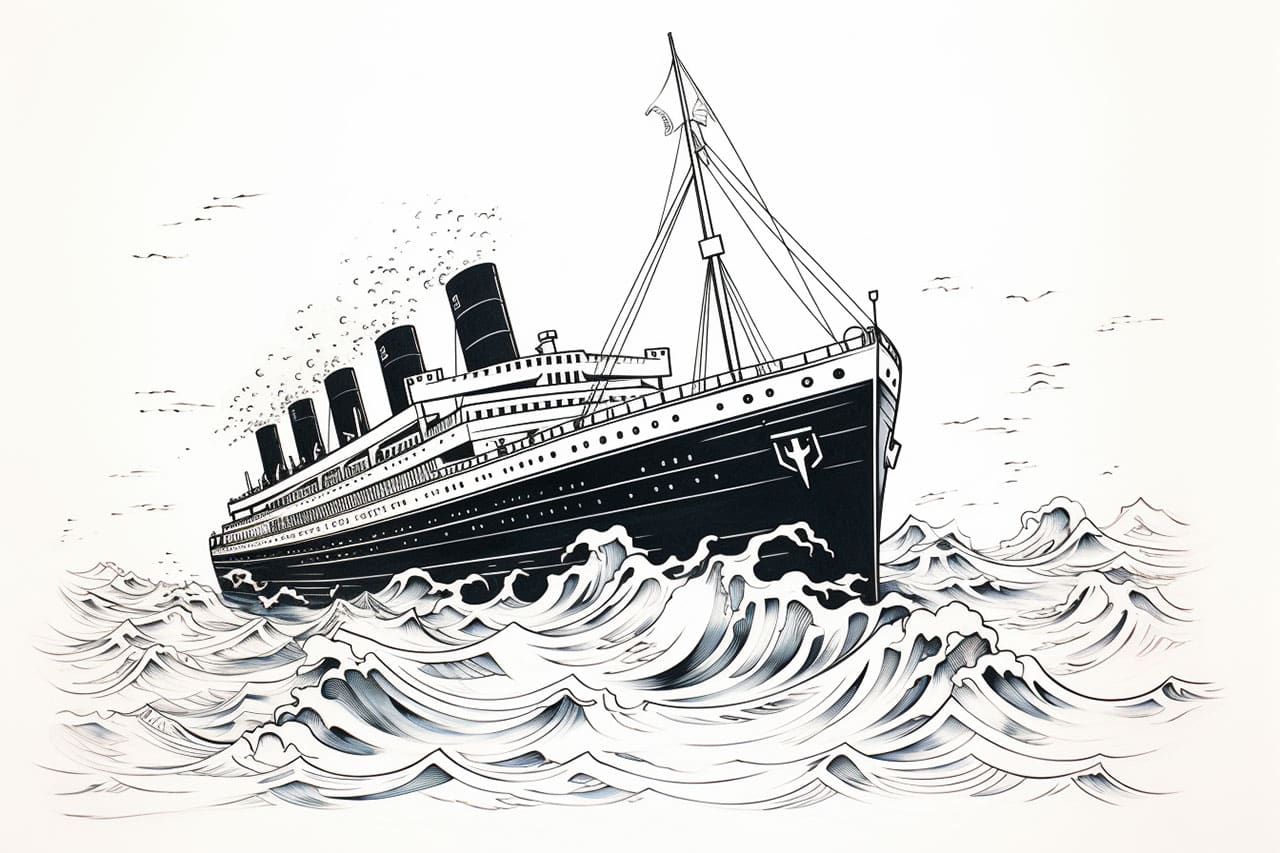
Gallery of Titanic Drawings